Forget waiting ages for the toaster oven or dealing with a soggy microwave attempt! If you’re anything like me, you need that perfect crunch right now. That’s why I’m obsessed with this skillet bread toast. Seriously, this is the fastest, most satisfying slice of carbohydrate heaven you will ever make. It takes less than ten minutes from start to finish, and honestly, it tastes miles better than anything you can pop in a slot.
I developed this method years ago back when I was first learning to cook. I burned toast constantly, I’m not even kidding! My smoke alarm knew my schedule. But this method—using a little bit of butter and oil in a pan—changed everything. It’s foolproof, it’s fast, and it gives you this incredible texture that I just can’t get any other way. It’s the ultimate beginner hack, but sophisticated enough for company!

Why This Skillet Bread Toast is Your New Go-To
The best part about this skillet bread toast recipe is how ridiculously fast it is. We’re talking seven minutes total, people! That’s faster than waiting for the kettle to boil sometimes. You don’t need fancy equipment, just a standard skillet you probably already have hanging on your wall. All the ingredients are pantry staples, too—butter, oil, salt, and bread. That’s it!
This isn’t some fussy recipe where you need to measure humidity or sift flour three times. It’s pure, reliable stovetop magic. It’s the perfect base for eggs, or honestly, just eaten standing over the sink with a cup of coffee. If you need amazing crispy toast without the fuss, this is your answer. Trust me, once you try this pan-fried technique, you’ll never go back to the standard toaster again.
Essential Ingredients for Perfect Skillet Bread Toast
Okay, let’s talk about what makes this skillet bread toast sing. Since this recipe is so simple, the quality of your few ingredients really shines through. You can’t hide behind complicated sauces here, so we need to be specific about what we’re using. I’ve tried cutting corners, and I promise you, it just isn’t worth it.
We are using four slices of bread, and this is important: they need to be about half an inch thick. If they are too thin, they’ll turn into crackers before they have a chance to get that lovely soft middle. You need some substance there!
Ingredient Breakdown and Clarification
The fat mixture is crucial for that perfect golden color and flavor. You absolutely need two tablespoons of unsalted butter—the flavor of real butter is non-negotiable here! We mix that with just one tablespoon of olive oil. The oil raises the smoke point so the butter doesn’t burn instantly, but the butter gives you that incredible nutty, rich taste that olive oil alone just can’t match.
Finally, just a tiny pinch of salt, about an eighth of a teaspoon. This isn’t for making the toast *salty*, it’s just to enhance that gorgeous toasted flavor. Make sure you have it ready to go right when the toast comes out of the pan!
Achieving the Best Skillet Bread Toast Texture
The difference between good toast and *amazing* skillet bread toast is all about physics, really—or at least, heat management! We are aiming for that gorgeous, deep golden crust that shatters when you bite it, while the inside stays warm, slightly soft, and just cooked through. If you get the heat wrong, you end up with one of two sad outcomes: pale, greasy bread, or charcoal.
The ratio of fat to bread is also key. Using both butter and oil gives us the best of both worlds: the flavor punch from the butter and the higher smoke point from the oil. This fat combo coats the bread perfectly, ensuring even browning across the entire surface.
Choosing the Right Heat Setting
This is where everyone messes up their skillet bread toast! You must use medium heat, no higher. If you crank it up to medium-high or high, the exterior fat will get scorching hot instantly, and your bread will burn black before the heat even has a chance to warm the center of that half-inch slice. We want a slow, steady sizzle when the fat is melted.
Medium heat allows the moisture trapped inside the bread to steam out gently while the exterior slowly crisps up in the fat bath. It takes a little more patience—maybe an extra minute or two—but that slow process is what gives you that phenomenal contrast between the crunchy outside and the perfectly tender inside. It’s worth the wait, I promise!
Step-by-Step Instructions for Skillet Bread Toast
Alright, let’s get this bread toasted! This process moves quickly once you start, so have your bread slices ready to go and your salt shaker nearby. We are moving fast because we want that perfect golden finish on our skillet bread toast before any of the fat starts to break down too much.
Remember what I said about medium heat? Keep that dial steady throughout the entire process. We are not adjusting it once we start cooking!
Preparing the Skillet and Fat Mixture
First things first, set your largest skillet over medium heat—remember, slow and steady wins this race. Add your two tablespoons of unsalted butter and your one tablespoon of olive oil right into the center. You’ll see the butter start to melt pretty quickly, which is great, but wait for the real show to start.
You need to swirl that pan around gently until the butter is completely melted, foamy, and looks like a shimmering pool of liquid gold. That foaminess is your signal! It means the water content in the butter has cooked off, and the fat is ready to crisp up that bread beautifully. If it starts smoking, pull the pan off the heat immediately and let it cool down a bit—you went too hot!

The Toasting Process and Seasoning
Once that fat is foamy, lay your four slices of bread right into the skillet. Don’t crowd them! They need space to swim in that delicious fat. Now, set your timer and leave them alone for a solid two to three minutes. This first side is the longest because we are aiming for that deep, rich golden brown that makes this skillet bread toast so famous. You can peek underneath around the two-minute mark.
When the bottom looks perfect—deeply colored and crisp—it’s time for the salt. Sprinkle that tiny bit of salt lightly over the exposed, toasted side. Then, using tongs, carefully flip each slice over. The second side cooks much faster, usually just one to two minutes. You’re just looking for a lighter golden color this time, since the pan is already hot and the bread is already slightly dried out from the first side.
Once both sides are golden perfection, pull them right out of the pan and put them on a plate. Serve this skillet bread toast immediately while it’s at its peak crunchiness!
Ingredient List and Preparation Summary
Sometimes you just need a quick cheat sheet, right? I get it! When you’re whipping up a batch of this amazing toast, you don’t want to dig through paragraphs of my rambling stories. Here is everything you need, laid out clearly so you can grab your supplies and get cooking. This is the exact list I use every time.
Ingredient Table
| Ingredient | Amount | Preparation/Notes |
|---|---|---|
| Sandwich Bread | 4 slices | Must be about 1/2 inch thick for the best texture. |
| Unsalted Butter | 2 tablespoons | Essential for flavor; use real butter! |
| Olive Oil | 1 tablespoon | Used to raise the smoke point of the butter. |
| Salt | 1/8 teaspoon | For sprinkling immediately after flipping the toast. |
Tips for Success with Your Skillet Bread Toast
Even though this skillet bread toast is super simple, a few little tricks can make the difference between good and absolutely legendary. The biggest issue people run into is uneven browning, and that almost always comes down to the heat or the fat distribution. Make sure you use a large enough skillet so that the bread slices aren’t touching each other. If they are touching, they steam each other instead of crisping up in the fat!
If you notice one side browning much faster than the other, it means your burner is running hotter on that side of the stove. Don’t panic—just gently nudge the pan a quarter turn every minute or so. This slight rotation keeps the bread moving through the hottest spots. Also, never, ever try to rush the first side of your skillet bread toast. That 2-to-3-minute window is necessary for developing that deep color and crunch you’re looking for.
Serving Suggestions for Skillet Bread Toast
Once you pull that perfectly golden, crunchy skillet bread toast out of the pan, the possibilities are endless! Because this toast has such a sturdy structure and amazing flavor from the butter and oil, it holds up beautifully to toppings and sides. This isn’t just for plain breakfast, even though that’s my favorite way to eat it standing up! If you are looking for other quick breakfast ideas, check out our guide on 14 High Protein Breakfasts in 15 Minutes.
For a classic breakfast, these slices are the absolute best base for soft scrambled eggs or a couple of poached eggs where the yolk can mix right into that crispy surface. They are also fantastic served alongside a warm bowl of cauliflower chowder—way better than soggy croutons! If you’re feeling fancy, a light smear of avocado or even just some flaky sea salt on top makes this simple skillet bread toast feel like a five-star meal. It’s versatile, delicious, and ready in minutes!
Frequently Asked Questions About Skillet Bread Toast
I get so many questions about this recipe because everyone wants to make the absolute best skillet bread toast! It’s funny seeing what people worry about when it’s truly one of the easiest things you can cook. Here are the things I hear most often when people try this pan toast method for the first time. For more tips and community discussion, feel free to follow us on Facebook.
The goal is always that crunch, so any substitution or technique change has to support that crisp exterior and soft interior. Don’t worry if your first batch isn’t perfect; just remember the heat control is key!
What is the best type of bread to use for this recipe?
This is probably the most important question! You want a sturdy sandwich bread, ideally cut about half an inch thick. Think Texas toast thickness, but standard white or whole wheat works great. You can use sourdough too, but you might need to slightly lower the heat because sourdough can cook faster. Avoid flimsy, thin supermarket bread; it won’t give you that satisfyingly tender center we are aiming for in our skillet bread toast. Density matters here!
Can I make this ahead of time?
Honestly, no, you really shouldn’t try to make this ahead of time if you want that signature crunch. This skillet bread toast is designed to be eaten the second it comes out of the pan. Once it cools, the residual steam inside the bread softens the crust, and it loses that amazing texture. Reheating it usually makes it either tough or greasy, so I highly recommend making only what you plan to eat right away.
Storage and Reheating Instructions
As I mentioned in the FAQs, this skillet bread toast is truly best served immediately. Once that beautiful crispness starts to fade, it’s tough to bring it back perfectly. However, if you absolutely must store leftovers, there are ways to manage it, though you won’t get that ‘fresh from the pan’ snap. If you are looking for other quick snack ideas, check out our guide on Snacks.
You definitely want to avoid the refrigerator for long-term storage, as the humidity will make the bread chewy fast. If you have a small amount left over, try the method below to revive it a little before serving. For more recipe inspiration, check out our Pinterest page.
Storage Table
| Storage Location | Duration | Reheating Method to Restore Crunch |
|---|---|---|
| Countertop (Airtight Container) | Up to 1 day | Quick toast in a dry pan (no fat) over medium heat for 1 minute per side. |
| Refrigerator | Up to 3 days | Bake on a wire rack at 350°F (175°C) for 5-7 minutes, watching carefully. |

Skillet bread toast: 7 amazing minutes
- Total Time: 7 minutes
- Yield: 2 servings
- Diet: Omnivore
Description
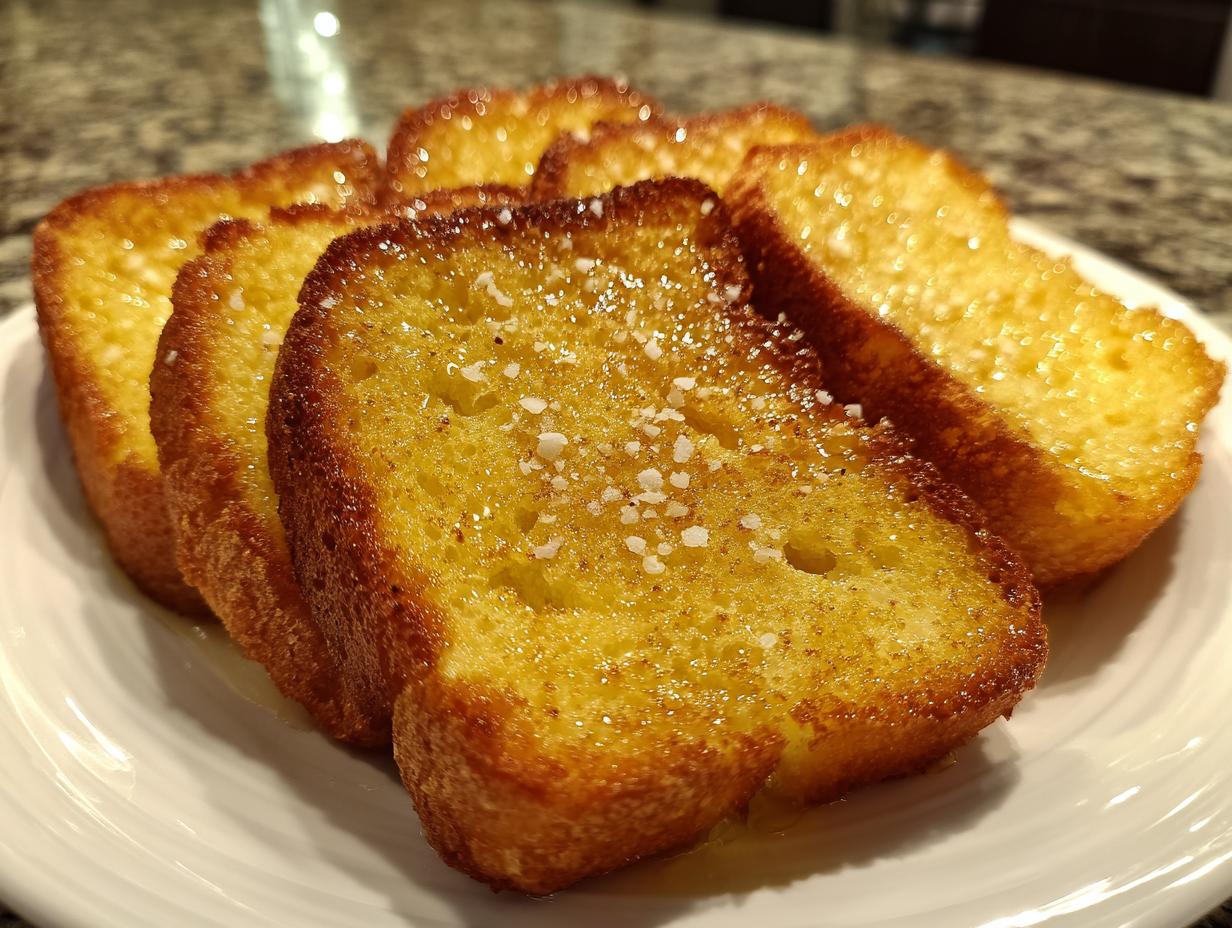
Crispy skillet bread toast with a golden crunch and tender center. A fast stovetop method using simple pantry ingredients.
Ingredients
- 4 slices sandwich bread about 1/2 inch thick
- 2 tablespoons unsalted butter
- 1 tablespoon olive oil
- 1/8 teaspoon salt
Instructions
- Heat a large skillet over medium heat.
- Add the butter and olive oil and swirl until melted and foamy.
- Place the bread slices in the skillet in a single layer.
- Cook for 2 to 3 minutes until the bottoms are deep golden and crisp.
- Sprinkle lightly with salt.
- Flip the bread and cook for 1 to 2 minutes until the second side is crisp and heated through.
- Remove from the skillet and serve immediately.
Notes
- This toast works well for breakfast or as a side for soups and eggs.
- Prep Time: 2 minutes
- Cook Time: 5 minutes
- Category: Breakfast
- Method: Stovetop
- Cuisine: American