If you think making elegant desserts is too complicated, you are absolutely wrong! I’m here to prove that some of the prettiest treats are actually the easiest. When I first started baking—or rather, *not* baking—I needed something impressive that didn’t involve turning on the oven. That’s when I perfected these white chocolate strawberries.
Trust me, these are foolproof. They are the ultimate no-bake star for any party, and they always look like you spent hours fussing over them. I remember making a batch for a potluck when I was totally overwhelmed with a huge cake recipe; these saved the day! They are so simple: creamy, smooth white chocolate coating a perfectly juicy strawberry. That’s it.
This recipe is my go-to recommendation for anyone who feels intimidated by baking. You just need a microwave and a sheet of parchment paper. We’re using just three ingredients, and the clean-up is minimal. You’ll feel like a dessert pro after making these!

Essential Components for White Chocolate Strawberries
When you’re aiming for a dessert this simple, the quality of your few ingredients really shines through. There’s nowhere for subpar stuff to hide! We only need three things to make these lovely treats, but they all play a specific role in getting that perfect, creamy coating on your berries.
Don’t overthink it; you don’t need fancy chocolate fountains or specialty candy melts. Just grab the basics, and we’ll make them work magic together. The secret to truly great white chocolate strawberries lies in making sure those three components are exactly what they should be.
Ingredient Specifications for White Chocolate Strawberries
Let’s talk specifics because the flavor depends on what you pick up at the store. First, you need about a pound of fresh strawberries. I always grab the biggest ones I can find! They need to be firm and perfectly ripe—no mushy spots allowed, please.
Next up is the star: the white chocolate. You’ll need about 8 ounces of standard white chocolate chips. Now, I know some people swear by melting bars, but chips are so much easier for beginners, and they melt reliably. The final, crucial element is a tiny bit of neutral oil—I use avocado oil because it has zero taste. This oil is what keeps the chocolate from getting thick and grainy when it cools down. It’s our little insurance policy against seizing!
Necessary Tools for Dipping Berries
You don’t need a huge arsenal for this job, which is great! You absolutely must have a large baking sheet lined with parchment paper—and I mean *parchment*, not wax paper, or you’ll be scraping chocolate off your pan later!
A microwave-safe bowl is essential for melting, and you’ll need a small spoon or spatula for stirring every 15 seconds. Finally, keep the stems on your strawberries! They act as the perfect little handle for dipping.
Step-by-Step Guide to Making White Chocolate Strawberries
Okay, we have our components ready, and now comes the fun part! This whole process moves really fast once you get started, so make sure your parchment paper is laid out and ready to go before you even touch the microwave. Seriously, once that chocolate is melted, you have to work quickly!
Preparing Your Strawberries for Dipping
This is the step everyone skips, and this is why their white chocolate strawberries end up looking streaky or have grainy spots! You cannot have wet strawberries. Water is the enemy of melted chocolate; it makes the chocolate seize up into a hard, unusable lump. I mean it—wash them gently, and then spend a good minute patting every single berry bone-dry with paper towels.
I even let mine sit on a dry towel for five minutes just to air dry a bit more. Make sure you hold them by the green tops—don’t touch the part that’s going into the chocolate! We want zero oil or moisture from our fingers transferring onto the berry.
Smooth Melting Technique for White Chocolate
Now for the melting! Put your white chocolate chips and that tiny teaspoon of neutral oil into your microwave-safe bowl. Remember, white chocolate burns easily, so we are going slow and low. We’re using 15-second bursts in the microwave. After the first 15 seconds, pull it out, stir it really well, even if it doesn’t look melted yet.
Repeat that stirring and microwaving process until it’s *almost* smooth. You want a few tiny lumps left when you pull it out the last time. The residual heat will melt those last bits as you stir it smooth. If you try to melt it completely in the microwave, you risk scorching it, and no amount of oil will save scorched chocolate for your beautiful white chocolate strawberries.
The Dipping and Setting Process
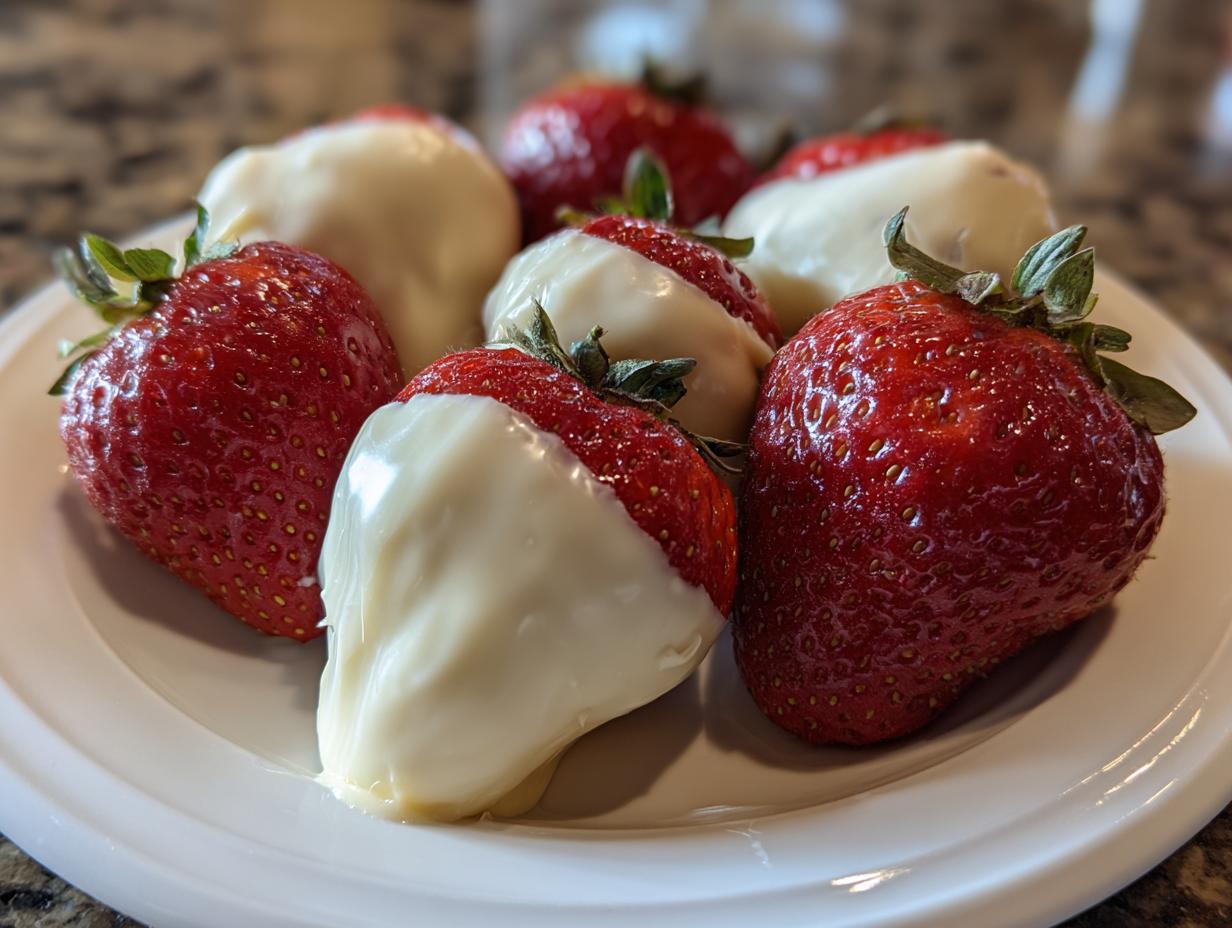
Time to dip! Hold the strawberry by the stem part and gently swirl it into the melted chocolate. I like to coat about three-quarters of the berry, leaving a nice little peek of red at the top—it looks so elegant! As you pull it out, gently tilt the bowl and shake your berry once or twice to let the excess drip off. Don’t shake it too hard, or you’ll knock the chocolate right off!
Quickly lay the coated berry onto that parchment-lined sheet. They need to chill to set up firm, so get them all placed quickly. Pop the whole sheet right into the refrigerator for about 15 minutes. You’ll know they are ready when the chocolate coating is completely hard to the touch. Then, you’ve got perfect white chocolate strawberries!

Tips for Achieving Expert-Level White Chocolate Strawberries
Even though this recipe is super easy, there are two tiny things that can trip you up if you aren’t prepared. These little details separate a good batch of white chocolate strawberries from a truly professional-looking one. First, let’s talk about that seizing issue again because it’s a real heartbreak when it happens.
If your chocolate starts looking thick, grainy, or clumpy while you’re stirring it, you’ve introduced water or steam! Don’t panic. Immediately stop microwaving and stir in just another tiny drop—maybe half a teaspoon—of your neutral oil. Sometimes that little bit of extra fat can bring the texture back from the brink. It’s a last-ditch effort, but it usually works!
For the finish, make sure you are transferring the dipped berries immediately to the fridge. If you let them sit out at room temperature while you finish the batch, the chocolate might start to soften too much, and you’ll get messy edges when you try to move them later. We want those clean, crisp lines on our beautiful white chocolate strawberries. A quick 15 minutes in the cold sets them up perfectly for serving.
Storage and Serving Suggestions for Your Treat
Once you’ve made these gorgeous white chocolate strawberries, you’ll want to show them off, but you also need to know how to keep them tasting fresh. The great news is they are fantastic make-ahead treats, which is why I love them for parties! If you want more easy dessert ideas, check out my hot chocolate cookies recipe.
Since we aren’t baking anything, the freshness really depends on the strawberry itself. They are best eaten the day you make them, but they hold up beautifully for a day or two if stored correctly. Avoid leaving them out on the counter, even if they look pretty on a platter—the chocolate will get soft and sticky, and the berries will weep.
For serving, I love pairing them with something tart to cut through the sweetness of the white chocolate. A small side of fresh raspberries or maybe a light lemon curd dipping sauce makes for an elegant presentation. They look amazing piled high on a simple white cake stand! You can find more inspiration for easy treats on my Pinterest page.
Keeping Your White Chocolate Strawberries Fresh
The absolute key to keeping your white chocolate strawberries fresh is keeping them cold and dry. You need an airtight container, and you must place a paper towel on the bottom layer before you arrange your berries inside. This towel absorbs any condensation that might form. For more tips on easy recipes, feel free to check out my Medium profile.
Layer them carefully—don’t stack them directly on top of each other, or you’ll end up with chocolate fingerprints everywhere! If you must stack, put a small piece of parchment paper between the layers. They should stay perfect in the refrigerator for up to two days. If you take them out to serve, just give them about 10 minutes on the counter to take the chill off before serving them. That little bit of time makes the chocolate taste creamier!
Common Questions About This No Bake Dessert
I get asked these questions about my easy dessert all the time, especially when people realize there’s no actual baking involved! Here are the things I hear most often when folks are trying this recipe for the first time. If you are looking for a savory dish, you might enjoy my recipe for copycat chicken parmesan.
Q1. Can I use milk chocolate or dark chocolate instead of white?
Oh, absolutely! You can definitely dip them in milk or dark chocolate. Just remember that dark chocolate often melts a bit thicker than white chocolate, so you might need to add an extra tiny splash of neutral oil to keep it runny enough for easy dipping. It’s a great way to change up the flavor profile!
Q2. Why did my chocolate set up thick and seize?
This is the number one issue everyone faces! It almost always means one of two things: either you got a drop of water in the bowl, or you overheated the chocolate in the microwave. White chocolate is super sensitive. If it seizes, try stirring in a tiny bit more oil to loosen it up, but next time, stick strictly to those short 15-second intervals.
Q3. How long do I need to refrigerate them?
It’s surprisingly quick! Once they are dipped and placed on the parchment paper, pop them straight into the fridge. Usually, 15 minutes is plenty of time for the coating to become completely firm. If your kitchen is really warm, give them 20 minutes just to be safe before you try moving them! For more baking tips, see my walnut banana muffins recipe.
Q4. Can I make these ahead of time for a party?
Yes, they are perfect for making ahead! Since they are a no-bake treat, they hold up well. I usually make them the day before and keep them tightly sealed in the fridge. Just pull them out about 10 minutes before guests arrive so the chocolate isn’t rock hard.
Quick Reference Table for White Chocolate Strawberries
Sometimes you just need the facts laid out without all my rambling stories! I put together these tables so you can quickly check your pantry or remember how long to store your beautiful white chocolate strawberries.
Here is exactly what you need to gather before you start dipping:
| Ingredient | Amount Needed | My Quick Tip |
|---|---|---|
| Fresh Strawberries | 1 pound (about 20 large) | Must be completely dry! |
| White Chocolate Chips | 8 ounces | Use good quality chips for the best melt. |
| Neutral Oil (Avocado/Canola) | 1 teaspoon | Keeps the chocolate smooth and prevents seizing. |
And here is the quick scoop on what to do once you’ve finished making your gorgeous white chocolate strawberries:
| Action | Time/Method |
|---|---|
| Setting Time (Fridge) | About 15 minutes until firm. |
| Storage Container | Airtight container with a paper towel layer. |
| Best Enjoyed By | Within 2 days for peak strawberry flavor. |

Easy 3-Ingredient White Chocolate Strawberries
- Total Time: 20 minutes
- Yield: 20 strawberries (about 5 servings)
- Diet: Vegetarian
Description
This white chocolate strawberry recipe uses fresh berries and smooth melted white chocolate for an easy no bake dessert everyone loves. These are simple, elegant, and great for beginners. Sweet creamy chocolate coats juicy strawberries for a reliable make ahead treat.
Ingredients
- 1 pound fresh strawberries (about 20 large berries)
- 8 ounces white chocolate chips
- 1 teaspoon neutral oil (such as avocado oil)
Instructions
- Line a large baking sheet with parchment paper.
- Wash strawberries and dry completely with paper towels. Moisture will cause the chocolate to seize.
- Add white chocolate chips and oil to a microwave safe bowl.
- Microwave in 15 second intervals, stirring each time, until just melted and smooth.
- Hold each strawberry by the stem and dip into the white chocolate, coating about three quarters of the berry.
- Gently shake off excess chocolate.
- Place dipped strawberries onto the prepared baking sheet.
- Refrigerate until the coating is firm, about 15 minutes.
- Serve chilled or at cool room temperature.
Notes
- Dry the strawberries completely; water causes melted chocolate to seize.
- Use a neutral oil to help the chocolate melt smoothly.
- Refrigerate until the chocolate coating is set.
- Prep Time: 15 minutes
- Cook Time: 5 minutes
- Category: Dessert
- Method: No Bake
- Cuisine: American