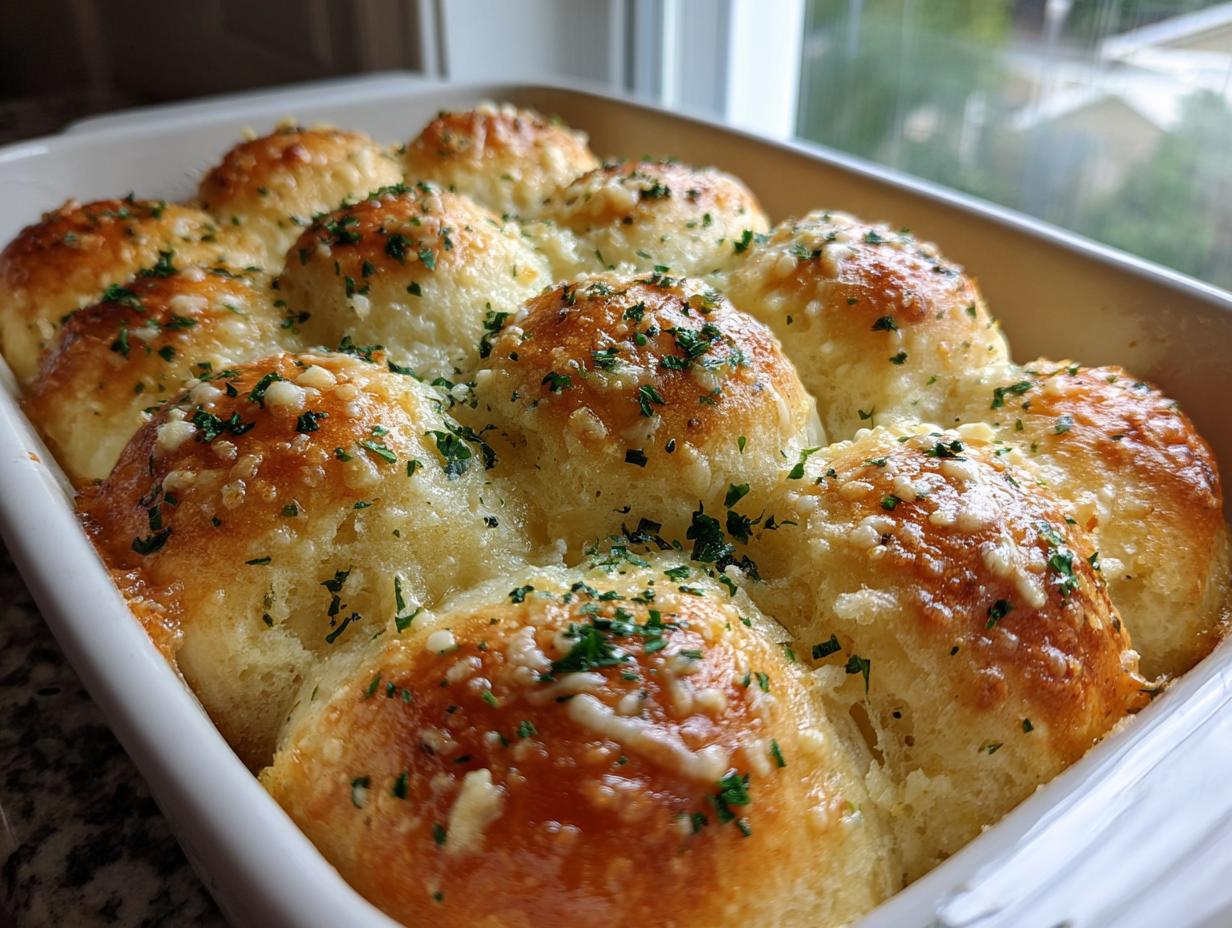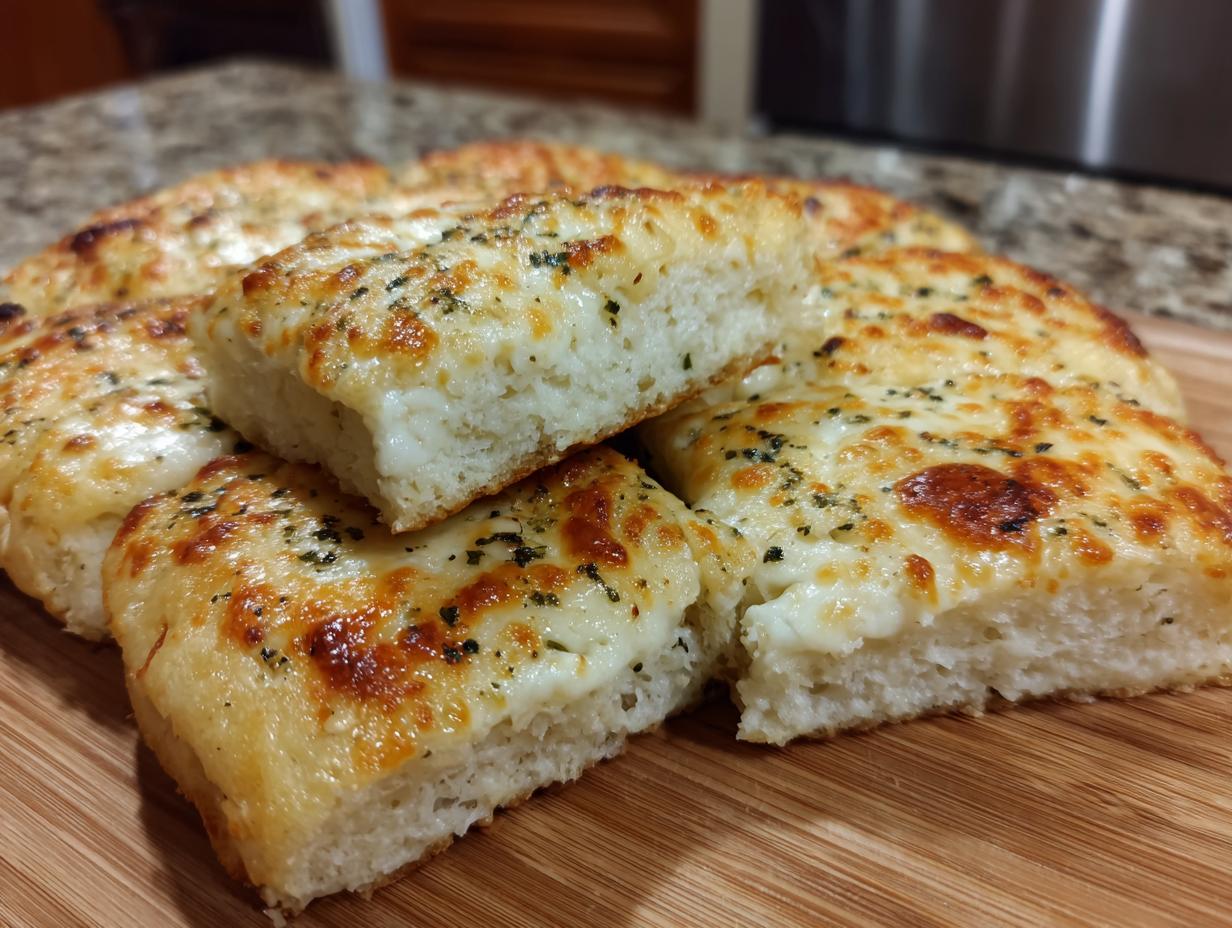
Oh my goodness, you are going to absolutely *live* for this recipe. Forget those hard, dry, flavorless breadsticks you sometimes get; we’re making the most ridiculously soft, buttery, cheese-loaded Comfort Cheesy Bread Squares ever! Seriously, these things are my go-to when I need a win in the kitchen fast.

The beauty of this recipe is that it requires almost zero effort. We’re talking mix-and-bake, folks. I’m committed to keeping my blog full of reliable recipes that actually work the first time, and these cheesy bread squares are the definition of dependable comfort food. They come together faster than you can decide what movie to watch tonight, and the smell when they come out of the oven? Unbeatable.
Trust me, you need these in your rotation. They are perfect for dipping, snacking, or just eating straight over the sink when no one is looking. Let’s get baking!
Why You Will Love These Comfort Cheesy Bread Squares
There is something magical about warm bread oozing with melted cheese, right? That’s exactly what you get here, but without any complicated kneading or waiting for yeast to rise. My goal was to create the ultimate simple side dish, and these Comfort Cheesy Bread Squares deliver every single time. They are the unsung hero of weeknight dinners!
- They are unbelievably quick—prep takes less than twenty minutes!
- The texture is pure heaven: soft interior with that perfect golden, buttery crust.
- Kids adore them, making them instant family favorites for any meal.
Quick Preparation and Simple Steps
You really don’t need to be a seasoned baker to nail this recipe. Seriously, if you can stir things in a bowl, you can make these. We skip the yeast entirely, using baking powder instead, which cuts down on about an hour of waiting time right there. You just whisk the dry stuff, dump in the wet stuff, fold in the cheese, and it’s ready for the oven.
It’s so straightforward that I usually whip up a batch when I realize we’re out of bread for dinner five minutes before everyone sits down. That’s the kind of reliability you can count on! If you want more quick dinner ideas, check out my Cheesesteak Tortellini Recipe.
Assembling Your Comfort Cheesy Bread Squares Ingredients
Okay, now for the fun part: gathering the supplies! The best part about making these Comfort Cheesy Bread Squares is that you probably have most of this stuff in your pantry right now. We are keeping things simple here—no obscure flours or specialty cheeses needed. I always recommend using decent quality mozzarella and cheddar because cheese is the star, after all!
When you lay everything out, it really helps to measure everything first—what we call mise en place! It makes the mixing process fly by. Once you see all these simple items together, you’ll realize how quickly these cheesy bread squares come together. Here is exactly what you need for a perfect 9-square batch.
Now, let’s look at the exact amounts. Pay close attention to the notes in parentheses; those little details make all the difference!
Essential Components for Perfect Comfort Cheesy Bread Squares
We need a solid base for these Comfort Cheesy Bread Squares, and that starts with the dry ingredients. The combination of baking powder and sugar gives us that slight lift and subtle sweetness that balances the savory cheese perfectly. Don’t skip the salt; it wakes up the flavor! If you are looking for other savory baked goods, try my recipe for Jalapeño Cheddar Cornbread Recipe.
For the cheese, I use a blend because it gives the best melt and flavor profile. Mozzarella gives the stretch, and cheddar gives that deep, comforting flavor. Here is the official list:
- All-purpose flour (3 cups)
- Baking powder (1 tablespoon)
- Salt (1 teaspoon)
- Sugar (1 tablespoon)
- Plain whole milk (1 and one quarter cups)
- Olive oil (1 third cup)
- Shredded mozzarella cheese (1 cup)
- Shredded mild cheddar cheese (1 cup)
- Melted butter (2 tablespoons)
Step-by-Step Instructions for Oven Baked Cheesy Bread Squares
Alright, let’s turn those ingredients into the best Comfort Cheesy Bread Squares you’ve ever had. This process is so satisfying because you see the transformation happen right in your mixing bowl. Remember, we aren’t kneading here, so don’t overwork the dough once the liquids go in—we want soft, not tough!
First things first: get that oven going. You need it hot and ready to receive our cheesy creation, so preheat it to 375°F. While it’s warming up, take your 9 by 9 inch baking pan and give it a good grease. I usually use a little cooking spray or rub some oil around the sides and bottom. This step is non-negotiable if you want clean squares! You can find more tips on baking reliability on my Medium page.
Preparing the Dough Base
Grab your biggest bowl—you’ll need space for stirring! We start by whisking together all the dry goods: the flour, the baking powder, the salt, and that tablespoon of sugar. Whisk them well until everything looks uniform. This makes sure the leavening agent is evenly distributed, which means no sad, flat spots!
Next, pour in the wet ingredients: the milk and the olive oil. Now, mix it! Use a wooden spoon or a sturdy spatula. Mix just until everything comes together into a soft, slightly sticky dough. Stop mixing the second you don’t see any dry streaks of flour left. If you keep going, you’ll develop the gluten too much, and we are aiming for tender, not chewy!
Incorporating Cheese and Pan Preparation
This is where the magic really happens. Take your measured mozzarella and cheddar. Gently fold them right into that soft dough. You want the cheese evenly distributed throughout, but again, be gentle! We don’t want to deflate all the air we just mixed in. It should look like a slightly lumpy, cheesy batter.
Scoop that whole mixture right into your prepared pan. Use your spatula or lightly floured hands to press it out evenly to the edges. It should spread quite easily. Make sure you get it flat so everything bakes evenly. Once it’s settled nicely in the pan, grab your two tablespoons of melted butter and brush it lightly but completely over the top surface. This is what gives us that incredible golden crust on our Comfort Cheesy Bread Squares.
Baking and Resting Time
Into the 375°F oven it goes! Bake this beautiful thing for about 30 to 35 minutes. You’ll know it’s done when the top is gorgeously golden brown and it looks cooked all the way through the center. If you gently tap the top, it should sound slightly hollow.
Now, this next part is the hardest, but you absolutely must do it: let it rest! Pull the pan out and let those cheesy bread squares cool on a wire rack for a full 10 minutes. If you cut them immediately, the cheese will ooze out everywhere and the structure will collapse. Ten minutes allows the interior to set up perfectly. After that mandatory rest, slice it into 9 squares and dig in while it’s still warm!
Tips for Achieving Expert Level Comfort Cheesy Bread Squares
These Comfort Cheesy Bread Squares are already super simple, but if you want to take them from great to legendary, I have a few little secrets I use. The biggest challenge with cheesy bread is usually getting that perfect melt without the bread drying out underneath. It’s all about timing and temperature control!
For the absolute best golden top, make sure that melted butter layer is even before it goes into the oven. That fat crisps up beautifully. Also, don’t overbake! Since these are thick squares, start checking them right at the 30-minute mark. If the edges look done but the center is still a little soft, that’s perfect—it will finish setting during that crucial resting period.
Ingredient Notes and Simple Substitutions
If you are out of mozzarella, you can certainly use another good melting cheese, like Monterey Jack, but try not to use only sharp cheeses, because they can sometimes get a little oily when baked this way. A mix is always best for these Comfort Cheesy Bread Squares. For more savory side dish ideas, check out my Oven Roasted Potatoes.
For the flour, I’ve never tried swapping it out for things like whole wheat, but I imagine you could substitute about half a cup of the all-purpose flour with white whole wheat flour if you wanted a slightly heartier texture. Just remember that non-white flours tend to absorb more liquid, so your dough might feel a bit stiffer. If it feels too stiff, just add a quick splash more milk until it returns to that soft, scoopable consistency we love.
Serving Suggestions for Your Cheesy Bread Squares
So, you’ve pulled the perfect golden squares out of the oven, and they smell incredible! Now, what goes best with these amazing Comfort Cheesy Bread Squares? Honestly, they are delicious all by themselves, but they shine brightest when paired with something saucy or fresh. They are the perfect companion for soaking up flavor! If you need a great dipping sauce, try my Whipped Ricotta Hot Honey Dip.
My absolute favorite way to serve them is alongside a big bowl of hearty tomato soup—you know, for dipping! They are also fantastic served next to a light, crisp salad tossed with a sharp vinaigrette. That contrast between the rich, savory bread and the bright salad dressing is just divine. They also make a fantastic appetizer for game day alongside some marinara sauce for dipping. Honestly, any time you need a comforting carb side, these cheesy bread squares are the answer!
Storing and Reheating Your Leftover Comfort Cheesy Bread Squares
Even though these Comfort Cheesy Bread Squares rarely last long enough to need storing, life happens! If you do manage to have leftovers, you want to keep them tasting as fresh as possible. Airtight containers are your best friend here. Don’t just toss them in a plastic bag; they’ll dry out fast. Stored properly at room temperature, they are still perfectly good for about two days. After that, the fridge is the way to go, but be warned, refrigeration can sometimes make bread a little firm.
The key is reheating them correctly to bring back that soft, gooey texture. Microwaving works in a pinch, but it can make them tough quickly. I much prefer using the oven or an air fryer! Here’s the simple breakdown for bringing these cheesy bread squares back to life!

| Method | Time/Temp | Result |
|---|---|---|
| Oven Reheat | 350°F for 5-7 minutes | Soft interior, slightly crispy top |
| Air Fryer | 325°F for 3 minutes | Quickest way to refresh the crust |
| Storage Limit | 2 days at room temp, 4 days refrigerated | Best eaten fresh, naturally! |
Frequently Asked Questions About Comfort Cheesy Bread Squares
I get so many messages asking about tweaks or troubleshooting for these Comfort Cheesy Bread Squares, and I love hearing how everyone is making them! Here are a few of the most common things folks ask me about:
Q1. My bread squares came out a little tough, not soft like yours looked. What went wrong?
That usually means you mixed the dough too long after adding the milk and oil! Remember, we are using baking powder, not yeast, so we don’t need to develop gluten. As soon as the dry ingredients disappear, stop stirring. Overmixing is the number one killer of soft, tender bread, even in quick recipes like these cheesy bread squares.
Q2. Can I use different cheeses in my Comfort Cheesy Bread Squares?
You absolutely can! While I love the mozzarella and cheddar combo for the stretch and flavor, feel free to swap in some Colby Jack or even a little smoked Gouda if you want an extra kick. Just try to keep the total amount of cheese around two cups, and make sure whatever you use shreds well. Hard cheeses like Parmesan don’t melt quite the same way here.
Q3. How long do these stay fresh? I want to make them ahead of time.
For the very best texture, they are heavenly straight from the oven after that 10-minute cool-down. If you must make them ahead, they are still great the next day if stored airtight. If you are planning more than 24 hours out, the fridge is safer, but you’ll definitely want to reheat them using the oven method I described earlier to bring back that wonderful soft texture.
Q4. Is it okay if I skip brushing the top with melted butter?
You could, but honestly, I wouldn’t recommend it! That final brush of butter is what gives the top of your Comfort Cheesy Bread Squares that beautiful golden-brown color and slightly crisp edge that contrasts so nicely with the soft interior. It’s worth the extra 30 seconds of brushing! Follow us on Facebook for daily recipe updates.
Share Your Experience Making Cheesy Bread Squares
I truly hope these cheesy bread squares bring a little warmth to your table! Once you try these simple Comfort Cheesy Bread Squares, I’d love to know what you thought. Did they disappear instantly? Did you try a different cheese blend? Don’t forget to pin this recipe on Pinterest!
Head down to the comments below and tell me how they turned out! A rating helps other folks know just how reliable this recipe is!
Print
9 Amazing Comfort Cheesy Bread Squares
- Total Time: 50 minutes
- Yield: 9 squares
- Diet: Vegetarian
Description
Soft, buttery, and cheese-loaded cheesy bread squares baked in the oven. This recipe is easy and perfect for cozy meals.
Ingredients
- 3 cups all-purpose flour
- 1 tablespoon baking powder
- 1 teaspoon salt
- 1 tablespoon sugar
- 1 and one quarter cups plain whole milk
- 1 third cup olive oil
- 1 cup shredded mozzarella cheese
- 1 cup shredded mild cheddar cheese
- 2 tablespoons melted butter
Instructions
- Heat the oven to 375°F and grease a 9 by 9 inch baking pan.
- Whisk the flour, baking powder, salt, and sugar in a large bowl.
- Add the milk and olive oil and mix until a soft dough forms.
- Fold in the mozzarella and cheddar until evenly combined.
- Transfer the dough to the prepared pan and spread evenly.
- Brush the top with melted butter.
- Bake for 30 to 35 minutes until golden and cooked through.
- Cool for 10 minutes before slicing into squares.
Notes
- These bread squares are great for snacks or side dishes.
- Serve warm for the best cheesy texture.
- Prep Time: 15 minutes
- Cook Time: 35 minutes
- Category: Bread
- Method: Oven Baked
- Cuisine: American