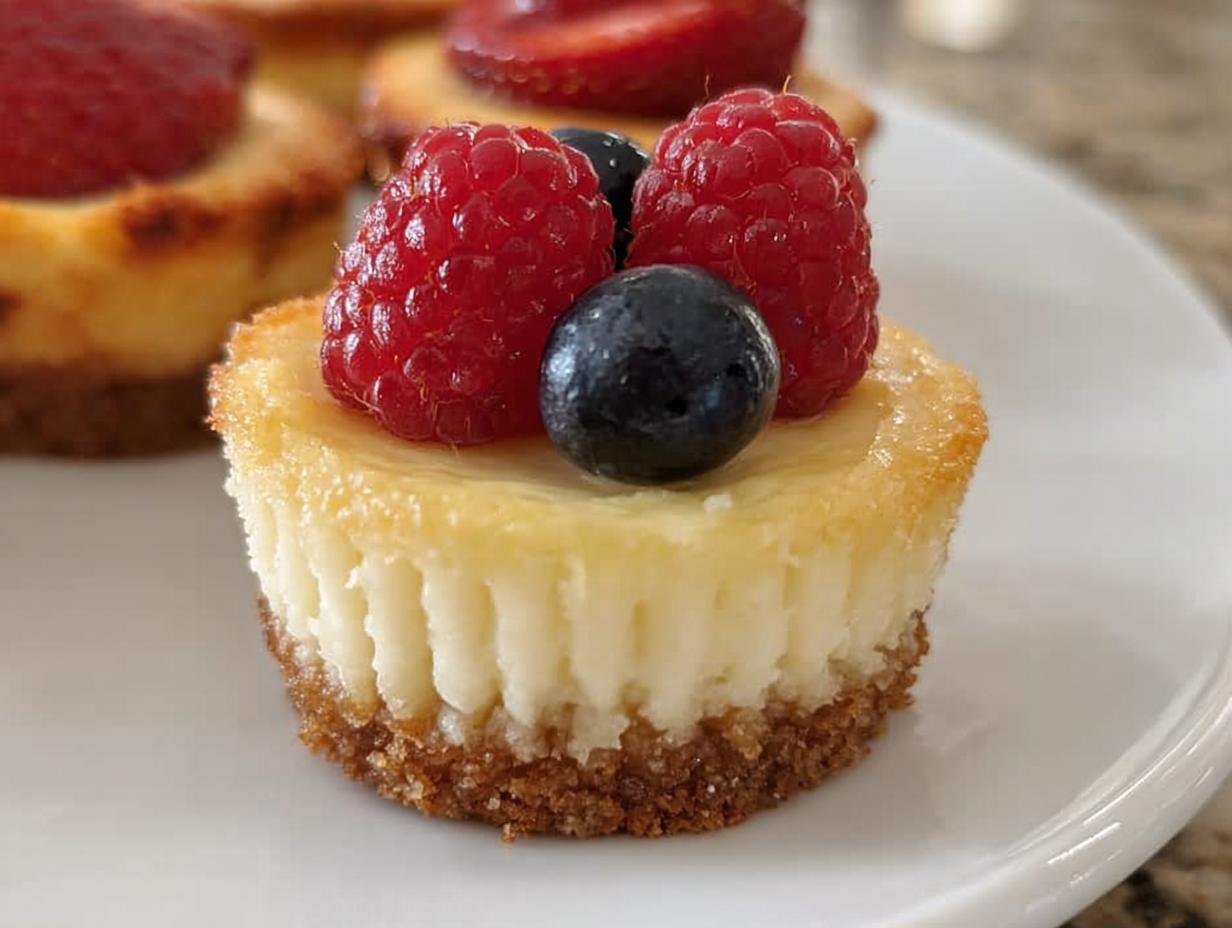
Honestly, when I first saw pictures of those gorgeous, perfectly piped **mini lemon tarts**, I thought, “Nope. Too fancy. Too much work.” I’m a home cook, not a pastry chef! But trust me when I say these bite-sized beauties are the secret weapon every hostess needs for spring gatherings or Easter brunch. They look like they took days, but sticking to these steps proves that even a beginner can master the buttery shell, the silky curd, and that amazing lilac meringue. This recipe is my go-to for showing off a little bit without losing my mind in the kitchen. It’s proof that baking advice you can trust—the kind that actually works—makes all the difference!
Why You Will Love These Mini Lemon Tarts
I’m telling you, these little guys are total showstoppers, but they sneakily come together faster than you think. They hit that perfect trifecta: easy to manage, stunning to look at, and that flavor combination? Absolute perfection. You get the bright, tart lemon balanced by the sweet, fluffy meringue.
Quick Assembly for Your Mini Lemon Tarts
- The crust comes together in minutes; you just need to cut in cold butter.
- The curd cooks quickly on the stovetop, no bain-marie needed.
- Baking time is short since they are only mini tarts!
Bite-Sized Elegance
- They are perfectly portioned—no messy slicing required at the party.
- That lilac meringue topping makes them look like something from a fancy bakery window.
- They are ideal for setting out on a platter because they handle well.

Gather Your Ingredients for Mini Lemon Tarts
Okay, listen up. Since these **mini lemon tarts** are so small, the quality of what you put in really shows. We aren’t hiding anything here, so make sure your butter is real butter and your lemons are actually fresh—none of that bottled stuff, please! If you use good ingredients for the crust, the curd, and the topping, you won’t have to worry about troubleshooting later. It’s all about setting yourself up for success right from the start.
Essential Components for Your Mini Lemon Tarts
We are splitting our shopping list into three main jobs: building the sturdy base, making that sunshine-yellow filling, and whipping up the cloud-like topping. I always lay my ingredients out like this so I can see exactly what needs to be done for each stage.
Crust Ingredients Clarity
The secret to a tender, flaky tart shell is keeping things icy cold. You absolutely must use cold, cubed unsalted butter, and only add that tablespoon of water if the dough really refuses to come together. If your kitchen is warm, pop the flour and butter mix back in the fridge for five minutes before adding the yolk!
| Component | Ingredient Focus | Preparation Note |
|---|---|---|
| Crust | Flour, Powdered Sugar, Cold Butter | Butter must be cubed and icy cold. |
| Curd | Fresh Lemon Juice, Eggs, Butter | Use only freshly squeezed lemon juice for that bright flavor. |
| Meringue | Egg Whites, Granulated Sugar | Egg whites must be at room temperature for best volume. |
Silky Lemon Curd Requirements
This is where that bright, zesty flavor comes from. You need half a cup of lemon juice—and I mean fresh! Zest is crucial here too, so don’t skip it. It adds depth that the juice alone can’t give you. Remember, if you’re worried about texture later, you can always strain this mixture before you cool it down. That’s my little cheat sheet!
Lilac Meringue Essentials
For the meringue, we need three large egg whites, and they have to be totally free of any yolk or grease, or they won’t whip up right. The lilac food coloring is totally optional—if you want a classic white topping, just skip it! But honestly, a tiny drop of purple makes these tarts look so springy and fun.
Preparing the Buttery Tart Shells
This is where we build the foundation for our **mini lemon tarts**, and it’s easier than making a full pie crust, I promise! We’re aiming for that perfect, crumbly texture that bakes up beautifully crisp. The key here is speed and coldness. You don’t want to overwork this dough at all, or you’ll end up with tough little cups instead of flaky ones. We want that buttery snap when you bite into it!
Mixing and Chilling the Mini Lemon Tarts Dough
First, whisk your dry stuff together—flour, powdered sugar, and salt. Then comes the butter, which needs to be cubed and cold. Use a pastry blender or your fingertips to cut that butter into the flour until it looks like coarse sand or tiny peas. Seriously, stop mixing when you see that texture. If the dough is too dry to pinch together after adding the yolk, add just a tiny splash of cold water—one teaspoon at a time. Don’t mix it smooth! Shape it into a flat disc, wrap it tight, and get it into the fridge for at least 30 minutes. That chill time is non-negotiable; it lets the gluten relax and keeps the butter cold for flakiness.
Baking the Tart Shells Until Golden
Once chilled, roll out your dough and gently press it into your mini tart pans. Make sure you push it right up the sides without stretching it. Then, here’s a step I never skip: prick the bottom of every single shell with a fork. This lets the steam escape so they don’t puff up into little domes! Preheat your oven to 350°F. They only need about 15 to 18 minutes to bake until they are just turning a lovely golden color around the edges. Let them cool completely in their pans before you even think about trying to take them out.
Mastering the Silky Lemon Curd for Your Mini Lemon Tarts
If you want that sunshine-yellow filling to look professional, you have to treat the curd with respect. This is where most people panic, thinking they’re going to end up with lemon scrambled eggs, but honestly, it’s just about paying attention for about seven minutes. We need a mixture that’s thick enough to hold its shape when piped but smooth enough to melt in your mouth. Don’t walk away from the stove when you’re making this part!
Cooking the Lemon Curd to Perfection
In a saucepan, whisk together your lemon juice, sugar, eggs, zest, and vanilla. Put this mixture over medium heat—not high, please! High heat is the enemy of smooth curd. You need to stir constantly, using a whisk to make sure nothing sticks to the bottom and scorches. I usually keep my whisk moving in little figure eights across the bottom of the pan. After about six to eight minutes, you’ll notice it coating the back of a spoon nicely. When you run your finger across the spoon, the line should stay clear. That’s when you pull it immediately off the heat. If you’re worried about the zest bits making it look chunky, this is your moment: pour the hot mixture through a fine-mesh sieve right into a clean bowl!
Finishing Touches for Smooth Mini Lemon Tarts Curd
Once the curd is off the heat and strained (if you decided to strain it), we need to add that final bit of richness. Whisk in the three tablespoons of cold, cubed butter, one piece at a time. Whisk until each piece is completely melted and incorporated before adding the next one. This makes the curd glossy and incredibly smooth. Let this cool down slightly before you start filling your shells. If it’s piping hot, it might melt the buttery crusts you worked so hard on!
Piping the Lilac Meringue Topping
This meringue is the grand finale, and it’s so much easier than people think, provided you follow one simple rule: your bowl and whisk attachments must be sparkling clean and completely grease-free. If there’s even a tiny bit of oil or egg yolk residue, those egg whites will just turn into sad, watery foam instead of the stiff, glorious peaks we need for these **mini lemon tarts**.
Whipping Egg Whites for Your Mini Lemon Tarts
Start whipping your three room-temperature egg whites on medium speed until they get nice and foamy—you should see lots of bubbles forming. Now, slowly, I mean slowly, start sprinkling in that half-cup of granulated sugar. Don’t dump it all in at once, or you’ll deflate all the air you just worked so hard to build! Keep increasing the speed until you reach stiff peaks. When you lift the whisk, the peak should stand straight up without drooping. If you’re adding that optional lilac coloring, fold in just a few drops right at the very end until you get a pretty, subtle tint. Don’t overmix at this stage!
Toasting the Meringue Beautifully
Once the meringue is piped onto your cooled, filled tarts, you need to kiss it with heat! My favorite way, honestly, is using a kitchen torch. It gives you total control, and you can get those beautiful toasted tips quickly without heating up the whole kitchen. Keep the flame moving constantly about three inches away from the meringue. If you don’t have a torch, you can carefully put the tarts under a broiler, but watch them like a hawk! They can go from perfectly toasted to burnt charcoal in about ten seconds flat because the meringue is so delicate.

Final Assembly and Presentation of Mini Lemon Tarts
We are in the home stretch now! The key to making sure these **mini lemon tarts** hold up their structure is patience during assembly. You can’t rush the cooling process, or you’ll end up with soggy bottoms, and nobody wants that. Once everything is cool, it’s time to make them look picture-perfect for your guests to admire.
Cooling and Filling Sequence
Before you even think about touching the lemon curd, those baked tart shells absolutely must be completely cooled—room temperature is best. If they are even slightly warm, the cold curd will start to sweat, and the crust will soften fast. Once the shells are cool, gently spoon or pipe the cooled curd into each shell, filling them almost to the top. Then, you can pipe on that gorgeous lilac meringue. The meringue should be toasted right before you plan to serve them, or at least within an hour or two, as it holds its shape best when fresh.
Storing Your Beautiful Mini Lemon Tarts
These tarts are best eaten the day they are assembled because of that delicate meringue topping. If you have leftovers, you can store them, but you need to separate the components if you want them to last more than a few hours. The shells can be stored airtight, and the curd is fine on its own, but once they are filled and topped, they don’t love sitting around.
| Component | Storage Method | Notes |
|---|---|---|
| Unfilled Shells | Airtight Container, Room Temp | Lasts up to 3 days. |
| Filled & Topped Tarts | Refrigerated | Best eaten within 12 hours due to meringue moisture. |
Frequently Asked Questions About Mini Lemon Tarts
I always get the same questions when people try this recipe for the first time, especially about making them ahead of a big party. Don’t worry, these little guys are pretty forgiving once you know the tricks!
Can I Make the Crust Ahead of Time?
Yes, absolutely! This is one of the best ways to make your life easier when planning a dessert spread. Once you bake and cool the tart shells, keep them in a single layer in an airtight container at room temperature. I wouldn’t keep them longer than three days, just to be safe, but they stay beautifully crisp. Just don’t fill them until the day you plan to serve them, or they will get soggy bottoms!
How Do I Prevent My Curd From Being Too Sour?
That beautiful tartness is what makes them irresistible, but if you’re worried about it being too sharp for sensitive palates, you have two options. First, make sure you are using the full amount of sugar called for; it balances the acidity perfectly. Second, when you whisk in that final bit of butter off the heat, it adds a richness that softens the edge of the lemon flavor. Also, don’t forget that vanilla extract—it rounds out the harshness beautifully. If you still find it too tart after tasting, you can always mix a tiny bit more powdered sugar into the leftover curd!
Estimated Nutritional Snapshot
I always tell people not to obsess too much over the numbers when a dessert is this good, but I know some of you like to keep track! Since we are using real butter and a good amount of sugar to get that perfect texture and flavor in these **mini lemon tarts**, they aren’t exactly diet food. But hey, they are mini, so you can stick to just one, right?
Please remember that these figures are just estimates based on the ingredients listed. If you use a different brand of butter or substitute any sugar, these numbers will shift a little bit. I just run the main ingredients through a simple online calculator to get a rough idea before I serve them.
| Nutrient | Approximate Value (Per Tart) |
|---|---|
| Calories | 180 |
| Fat | 9g |
| Carbohydrates | 25g |
| Protein | 2g |