When I first started trying to eat healthier, everything felt so complicated. All those recipes needed baking, special flours, or weird ingredients that took up half my pantry. I needed something fast, something that tasted like a real treat but didn’t require me to turn on the oven. That’s how these brownie protein bites were born! Seriously, this recipe is my go-to when I need a chocolate fix in five minutes flat.
I remember making the first batch right before a big trip. I mixed it up while waiting for my coffee to brew, rolled them, and stuck them in the fridge. I was shocked how much they tasted like actual brownie batter—rich, fudgy, and deeply chocolatey. They’re so simple, you really can’t mess them up. If you’re new to protein snacks or just hate cleaning up sticky pans, this is your new best friend.

Why This Brownie Protein Bites Recipe Works for Everyone
This recipe is designed for the kitchen-shy, the busy parent, or anyone who has ever burned toast. There is zero baking involved, which instantly removes about 80% of potential kitchen disasters! Because we aren’t baking, the texture is naturally fudgy and dense—exactly what you want in a brownie.
I’ve tested this recipe on friends who claim they can’t cook, and they nailed it every time. The ingredients blend together easily, and you don’t need any fancy equipment, just a sturdy bowl and a spoon. It’s foolproof, which means you get that satisfying, high-protein snack without any stress or waiting around.
Essential Ingredients for Perfect Brownie Protein Bites
People often ask me if they can swap things out in this recipe, and while you *can* experiment later, for your very first batch of brownie protein bites, stick exactly to the list. This recipe relies on a specific balance of dry and sticky ingredients to get that perfect, rollable dough consistency without needing heat.
The almond flour is crucial—it gives the bites structure without adding gluten, keeping them dense and crumbly like a real brownie. And please, use good quality chocolate protein powder; the flavor really shines through here since we aren’t masking it with baking!
The combination of almond butter and honey is our wet binder team. They work together to hold everything together beautifully. Trust me, getting these measurements right the first time is why you end up with perfectly shaped bites instead of a sticky mess.
Ingredient Clarity and Measurement Guidance
Because this is a no-bake recipe, measuring accurately is more important than usual. We aren’t relying on oven science to fix sloppy measurements!
- For the protein powder and cocoa powder, use the standard scoop that came with your powder container, or level off a standard measuring cup with a knife. Don’t pack it down!
- When measuring the almond butter and honey, use the liquid measuring cups or spoons. If you scoop the almond butter, wipe the excess off the outside of the spoon so you aren’t accidentally adding too much fat.
- Water needs to be added slowly. It’s always easier to add a tiny bit more liquid than take it away, so measure exactly two tablespoons to start.
- Since we are using mini chocolate chips, they coat the outside nicely. If you only have regular-sized chips, just chop them roughly before you roll the bites in them.
Equipment Needed for the No-Bake Process
You won’t need to dust off your stand mixer for this one, thank goodness! The beauty of these quick snacks is how little equipment they demand. All you really need is one medium-sized mixing bowl—nothing fancy, just something sturdy enough for you to really stir the thick dough.
Grab a simple silicone spatula or a strong wooden spoon. Trying to mix this thick mixture with a flimsy whisk is a recipe for frustration! Finally, you’ll want a plate ready to hold your mini chocolate chips for rolling, and a baking sheet lined with parchment paper. That’s it—ten minutes total, minimal cleanup!
Step-by-Step Instructions for Brownie Protein Bites
Alright, let’s get mixing! This is where the magic happens, and honestly, it’s the most fun part because you get to see the dough come together right before your eyes. Remember, we are aiming for a thick, fudgy texture, so pay attention to how the mixture behaves as you stir.
Mixing the Dough Base
First things first, get all your dry ingredients—the almond flour, the protein powder, and the cocoa powder—into that sturdy bowl. Give them a quick whisk together just to make sure there are no sneaky lumps of protein powder hiding anywhere. Then, add your wet binders: the almond butter, the honey, and the two tablespoons of water.
Now, grab that spatula and start stirring! It will feel stiff at first, almost like you’re kneading bread dough. Keep working it until everything is incorporated and you have a uniform, thick ball of dough. If, after a minute or two of serious stirring, you notice the edges of the bowl are still really dry and powdery, add just one teaspoon of water at a time until it all comes together. Be patient here; too much water turns this into goo!
Rolling and Coating the Bites
Once you have your perfect, firm dough, it’s time to shape these little guys. I like to use a small cookie scoop or just a regular teaspoon to portion out the dough. You want to roll each piece quickly between your palms until you get a nice, neat 1-inch ball. Don’t overwork them, or they might get too warm and sticky.
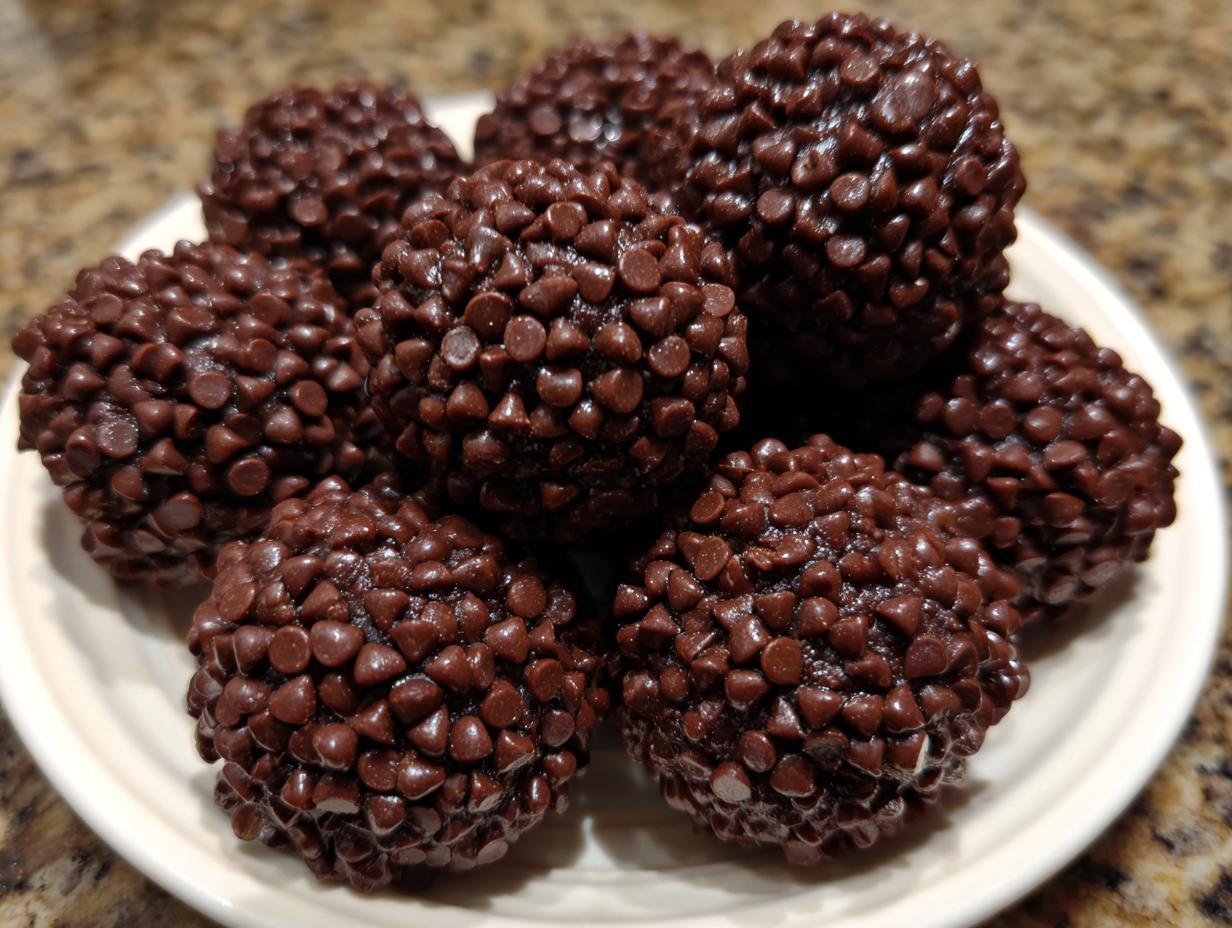
While you’re rolling, have your plate ready with those mini dark chocolate chips spread out evenly. Take each little ball and gently roll it around in the chips until it’s completely coated. This coating is what gives you that extra satisfying crunch and chocolate hit when you bite in. Place the coated bites onto your parchment-lined tray. The final, most important step before eating? They need a good chill! Stick that tray in the fridge for at least 15 minutes so they firm up properly.

Tips for Success with Your Brownie Protein Bites
Even though these brownie protein bites are no-bake, you can still run into a couple of small hitches, usually related to the dough consistency. If your dough turns out too crumbly, don’t panic! This usually happens if your protein powder is particularly dry. Just mix in another half-teaspoon of water or almond butter—slowly!—until it holds its shape when squeezed.
On the flip side, if your dough is too sticky to roll, you need a little more dry structure. Add about one teaspoon of extra almond flour or a tiny bit more protein powder. Mix that in well before deciding you need more liquid.
My biggest pro tip for that authentic brownie texture is chilling time. Don’t rush the 15 minutes in the fridge! That chilling period is what sets the almond butter and honey, firming up the bites so they aren’t mushy. They taste infinitely better once they’ve had a chance to really settle and solidify.
Common Questions About Your High Protein Snack
I get so many questions about these little gems! Since they are so simple, people often wonder about tweaking them, especially when dealing with allergies or pantry limitations. I’ve gathered the most frequent things folks ask about when making their brownie protein bites.
How Long Do These Brownie Protein Bites Last?
This is the best part about making a batch: they last forever! Since they are no-bake and refrigerated, they stay fresh for up to 10 days stored in an airtight container in the fridge. If you are meal prepping for the month, you can absolutely freeze them! They freeze beautifully for up to three months. Just pull out a few when you need a quick snack!
Can I Substitute the Almond Butter?
Yes, you certainly can, but you need to keep the consistency similar. If you can’t use almond butter, peanut butter works perfectly and tastes great with the chocolate. If you need a nut-free option, sunflower seed butter is a fantastic substitute that gives you a very similar texture and binding power. Just ensure whatever butter you use is well-stirred before measuring it out!
Storing and Keeping Your Brownie Protein Bites Fresh
One of the major benefits of these brownie protein bites is how wonderfully they store. Since they are no-bake, you don’t have to worry about them hardening up like baked cookies. They just need a cool, airtight place to hang out. I always make a double batch just so I have them ready for the week! If you want to see more of my quick snack ideas, check out my snack recipes.
You need to keep them chilled if you want them to maintain that perfect, dense, fudgy texture we worked so hard for. If you leave them out on the counter for too long, they soften up quickly, which isn’t bad, but it changes the whole experience! You can also follow me on Pinterest for more inspiration.
Here’s my quick guide on where to keep them depending on when you plan to eat them:
| Storage Location | Maximum Time | Notes |
|---|---|---|
| Refrigerator (Airtight) | Up to 10 Days | Keeps them perfectly firm and fudgy. |
| Freezer (Airtight Bag) | Up to 3 Months | Great for long-term meal prep. |
| Countertop (Room Temp) | 1-2 Hours | Only safe for very short periods, they will soften. |
Understanding the Estimated Nutrition in Your Brownie Protein Bites
I always get asked about the nutrition facts since these are meant to be a healthy snack! Remember, since we are using different brands of protein powder and almond butter, these numbers are just an estimate, but they give you a great idea of what you’re putting into your body. It’s pretty amazing how much protein we pack into these little guys!
For just one bite, you get a solid hit of protein without a huge sugar load, which is exactly what I was aiming for when I first developed this recipe. Here is a quick look at what you can expect from one little energy ball:
| Nutrient | Estimated Value (Per Bite) |
|---|---|
| Calories | 113 |
| Protein | 4 g |
| Sugar | Approx 3g |
| Fat | 6 g |
Share Your Favorite Brownie Protein Bites Creations
I absolutely love seeing what you all make in your kitchens! Once you’ve mastered these easy brownie protein bites, I want to hear about it. Did you add shredded coconut? Maybe a sprinkle of sea salt on top? Drop a comment below and tell me how you customized your batch! You can also find updates on Facebook.
Print
Amazing 4g Protein Brownie Protein Bites Now
- Total Time: 25 minutes
- Yield: 10 bites
- Diet: Vegetarian
Description
These no-bake brownie protein bites are rich, chocolatey, and packed with protein. A healthy 5-minute snack perfect for meal prep or dessert.
Ingredients
- 1/2 cup almond flour or almond meal
- 2 scoops chocolate protein powder
- 2 tablespoons unsweetened cocoa powder
- 2 tablespoons almond butter
- 2 tablespoons honey
- 2 tablespoons water
- 1/2 cup mini dark chocolate chips
Instructions
- Combine almond flour, protein powder, cocoa powder, almond butter, honey, and water in a medium mixing bowl.
- Stir with a silicone spatula until a dough forms. Add one teaspoon of water if the mixture seems dry.
- Roll the dough into 1-inch balls.
- Spread the mini chocolate chips on a plate. Roll each ball in the chocolate chips to coat evenly.
- Place the bites on a parchment-lined tray. Chill for at least 15 minutes before serving.
- Store in an airtight container in the fridge for up to 10 days or freeze for up to 3 months.
Notes
- These are no-bake.
- The total recipe time listed here is 10 minutes, but the chilling time is an additional 15 minutes before serving.
- Store leftovers in an airtight container.
- Prep Time: 10 minutes
- Cook Time: 0 minutes
- Category: Snack
- Method: No-Bake
- Cuisine: American