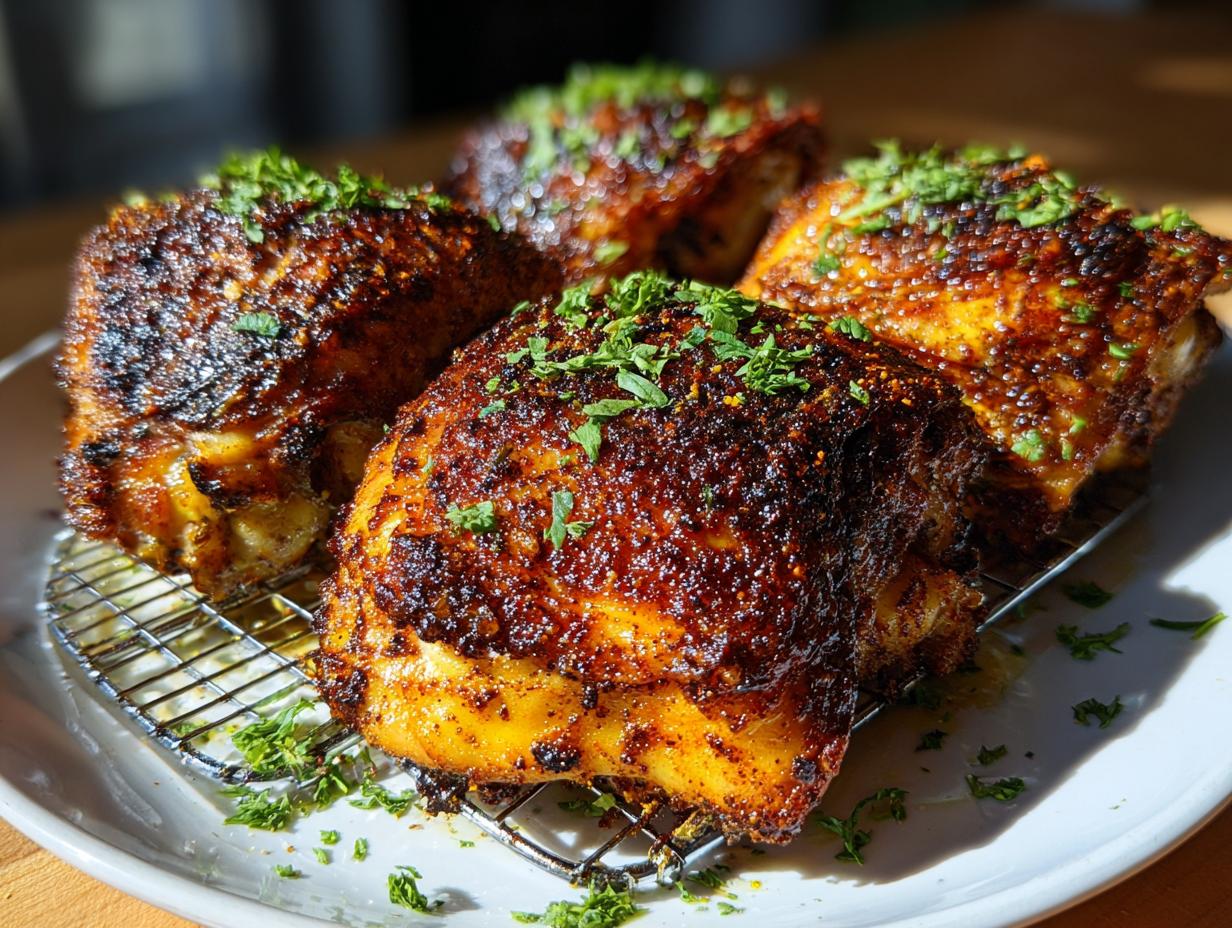
I swear, there was a time when I thought “crispy skin” and “baked chicken” were two things that just didn’t belong in the same sentence. Everything I made came out pale, rubbery, or just sad. But then I cracked the code for perfect baked chicken thighs, and honestly, it changed my weeknight dinner game forever. This recipe isn’t fancy; it’s just pure technique that delivers juicy meat and skin so crunchy you’ll hear it shatter.
This is the method I taught my roommate when he first moved out—it’s foolproof! We’re using a simple garlic and smoked paprika dry rub that pulls all that delicious flavor right into the meat while the high heat does the hard work on the skin. Trust me when I say that paying attention to the drying process is the secret sauce here. This recipe builds confidence, which is what good cooking is all about. No heading needs to be written for the introduction.
I know you’re going to love this because it proves you don’t need fancy equipment or hours of fuss to get that restaurant-quality crunch we all crave. This is real home cooking, tested and perfected right here on my own counter.

Essential Ingredients for Flavorful Baked Chicken Thighs
The magic behind these incredibly flavorful baked chicken thighs really comes down to the quality of your chicken and the simple, powerful dry rub we use. You absolutely must start with bone-in, skin-on thighs. That skin is what gets crunchy, and the bone keeps the meat moist during the high-heat bake. Don’t even think about using skinless for this recipe!
We only need a few things beyond the chicken itself: a bit of olive oil to help the spices stick, and then the spice blend we mix up in a tiny bowl. It’s all about building layers of savory flavor.
Gathering Your Dry Rub Components
This rub is the heart of the whole dish! It’s just a perfect marriage of savory and warm. You’ll need 1 teaspoon each of kosher salt, smoked paprika (the smoked kind is crucial!), garlic powder, and onion powder. Then we add 1/2 teaspoon of dried oregano and black pepper, plus just a tiny pinch—1/8 teaspoon—of cayenne pepper for a little background warmth. Mix it all up really well so every piece of chicken gets the same punch.
Equipment Needed for Success
You don’t need a ton of fancy gear here, which is why I love this recipe for busy nights. You’ll need a small bowl for mixing your spices and a rimmed baking sheet. But listen closely: the absolute most important tool is a wire rack. Seriously, if you bake these thighs directly on the pan, you will get soggy bottoms. The rack lets the air circulate underneath, which is how we get that all-over crispiness.

Step-by-Step Guide to Amazing Baked Chicken Thighs
Okay, let’s get cooking! This process is so hands-off once you get the chicken prepped, but those first few steps are where the magic happens. We’re aiming for that beautiful golden-brown crust, and that starts before the heat even comes on. Don’t try to rush this part!
Preparation: Drying and Seasoning Your Chicken
First things first: preheat that oven to 425°F. And make sure you’ve got that wire rack set inside your rimmed baking sheet—that setup is non-negotiable for crispy skin. Now, grab your chicken thighs. You need to pat them down, and I mean *really* pat them down, with paper towels. Get every drop of moisture off the skin. If the skin is wet, it steams, and we don’t want steam, we want crisp! Once they are bone dry, brush them lightly all over with your tablespoon of olive oil. This acts like glue for our spice blend. Then, sprinkle that amazing dry rub all over, making sure to press it gently into the skin so it really sticks.
The Baking Process for Crispy Baked Chicken Thighs
Once seasoned, lay your thighs skin-side up onto that rack. Make sure they aren’t touching each other—airflow is your friend here! Pop the whole sheet into that hot 425°F oven. We are baking these beauties for about 35 to 40 minutes total. You’ll start smelling that beautiful smoked paprika about halfway through, which is your cue that these baked chicken thighs are doing exactly what they should be. Don’t open the door too early; let the high heat work its wonders on that skin!
Checking Doneness and Resting
When the timer goes off, you need to check the temperature. Stick your meat thermometer into the thickest part of the thigh, making sure you aren’t touching the bone, because the bone gets hotter than the meat. We are looking for 165°F minimum. If they look done but you’re nervous, pull them out and let them rest right there on the rack for five minutes. This resting step is vital; it lets all those hard-earned juices settle back into the meat instead of running all over your plate.
Tips for Achieving Restaurant-Quality Baked Chicken Thighs
I’ve made this recipe so many times that I’ve learned a few little tricks that take these baked chicken thighs from “good” to “I can’t believe I made this at home.” Remember what I said about drying the skin? I mean it! If you have time, pat them dry, then let them sit uncovered on the rack in the fridge for an hour or even overnight. That dry air actually pulls moisture out of the skin, guaranteeing shatteringly crisp results.
Also, using that wire rack is non-negotiable. If you don’t have one, you can create a makeshift rack by gently folding up a piece of heavy-duty aluminum foil into a few thick ridges, but a real rack works better. Another thing I learned through trial and error: your oven temperature might lie to you! If your oven runs cool, your skin will be pale. I always check my oven’s temperature with a separate oven thermometer. If yours runs hot, you might want to drop the temp down to 400°F after the first 15 minutes to prevent the spices from scorching.
Finally, don’t crowd the pan. If the thighs are touching, they steam each other. Give them space to breathe and crisp up! Follow these steps, and you’ll have perfect, juicy, crispy baked chicken thighs every single time.
Storing and Reheating Your Leftover Baked Chicken Thighs
Even though these baked chicken thighs are so good you’ll probably want to eat them all in one sitting, they make fantastic leftovers! The biggest challenge with leftover chicken is keeping that beautiful crispy skin intact, because, let’s be honest, microwaving chicken skin is a culinary crime. We need to treat these leftovers with respect! If you want to save this recipe for later, check out our Pinterest board for more ideas.
When storing them, you want to let them cool completely first. Storing hot food traps steam, and that steam is the enemy of crispiness. We want them dry and ready for their second life!
Storage Guidelines
For refrigeration, the best way to keep your thighs is in a shallow, airtight container. If you stack them, place a piece of parchment paper between each thigh so they don’t stick together. They’ll stay perfectly good in the fridge for about three to four days. If you know you won’t eat them in time, they freeze really well too, wrapped tightly! Just make sure they’re totally cool before putting them in the fridge or freezer.
Reheating Methods
Forget the microwave entirely—it turns crispy skin into sad, rubbery leather. If you want that crunch back, you have two great options. The best way is in an air fryer set to about 375°F for about 5 to 7 minutes. That super-dry heat blasts the skin back into crispiness quickly. If you don’t have an air fryer, use a standard oven. Lay the thighs directly on a clean wire rack set over a baking sheet and heat at 350°F for about 10 minutes. It heats them through gently while letting the skin crisp up again!
Frequently Asked Questions About Baked Chicken Thighs
I get so many questions about this recipe, especially since everyone is trying to figure out how to get that skin perfect! Here are the things I hear most often when people are making their first batch of baked chicken thighs. For more cooking tips, follow us on Medium.
Q1. I really want crispy skin. Can I skip the olive oil and just rub the spices on?
Oh, please don’t skip the oil! The oil is essential; it helps the spices stick, but more importantly, it helps conduct the heat evenly across the skin so it browns instead of just drying out. Without it, your spices might burn before the skin gets crisp.
Q2. Can I use boneless, skinless chicken thighs instead?
You certainly can, but you need to adjust your expectations and the method a bit. Boneless, skinless thighs cook much faster—usually only 20 to 25 minutes at 425°F. If you use them, you must reduce the baking time significantly, or you’ll end up with dry meat. Also, that incredible crispy skin you get with the bone-in kind won’t happen.
Q3. My spice rub tastes too salty. Can I adjust the seasoning for these baked chicken thighs?
Absolutely! Taste your seasoning blend before you put it on the chicken. If you are worried about sodium, swap out half of the kosher salt for plain onion powder or garlic powder. You can always add more salt later, but you can’t take it away once it’s on the meat!
Q4. What if I don’t have smoked paprika?
Smoked paprika gives that deep, BBQ-like flavor that really makes this dry rub shine. If you don’t have it, you can use sweet paprika, but I highly recommend adding just a tiny dash—like 1/4 teaspoon—of liquid smoke to the olive oil to try and mimic that smoky depth. It won’t be exactly the same, but it helps!
Serving Suggestions for Your Meal
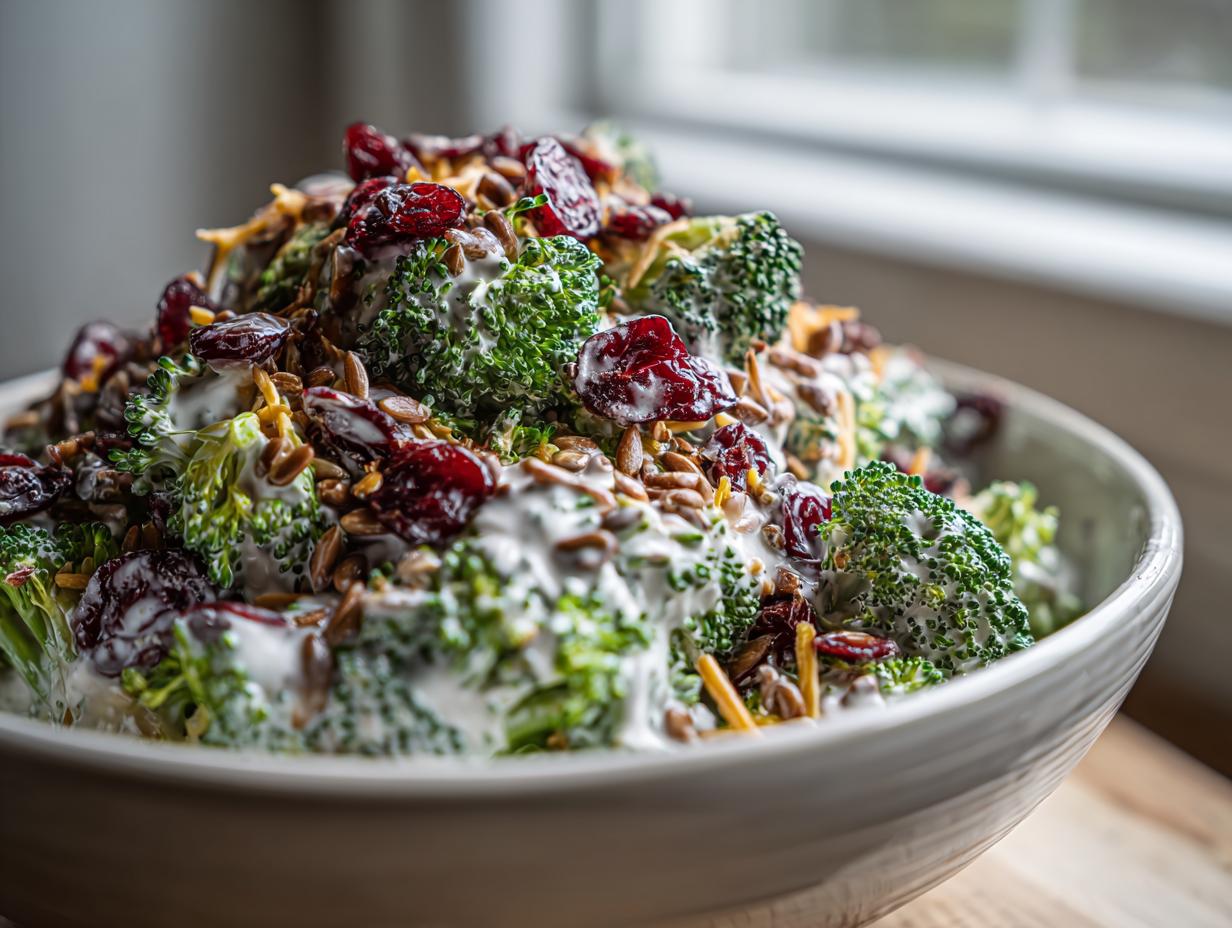
Because these garlic paprika baked chicken thighs have such a savory, robust flavor, you don’t need complicated sides. Keep it simple so the chicken remains the star of the show! I always pair them with something bright and fresh to cut through the richness of the dark meat. If you are looking for side dish inspiration, check out our roasted broccoli and carrots recipe.
My go-to combination is a big helping of creamy mashed potatoes—that gravy soaks up all the chicken drippings perfectly—and some lightly steamed green beans tossed with a squeeze of fresh lemon juice. If you want something lighter, a simple cucumber and tomato salad with a light vinaigrette works wonders. It’s a hearty, satisfying meal that comes together so easily!
Nutritional Estimates for Baked Chicken Thighs
Here are the general estimates for what you’re looking at per serving when you make these wonderful baked chicken thighs using the dry rub method. Keep in mind that bone-in cuts mean the final weight per serving can vary a little, but this gives you a great baseline for planning your meals! You can connect with us on Facebook for daily updates.
| Nutrient | Estimate Per Serving |
|---|---|
| Calories | 345 |
| Fat | 27g |
| Protein | 24g |
| Carbohydrates | 2g |

Amazing 35-Minute Baked Chicken Thighs
- Total Time: 50 minutes
- Yield: 4 servings
- Diet: Omnivore
Description
Make perfectly crispy and juicy baked chicken thighs every time with this simple garlic and smoked paprika dry rub method. This hands-off dinner is ready in under an hour.
Ingredients
- 4 bone-in, skin-on chicken thighs, approximately 6 ounces each
- 1 tablespoon olive oil
- 1 teaspoon kosher salt
- 1 teaspoon smoked paprika
- 1 teaspoon garlic powder
- 1 teaspoon onion powder
- 1/2 teaspoon dried oregano
- 1/2 teaspoon black pepper
- 1/8 teaspoon cayenne pepper
- 1 tablespoon chopped fresh parsley
Instructions
- Preheat your oven to 425°F and set a wire rack inside a large rimmed baking sheet.
- Pat the chicken thighs completely dry with paper towels to ensure the skin crisps effectively during baking.
- Combine the kosher salt, smoked paprika, garlic powder, onion powder, dried oregano, black pepper, and cayenne pepper in a small bowl.
- Rub the olive oil evenly over all sides of the chicken thighs.
- Sprinkle the spice mixture generously over the chicken, pressing it gently to adhere to the meat and skin.
- Arrange the chicken thighs skin-side up on the prepared wire rack, leaving space between each piece for airflow.
- Bake the chicken for 35 to 40 minutes until the skin is golden brown and crispy.
- Test the internal temperature at the thickest part of the thigh to ensure it reaches 165°F without touching the bone.
- Remove the chicken from the oven and let it rest on the rack for 5 minutes to lock in the juices.
- Garnish with the chopped fresh parsley just before serving.
Notes
- Use a wire rack for best crisping results.
- Patting the chicken very dry is key for crispy skin.
- Resting the chicken after baking keeps the meat juicy.
- Prep Time: 10 minutes
- Cook Time: 40 minutes
- Category: Main Dish
- Method: Baking
- Cuisine: American