If you’re like me, sometimes you need a seriously decadent, fudgy dessert right now, but you don’t have time for preheating the oven or waiting an hour for something to bake. That’s why I perfected this ultimate 4-minute protein brownie. Seriously, four minutes from craving to eating! I’ve tested a ton of microwave desserts over the years, and most of them end up rubbery or tasting like cardboard. Not this one.
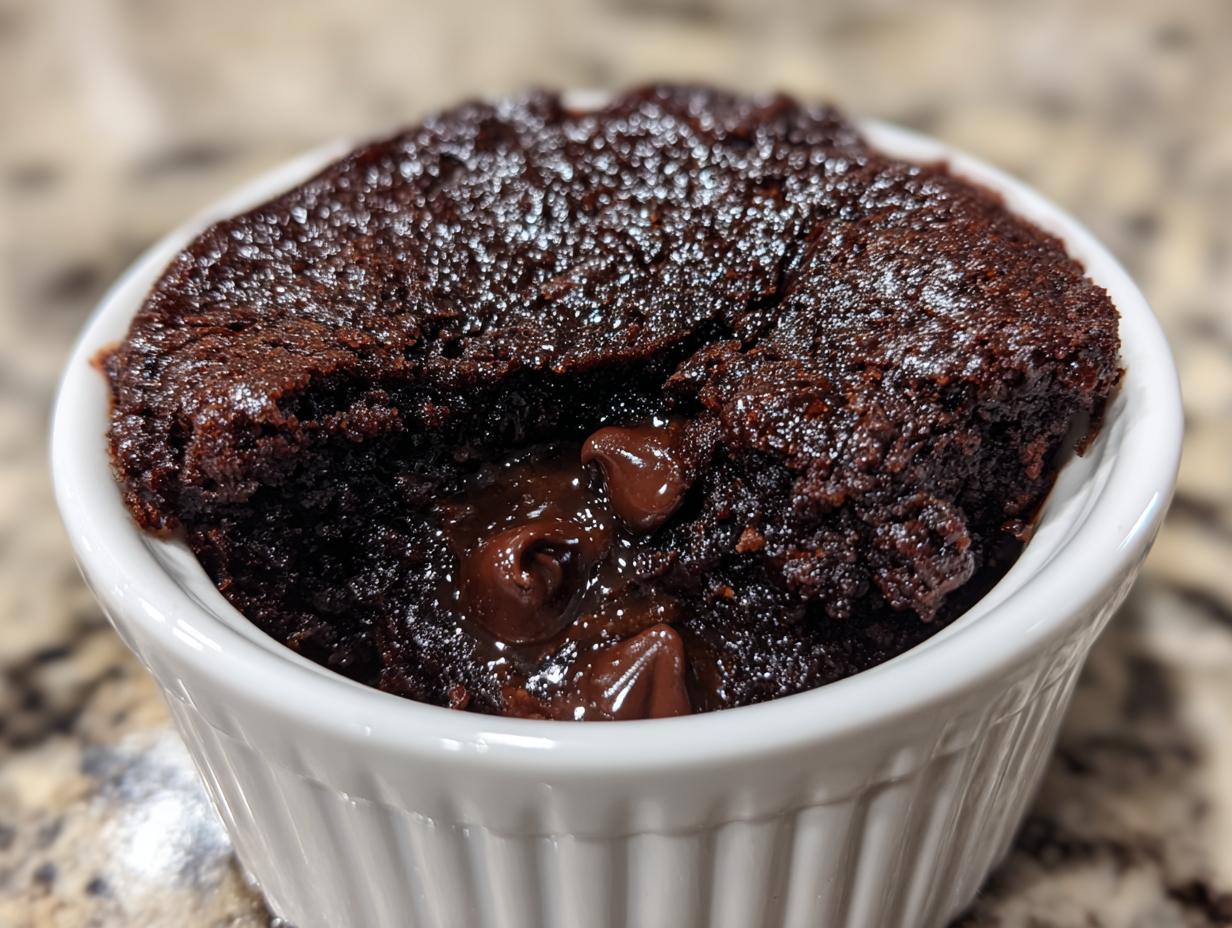
The secret to making this single-serve treat taste like a real bakery brownie is the combination of Greek yogurt and that perfect ratio of protein powder to cocoa. It comes out incredibly rich and fudgy, with a molten center if you pull it out just right. Forget waiting for a full batch; this is your emergency chocolate fix, ready before you can even decide what movie to watch. Trust me, once you master this quick recipe, you’ll never look at your microwave the same way again.

Gathering Your Ingredients for a Fudgy Protein Brownie
Okay, the beauty of this protein brownie is that it uses things you probably already have if you bake or track your macros. There’s no flour, which saves time, but we need specific items to get that dense, fudgy texture we’re aiming for. Don’t try to substitute the main structure items here; they are non-negotiable for a four-minute dessert!
I always lay out my ingredients before I start whisking. It keeps things moving fast, and you don’t risk forgetting the chocolate chips while you’re mixing the wet stuff. Because this is a single-serve recipe, the measurements are small, so being precise really helps the final outcome, especially with the powders.
Essential Components for Your Protein Brownie
You absolutely need one large egg to give this structure, since we aren’t using any flour or baking soda. The Greek yogurt is what keeps it moist and adds that slight tang that balances the chocolate. For the chocolate elements, make sure your cocoa powder is unsweetened, and your protein powder is chocolate flavored—vanilla just won’t give you that deep brownie taste we want!
Lastly, the dark chocolate chips are essential. They melt into those gorgeous, gooey pockets inside the brownie. I usually grab the semi-sweet kind, but dark chocolate works wonders too. Just make sure everything is measured out before you dive into the mixing bowl!
Ingredient Table
| Ingredient | Amount |
| Large Egg | 1 |
| Greek Yogurt | 1/3 cup |
| Maple Syrup or Coconut Sugar | 1 tablespoon |
| Unsweetened Cocoa Powder | 3 tablespoons |
| Chocolate Protein Powder | 1 tablespoon |
| Dark Chocolate Chips | 1 tablespoon |
Mastering the Quick Protein Brownie Microwave Method
This is where the magic happens, and trust me, speed is key! Since the total time for this whole process is just about four minutes—two for prep and two for cooking—you have to move quickly but deliberately. We are aiming for that perfect, rich texture that defies its microwave origins. Follow these steps exactly, and you’ll have the best single-serve dessert ready before your kettle even boils.
Step 1: Combining Wet Ingredients for the Protein Brownie Batter
Grab a small bowl—I use a little glass prep bowl—and start here. You need to whisk the large egg, the 1/3 cup of Greek yogurt, and your sweetener (maple syrup or coconut sugar) together. Don’t just stir it; whisk it! You want this mixture completely smooth and homogenous before adding anything else. If you see streaks of egg white or yogurt clumps, keep going until it looks like a pale, creamy base. This initial blend sets the stage for a smooth final product.
Step 2: Incorporating Dry Powders and Chocolate Chips
Now, gently sprinkle in your cocoa powder and your chocolate protein powder right on top of the wet ingredients. Use a small spatula or fork and stir slowly until everything is just incorporated. Stop mixing the second you don’t see any dry powder left—overmixing here is what makes things tough! Once it’s combined, toss in those tablespoon of dark chocolate chips. Give it just a couple of gentle folds to distribute them. We want those chips suspended in the batter, not pulverized.
Step 3: Preparing for Microwave Cooking
Before you pour that gorgeous batter, take a moment to grease your dish! Use a tiny bit of coconut oil or cooking spray in a small microwave-safe ramekin or dish. Since this is a one-serving recipe, you don’t need a huge dish; just something about 4 inches wide works perfectly. Pour the batter in and use the back of your spoon to smooth the top out evenly. A flat top means even cooking, which is crucial for microwave desserts.
Step 4: Microwaving for Perfect Texture
This is the most important part for nailing the ultimate fudgy texture! Put your prepared dish into the microwave. If you want that gooey, molten center—and why wouldn’t you?—start with 90 seconds. If you like your brownie a little firmer, go for 120 seconds total. Keep a close eye on it during the last 30 seconds. Microwaves are so different! If yours is super powerful, you might only need 80 seconds. You want the edges set, but the center should still look slightly underdone when you pull it out.

Tips for Success with Your Single-Serve Protein Brownie
I’ve made this protein brownie dozens of times, and I’ve learned that the microwave is a fickle beast. Getting that perfect texture—fudgy, not rubbery—is all about paying attention during those last few seconds of cooking. Don’t just walk away and assume 90 seconds is gospel; it truly depends on your machine’s wattage.
When you hit that 90-second mark, you should see the edges looking solid, but the very center should still have a little wobble. If you poke it lightly and it feels totally set, you’ve gone too far and you’ll get a firmer cake texture. If you want that lava-cake experience, pull it out when it looks slightly wet in the middle. It keeps cooking on the residual heat!
Adjusting Microwave Time for Desired Doneness
My microwave is an older model, so I find 105 seconds is my sweet spot for a slightly firm but still gooey bite. If you have a newer, high-powered unit, you might need to drop that time down to 80 seconds flat. Watch the top—when it stops looking wet and starts looking matte, you are close. It’s always better to undercook slightly and add 10 more seconds than to overcook and end up with a dense hockey puck. Don’t be afraid to experiment the first few times you make it until you learn your microwave’s personality.
Selecting the Right Chocolate Protein Powder
The flavor of your protein powder is going to heavily influence the final taste here, so choose wisely! I usually stick to a pure, unsweetened chocolate whey or casein blend. If you use a heavily sweetened brand, you might want to cut back on the maple syrup a tiny bit, or it might be too sweet for a rich brownie.
If you use a vanilla protein powder, you are technically making a “blondie” hybrid, so you need to compensate for the lack of deep chocolate flavor. Add an extra half teaspoon of cocoa powder if you go that route. But honestly, for the best rich, deep flavor, stick to a good quality chocolate powder for this recipe.
Ingredient Notes and Simple Substitutions
While I stand by the original list for the best results in this quick recipe, I know sometimes we are missing one tiny thing or need to keep it dairy-free. Since we aren’t using flour or baking powder, the ingredients we *do* use have huge jobs to play. Be careful when swapping, especially with the wet components!
If you are making this single-serve protein brownie, remember that structural ingredients like the egg and yogurt are crucial. You can tinker with the flavor elements, but changing the base too much can lead to a microwave disaster. Nobody wants a rubbery mess when they need a quick fix! Check out our other quick fixes!
Sweetener Flexibility
I usually alternate between maple syrup and coconut sugar, depending on what I have open. Maple syrup incorporates instantly because it’s already liquid, which is great when you’re whisking everything quickly. Coconut sugar is granular, so make sure you whisk it really well with the egg and yogurt in the first step—you don’t want crunchy pockets of sugar in your final bite!
Both provide that necessary sweetness to balance the bitterness of the cocoa powder. I find coconut sugar gives a slightly deeper, almost caramel note, while maple keeps it clean and bright. Either way, stick to one tablespoon for this single serving.
Greek Yogurt Alternatives
Greek yogurt is key here because it’s so thick; it adds moisture without adding too much excess water, which would make the microwave time tricky. If you absolutely need a dairy-free option, you can swap the Greek yogurt for an equal amount of thick coconut cream or a thick, unsweetened soy yogurt. If you love Greek yogurt, you might enjoy our bagel recipe too.
Just be aware that non-dairy substitutes can sometimes be thinner, so you might need to slightly reduce the amount of protein powder by a half teaspoon just to keep the batter from getting too runny. If you use cottage cheese, you must blend it until it’s perfectly smooth first, or you’ll end up with chunky cottage cheese brownies, and nobody wants that!
Serving Suggestions for Your High Protein Snack
Once you pull that warm, fudgy protein brownie out of the microwave, resisting the urge to eat it immediately is the hardest part! Since this is meant to be a satisfying, high-protein snack, I love to top it with something cool and creamy to contrast that warm center. A dollop of plain Greek yogurt—just a spoonful—is perfect, or if you have some, a little bit of frozen whipped topping thaws beautifully on top.
For an extra boost of healthy fat and crunch, sprinkle some chopped walnuts or pecans over the top before you dig in. That little bit of texture plays so nicely against the soft brownie. You could also dust it lightly with a touch more unsweetened cocoa powder just before serving if you want that intense, dark chocolate look. It’s ready to eat in under five minutes, so keep those healthy toppings handy!
Storing and Reheating Your Leftover Protein Brownie
Now, I usually make just one of these single-serve protein brownies at a time because they are so fast. But hey, sometimes you’re feeling ambitious and you double the recipe to have one for later, or maybe you just can’t finish that molten center right away! If you do have leftovers, how you store and reheat them makes all the difference in keeping that fudgy texture intact.
Microwave desserts can get tough quickly if left out on the counter, so we need to be smart about storage. If you plan on eating it within a day, you might get away with counter storage, but for anything longer, the fridge is your best bet. The texture will change slightly, but it’s better than letting it dry out completely. Follow us on Pinterest for more quick dessert ideas!
Best Practices for Storage Duration
If you have any leftover, wrap it tightly in plastic wrap, or better yet, place it in a small, airtight container. This recipe truly tastes best the day it’s made. If you must store it longer than 12 hours, pop it into the refrigerator. It will firm up considerably because of the yogurt and egg base, but it’s perfectly safe to eat for up to three days stored this way.
Do not freeze this brownie! The moisture content isn’t high enough to handle the freezer well, and you’ll end up with a crumbly texture when you try to thaw it out.
Reheating for a Freshly Made Experience
To bring that fresh-from-the-microwave fudginess back, you need a quick blast of heat. The best method is definitely the microwave again. Place the brownie on a small plate and heat it for just 10 to 15 seconds on medium power. This warms it through without letting it get hot enough to turn spongy.
If you prefer to avoid the microwave, you can use a toaster oven set to low heat, maybe 300 degrees Fahrenheit, for about 3 minutes. Remember, the goal is just to warm it up so the chocolate chips get melty again, not to cook it further! Like us on Facebook to see what we are cooking next.
| Storage/Reheat Method | Duration/Time |
| Refrigeration (Airtight) | Up to 3 Days |
| Microwave Reheat | 10-15 Seconds (Medium Power) |
| Toaster Oven Reheat | Approx. 3 Minutes (300°F) |
Frequently Asked Questions About This Quick Dessert
I get tons of questions about this recipe because it seems almost too easy to be true! Since it’s such a fast, single-serve treat, people often wonder how flexible it is. I’ve answered the most common queries I get about scaling it up or changing the ingredients.
Can I double the ingredients for this protein brownie recipe?
You absolutely can double the ingredients, but you cannot double the cooking time! If you double everything, you’ll need a larger microwave-safe dish, probably about 6 inches wide. Start by microwaving for 1 minute 45 seconds, and then check it. It needs longer because the volume is higher, but you have to watch it carefully so the edges don’t turn hard before the center cooks. It’s always tricky to scale microwave recipes, but it’s definitely doable.
How can I make this recipe completely flourless?
That’s the best part—this protein brownie is already completely flourless! We rely on the egg for structure and the protein powder to absorb moisture and act as a binder, which is why it comes out so dense and fudgy instead of cakey. You don’t need to worry about adding or swapping flour here; it’s naturally flour-free, which is great for keeping that carb count low! If you are interested in other flourless options, check out our fudgy homemade brownies.
Is this recipe suitable for meal prep?
Because this is designed to be a 4-minute, fresh-from-the-microwave dessert, it doesn’t really qualify as traditional meal prep. It’s a “make-it-now” recipe. While you can store leftovers (as I mentioned earlier), the texture is just incomparable when it’s fresh and warm. If you need a make-ahead protein dessert, I suggest making a full pan of my baked protein blondies instead, as they hold up much better over several days than this quick microwave version does.
Share Your Fudgy Creation With Me
I’m so excited for you to try this lightning-fast dessert! Seriously, when that chocolate craving hits, this 4-minute protein brownie saves the day. Once you’ve given it a try, please come back and let me know how it turned out for you! Did you go for the molten center or the firmer bake?
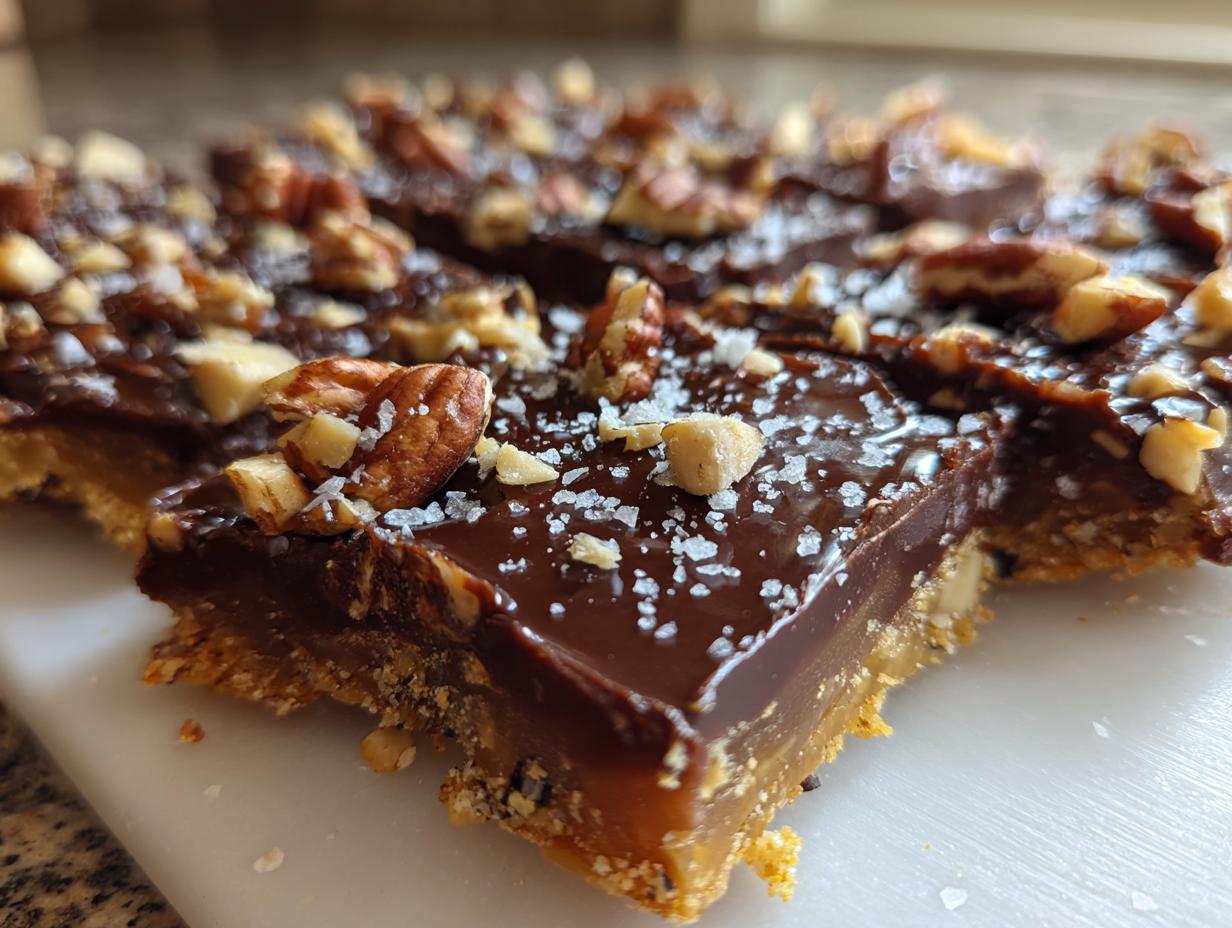
Drop a comment below and tell me your favorite way to eat it—maybe you added a sprinkle of sea salt on top? I always love hearing how you customize my favorite quick recipes!
Print
Fudgy 4-Minute protein brownie Bliss
- Total Time: 4 minutes
- Yield: 1 serving
- Diet: Vegetarian
Description
This quick protein brownie is rich, fudgy, and ready in 2 minutes. Make this satisfying single-serve dessert using cocoa, protein powder, and Greek yogurt.
Ingredients
- 1 large egg
- 1/3 cup Greek yogurt
- 1 tablespoon maple syrup or coconut sugar
- 3 tablespoons unsweetened cocoa powder
- 1 tablespoon chocolate protein powder
- 1 tablespoon dark chocolate chips
Instructions
- Whisk the egg, Greek yogurt, and sweetener in a small bowl until smooth.
- Add cocoa powder and protein powder. Stir until fully combined.
- Fold in chocolate chips.
- Lightly grease a small microwave-safe dish or ramekin.
- Pour the batter into the dish and smooth the top.
- Microwave for 90 seconds for a molten center or up to 120 seconds for a firmer texture.
- Let cool slightly before enjoying warm.
Notes
- Adjust microwave time based on your microwave’s power for desired texture.
- Use your favorite flavor of chocolate protein powder.
- Prep Time: 2 minutes
- Cook Time: 2 minutes
- Category: Dessert
- Method: Microwave
- Cuisine: American