Oh my goodness, you are going to absolutely flip for this chicken! I remember when I first tried making fried chicken—it was a disaster. Dry, pale, and honestly, a little sad. But this Honey Butter Fried Chicken Crispy and Juicy? That’s a totally different animal. This recipe changed everything for me!
The secret isn’t just in the double coating; it’s in the marriage of that long buttermilk soak and the final sweet, salty glaze brushed on right when it’s piping hot. You get that incredible crunch that shatters when you bite into it, followed by the juiciest meat you can imagine. It really is comfort food perfection. If you’ve ever been intimidated by frying, trust me, this method makes it foolproof. Let’s dive into what you need to make this amazing Honey Butter Fried Chicken Crispy and Juicy tonight!

Essential Ingredients for Honey Butter Fried Chicken Crispy and Juicy
Getting this Honey Butter Fried Chicken Crispy and Juicy right starts way before the skillet even hits the heat. You need good quality chicken and, honestly, you need to plan ahead because that soak is non-negotiable! We’re using boneless, skinless breasts here, but you can adapt this if you want to get really fancy with bone-in pieces, though the timing will change.
For the chicken itself, you need about a pound and a quarter of breasts, and you absolutely must pound them to an even thickness—this is crucial for ensuring everything cooks evenly and stays juicy. Then we have the liquids and the fats. You’ll need two cups of buttermilk for that overnight bath, plus an extra cup just for dipping later. And for frying? We’re melting down sixteen tablespoons of good unsalted butter—yes, that much! Don’t worry, it’s worth every drop.
Preparing the Chicken and Buttermilk Soak
This is the step where the magic starts happening for the juiciness. Take your four chicken pieces and tuck them right into that bowl, make sure they are totally submerged in the two cups of buttermilk. Cover that whole setup and stick it in the fridge. I know, I know, waiting eight hours or overnight feels like forever when you’re hungry, but that acid in the buttermilk is tenderizing the meat beautifully. It’s what guarantees that super tender inside texture.
Creating the Crispy Coating Mixture for Honey Butter Fried Chicken Crispy and Juicy
While the chicken is soaking, you can get your dry ingredients ready. This coating is what gives us that amazing crunch for the Honey Butter Fried Chicken Crispy and Juicy. You need one cup of all-purpose flour and a quarter cup of cornstarch—that cornstarch is our little secret weapon for extra crispiness! Whisk those together really well in a shallow dish so there are no clumps. Then, we add flavor: two teaspoons of paprika, one teaspoon of black pepper, one and a half teaspoons of kosher salt, and just a half teaspoon of dry mustard. Give it a good mix until it looks perfectly seasoned and uniform.
Simple Steps to Achieve Truly Honey Butter Fried Chicken Crispy and Juicy
Okay, the chicken is marinated, the coating is mixed—now we bring it all together! This is the active part, and while it moves fast, you want to pay attention to the details. Once the chicken comes out of that long bath, you need to let the excess buttermilk drip off. We don’t want it swimming in liquid, just coated enough to help the flour stick.
Marinating and Coating Technique for Maximum Crisp
This is where we build the crust! Take one piece of chicken, let that excess buttermilk drip away, and press it firmly into your flour mixture. Get it totally covered, top and bottom. Then, dip it quickly into that separate bowl holding the remaining cup of buttermilk—just a quick dunk! Back into the flour mixture it goes for the second coat. Press that flour on hard! This double-dredge method is what gives you those craggy, crispy bits when it fries. Once it’s fully coated, don’t rush it! Lay the chicken pieces on a clean plate and let them rest for a good twenty minutes. I know, another waiting period! But this resting time is essential; it lets the moisture from the buttermilk hydrate the flour, which locks that coating onto the chicken so it won’t fall off in the hot butter. Seriously, don’t skip the rest!
Pan Frying Secrets for the Perfect Honey Butter Fried Chicken Crispy and Juicy
Now for the frying, and this is where temperature control saves the day. Get a large skillet and melt down all sixteen tablespoons of unsalted butter. You want that butter hot, aiming for about 300 degrees Fahrenheit. If it’s too cold, the chicken gets greasy; too hot, and the coating burns before the inside cooks. Cook your chicken pieces about five to six minutes on each side until they are beautifully golden brown all over and cooked through. Remember, we are aiming for that perfect internal temperature of 165 degrees for safety. As each piece finishes, move it immediately to a wire rack set over a baking sheet. This lets the air circulate underneath, keeping the bottom crust crisp while the excess butter drips away. This technique is key to the Honey Butter Fried Chicken Crispy and Juicy experience!

Crafting the Sweet Honey Butter Glaze
While the chicken is resting on the rack, whip up the glaze—it takes about thirty seconds. In a small bowl, just mix the eight tablespoons of softened butter with the half cup of honey until it’s perfectly smooth and glossy. You want the butter soft enough to incorporate easily, but not melted. The moment that chicken comes off the rack, take a pastry brush and generously paint that sweet, beautiful mixture all over the hot, crispy surface. The warmth of the chicken melts the glaze slightly, letting it seep into all those nooks and crannies. That’s the final touch that makes this Honey Butter Fried Chicken Crispy and Juicy absolutely unforgettable!
Tips for Success with Your Honey Butter Fried Chicken Crispy and Juicy
Listen, even with a solid recipe, frying can sometimes feel like a tightrope walk. My biggest piece of advice, which Grandma always preached about even when she was making biscuits, is respecting the heat. Keep that butter temperature moderate while you’re cooking. If you see the coating starting to brown too fast, pull the heat down immediately. Burning your coating means you’ll never reach that safe 165 degrees inside, and nobody wants crunchy, raw chicken!
Also, don’t rush that resting time after coating. I know waiting twenty minutes feels like an eternity when you smell that paprika and pepper mix, but that rest period is what locks the crust on. If you skip it, you end up with flour falling off in the butter, which just wastes good coating and makes your frying medium messy. Trust me on this one—that adherence is what makes the final product such phenomenal Honey Butter Fried Chicken Crispy and Juicy.
Finally, when you brush on the glaze, do it immediately! The residual heat from the chicken is what helps the honey butter spread evenly and soak in just enough to flavor the crust without making it soggy. That perfect balance of heat, coating, and glaze is what transforms this dish into the legendary Honey Butter Fried Chicken Crispy and Juicy. If you want more tips on getting crispy coatings, check out our guide on crispy baked parmesan chicken tenders.
Ingredient Notes and Substitutions for This Chicken Dish
When it comes to ingredient swaps, we have to be careful because we are aiming for a very specific texture here—crispy outside, super juicy inside. The buttermilk is truly essential. It tenderizes the chicken thanks to the mild acid, and its thickness helps the flour coating stick better than plain milk would. If you don’t have buttermilk, you can make a quick substitute by taking one cup of regular milk and stirring in one tablespoon of white vinegar or lemon juice, letting it sit for five minutes until it curdles slightly.
For the fat in the pan, I specified butter because that nutty flavor is incredible, but if you’re worried about the butter solids burning before the chicken is done, you can use a blend. Try using half butter and half a high-heat oil like canola or vegetable oil. This raises the smoke point while still giving you that rich butter flavor.
In the coating, the cornstarch is critical for that shattering crispness. You really shouldn’t skip it, but if you are completely out, using a little extra flour will work in a pinch, though the crust won’t be quite as light and airy. For the chicken itself, while breasts are easy to work with, bone-in thighs or drumsticks work wonderfully too—just remember they take significantly longer to cook through, so keep that pan heat lower and be patient!
Storing and Reheating Your Honey Butter Fried Chicken Crispy and Juicy
I hate to say it, but this Honey Butter Fried Chicken Crispy and Juicy is absolutely best eaten right away! That beautiful crust doesn’t love moisture, and the honey butter glaze can get a little sticky if it sits around too long. But life happens, right? If you somehow have leftovers, you need to treat them gently to bring back some of that glorious crunch.
First thing: you must cool it down quickly! Once the chicken has cooled to room temperature, don’t let it sit out for more than two hours. Pop it into an airtight container. I highly recommend putting a paper towel on the bottom of the container before you add the chicken. That paper towel acts like a little sponge to absorb any moisture that tries to seep up from the bottom, which is the enemy of crispiness.
When you are ready to reheat your Honey Butter Fried Chicken Crispy and Juicy, forget the microwave—that thing is a crust murderer! The absolute best way to revive the texture is using an oven or an air fryer. You want dry, circulating heat. Set your oven to about 375 degrees Fahrenheit. Place the chicken directly on a wire rack set over a baking sheet. This allows air to circulate all around it, helping the bottom crisp back up. Heat it for about 10 to 15 minutes, checking frequently until it’s heated through. It won’t be *exactly* as perfect as fresh, but it’ll be wonderfully close! For more tips on crispy results, see our guide on crispy oven baked eggplant.
Here’s a quick guide for how long you can safely keep your masterpiece stored:
- Refrigerator Storage: Up to 3 days in an airtight container with paper towels underneath.
- Freezer Storage (Not Recommended for Best Texture): Up to 1 month wrapped tightly in plastic wrap, then foil. Thaw overnight in the fridge before reheating in the oven.
If you do freeze it, make sure you brush on a little extra honey butter when it comes out of the oven to refresh that sweet glaze flavor on your Honey Butter Fried Chicken Crispy and Juicy! We share lots of great recipes on Facebook.
Frequently Asked Questions About Making This Recipe
I get so many questions when folks try this recipe for the first time, and that’s totally fine! Cooking is all about learning, and I’m happy to share what I’ve figured out over the years.
Q1. Why did my coating fall off during frying?
This usually happens for one of two reasons! Either you skipped letting the coated chicken rest for those twenty minutes before frying, or you didn’t press the flour onto the chicken hard enough during the second coat. That resting time is crucial to lock everything in place. Make sure you press firmly!
Q2. Can I use chicken thighs instead of breasts?
Oh, absolutely! Chicken thighs are actually fantastic because they are naturally fattier and harder to overcook, so they stay juicier. Just remember, thighs are thicker than pounded breasts, so you’ll need to increase your cooking time in the butter—maybe closer to 7 or 8 minutes per side—to make sure they hit that safe 165 degrees internally.
Q3. My butter burned before the chicken was done. What did I do wrong?
That’s the classic pan-frying mistake! You need to keep your heat moderate. If you see the butter foaming aggressively or turning dark brown too quickly, you need to turn that burner down right away. We want a gentle, steady sizzle, not a violent boil, to allow time for the chicken to cook through before the crust burns.
Q4. Can I use regular milk instead of buttermilk?
You can, but honestly, it won’t be the same! Buttermilk is acidic, and that acid tenderizes the meat beautifully while also helping the flour cling better. If you must substitute, mix one tablespoon of white vinegar into one cup of regular milk and let it sit for five minutes to thicken up before using it for your marinade.
Share Your Delicious Honey Butter Fried Chicken Crispy and Juicy Experience
Now that you have all the secrets to achieving that perfect, shatteringly crisp crust and that sweet, melting honey butter glaze, I want to hear all about it! Seriously, I live for hearing how your kitchen smelled while this was cooking. You can also find inspiration on Pinterest.
Did you try the overnight soak? Did you press that flour coating on extra hard? I’m so excited for you to sit down to a plate of this amazing Honey Butter Fried Chicken Crispy and Juicy. It’s the kind of meal that deserves a big cheer when you pull it out of the pan!
Please, don’t be shy! Drop a comment down below and tell me how it went. Did you serve it with mashed potatoes or maybe some creamy coleslaw? Let me know if you made any little tweaks of your own! And if you loved it—and I know you will—please give the recipe a rating. Your feedback helps other home cooks feel brave enough to try making the best Honey Butter Fried Chicken Crispy and Juicy they’ve ever had!
Print
Irresistible 4-Step Honey Butter Fried Chicken Crispy and Juicy
- Total Time: 8 hours 32 minutes
- Yield: 4 servings
- Diet: Omnivore
Description
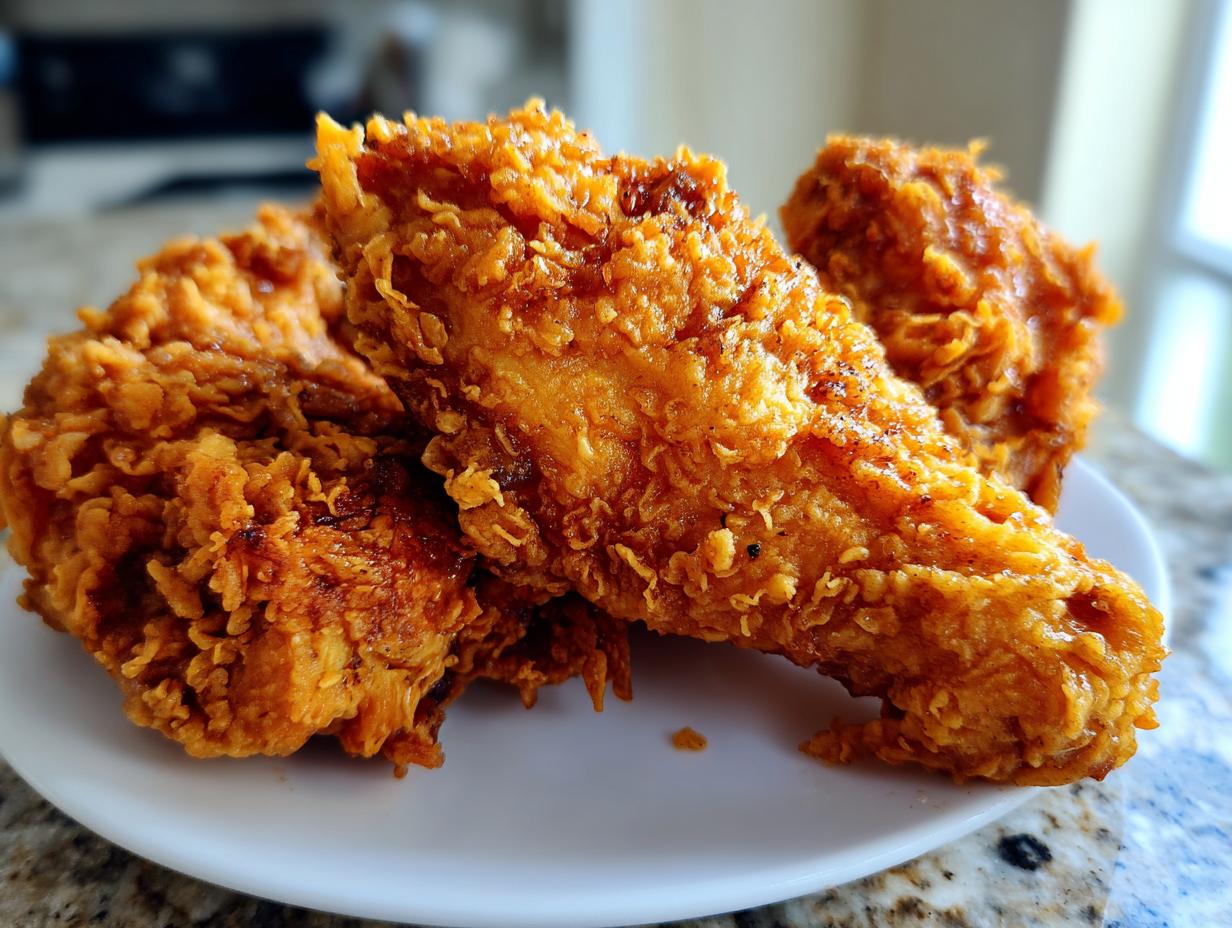
This honey butter fried chicken is crispy, juicy, and brushed with a sweet buttery honey glaze. It makes a comforting chicken dinner.
Ingredients
- 1¼ pounds boneless skinless chicken breasts cut into 4 equal pieces and pounded to even thickness
- 2 cups buttermilk
- 1 cup all purpose flour
- ¼ cup cornstarch
- 2 teaspoons paprika
- 1 teaspoon black pepper
- 1½ teaspoons kosher salt
- ½ teaspoon dry mustard
- 1 cup buttermilk (for dipping)
- 16 tablespoons unsalted butter (for frying)
- 8 tablespoons unsalted butter softened (for glaze)
- ½ cup honey (for glaze)
Instructions
- Place chicken pieces in a bowl and cover with buttermilk. Cover and refrigerate at least 8 hours or overnight.
- Whisk together flour, cornstarch, paprika, black pepper, salt, and dry mustard in a shallow bowl.
- Pour 1 cup of buttermilk into a separate bowl for dipping.
- Remove one piece of chicken from the marinade, let excess drip off. Coat in the flour mixture, dip into the buttermilk, then coat again in the flour mixture.
- Place coated chicken on a plate and let rest 20 minutes for the coating to adhere.
- In a large skillet over medium low heat, melt the butter and heat to about 300°F.
- Add chicken to the skillet without overcrowding and cook 5 to 6 minutes per side until golden brown and cooked through.
- Transfer cooked chicken to a wire rack set over a baking sheet to drain excess butter.
- Mix the softened butter and honey until smooth in a small bowl.
- Brush the honey butter generously over the hot chicken before serving. Ensure chicken reaches an internal temperature of 165°F.
Notes
- Keep the butter temperature moderate to prevent burning and ensure even browning.
- Prep Time: 20 minutes
- Cook Time: 12 minutes
- Category: Main Dish
- Method: Pan Frying
- Cuisine: American