Thumbprint Cookies
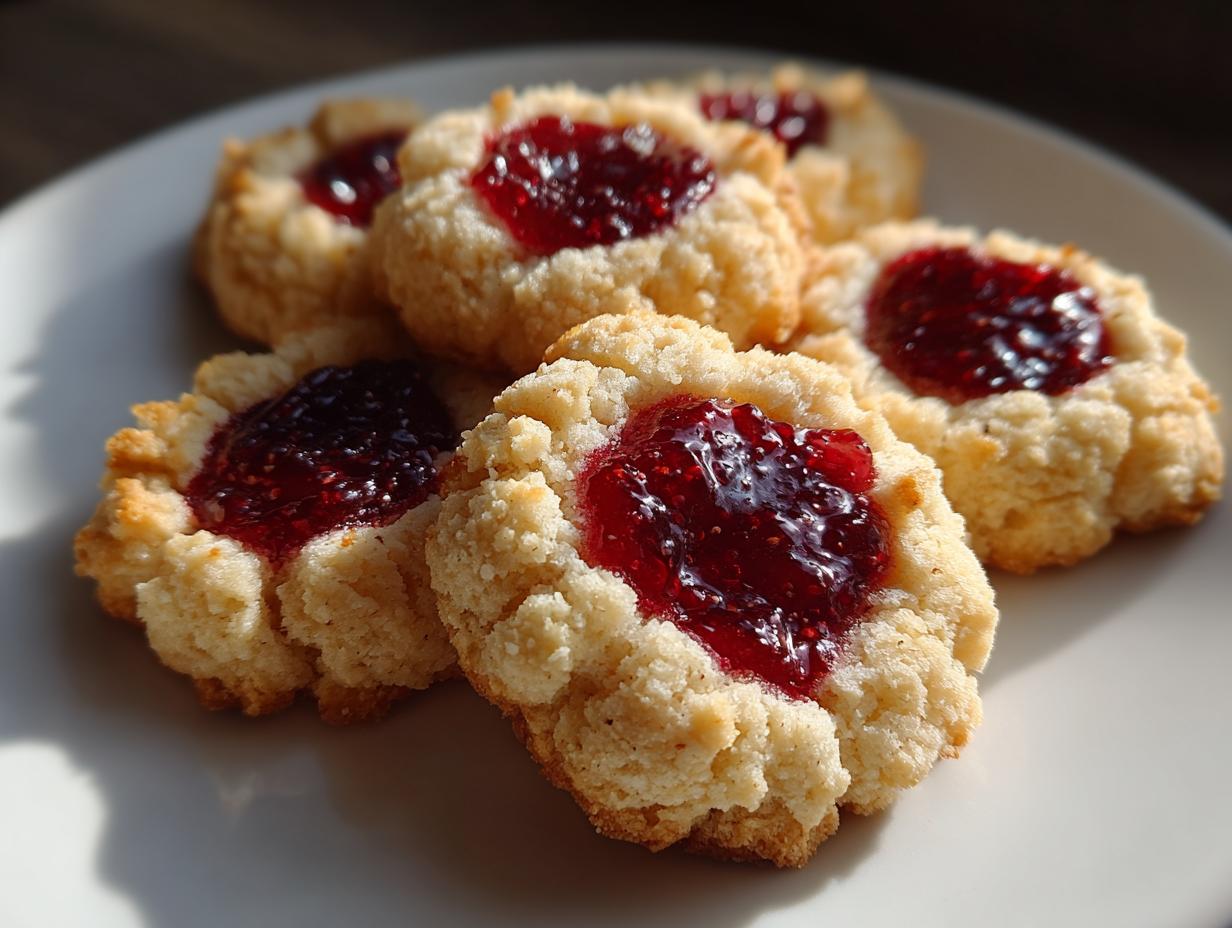
Oh, these thumbprint cookies! They bring me right back to my early days of trying to prove that *anyone* can bake. When I started NoobRecipes, I wanted to show folks that healthy, homemade treats weren’t some impossible culinary mountain to climb. These jam cookies are the perfect example. They look fancy, especially with that pop of colorful jam peeking out, but honestly, they’re ridiculously simple. I remember spending hours in the kitchen, trying to perfect recipes that wouldn’t intimidate beginners, and these thumbprint cookies were an absolute win from the get-go. They’re festive, delicious, and a total confidence booster for anyone new to baking. Trust me, you’ll be making these for every holiday!

Why You'll Love These Thumbprint Cookies
Seriously, these little guys are a baking game-changer for beginners. Here’s why:
- Super Easy to Make: We’re talking simple steps and common ingredients. No fancy techniques required!
- Deliciously Tender: The dough bakes up perfectly soft with a slight crisp on the edges.
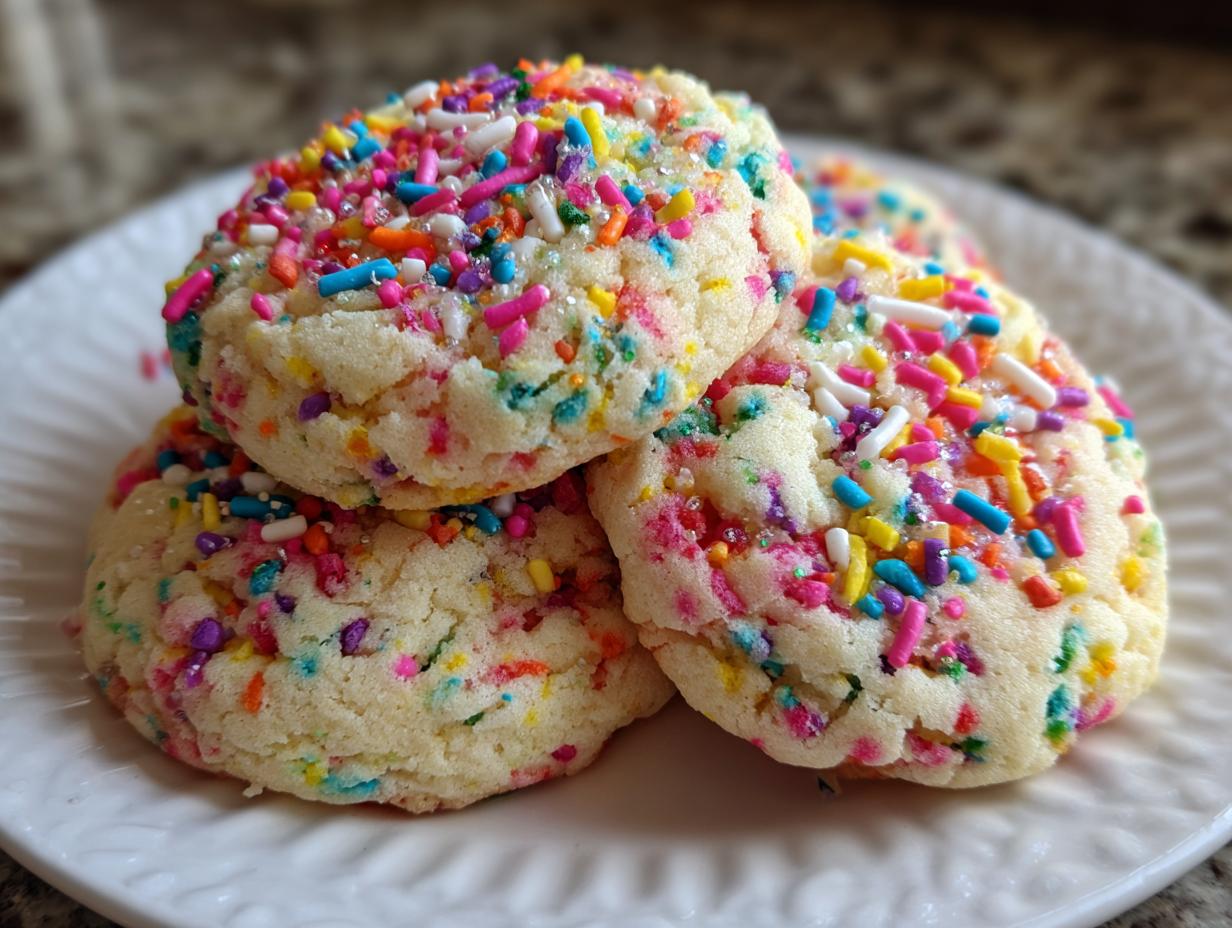
- Festive & Fun: That burst of colorful jam makes them look like they came from a fancy bakery – perfect for holidays!
- Healthier Homemade: You control the ingredients, making them a great alternative to store-bought cookies.
Gathering Your Thumbprint Cookie Ingredients
Alright, let’s get our ingredients lined up for these amazing thumbprint cookies! It’s all about keeping it simple here at NoobRecipes. You’ll need about two and a half cups of all-purpose flour – nothing fancy. Grab a full cup of salted butter, and this is important: make sure it’s at room temperature. It should be soft enough to easily indent with your finger, but not melted or greasy. This is key for getting that perfect cookie texture! We’ll also need a cup of white sugar, half a teaspoon of baking powder to give them a little lift, one large egg, and two teaspoons of pure vanilla extract for that lovely classic flavor. And of course, the star of the show – about a cup of your favorite jam. Strawberry or raspberry are classic choices, but honestly, any flavor you love will work wonderfully!
Ingredient Notes and Substitutions
So, why room temperature butter? It creams much better with the sugar, creating little air pockets that make your cookies tender and light. If your butter is too cold, it won’t combine properly, and if it’s too warm, your cookies might spread too much. If you only have unsalted butter, just add a pinch of salt (about 1/4 teaspoon) when you add the flour. For a healthier twist, you could try swapping some of the butter for a good quality, neutral-flavored oil like avocado or light olive oil, but you might need to adjust the flour a bit – start with a little less and add more if needed. And for the jam, feel free to use a sugar-free version if you’re looking to cut down on sugar, or even a nice fruit preserve!
Crafting Perfect Thumbprint Cookies: Step-by-Step
Alright, let’s get baking! First things first, go ahead and preheat your oven to 325°F (165°C). This is super important for getting them baked just right. Now, grab your biggest mixing bowl. We’re going to cream together that softened butter, sugar, and baking powder. Use an electric mixer for this – it makes it so much easier! Beat it until it’s nice and light and looks fluffy, almost like whipped honey. This step is where we build the foundation for a tender cookie, so don’t rush it!
Next up, crack in your egg and pour in that lovely vanilla extract. Mix it again until everything is just beautifully combined. Don’t overmix here; we’re just bringing it all together. Now comes the flour. Add it in gradually while your mixer is on low speed. You want to mix it just until you don’t see any more dry flour streaks. Seriously, stop mixing as soon as it’s combined. Overworking the dough is the quickest way to tough cookies, and we definitely don’t want that!
Once the dough is ready, it’s time to get your hands a little bit involved. Take about a tablespoon of dough and roll it into a nice, smooth ball, about one inch in size. Place these balls onto a baking sheet that you’ve lined with parchment paper – this makes cleanup a breeze! Give them a little space between each one because they’ll spread just a tiny bit. Now, for the fun part: the thumbprint! Gently press your thumb (or the back of a small spoon) into the center of each cookie dough ball, making a little indentation. Don’t go all the way through, just enough to create a nice little well for the jam.
Carefully spoon about a teaspoon of your chosen jam into each indentation. Try not to let it spill over the sides. Now they’re ready for their close-up in the oven!

Baking Your Thumbprint Cookies to Golden Perfection
Pop those beautiful cookies into your preheated oven. We’re going to bake them for about 20 minutes. A really good trick for even baking, especially if your oven has hot spots, is to rotate the baking sheet halfway through the baking time. You’ll know they’re ready when the edges are just starting to turn a light golden brown, and the jam looks bubbly. They might seem a little soft right out of the oven, but that’s okay! Let them cool on the baking sheet for a few minutes before carefully transferring them to a wire rack to cool completely. This is key to preventing them from breaking.
Tips for the Best Thumbprint Cookie Experience
Okay, so you’ve got the recipe, you’ve got the ingredients, but let’s make these thumbprint cookies absolutely *perfect*. A common little oopsie is using butter that’s too cold or too melty – seriously, room temperature is your friend here! It makes the dough so much easier to work with and bake up beautifully. Another thing: try not to overwork the dough when you’re adding the flour. Just mix until it comes together. Overmixing means tougher cookies, and nobody wants that! When you’re making the indentation, don’t go too deep, or your jam might just ooze out and make a mess. A gentle press is all you need. And remember to rotate that baking sheet halfway through – it’s a small step that makes a big difference for evenly baked thumbprint cookies!
Serving and Enjoying Your Homemade Thumbprint Cookies
These thumbprint cookies are just delightful served with a cup of tea or coffee, perfect for an afternoon pick-me-up. They look so festive on a holiday cookie platter, adding a pop of color and homemade charm. Kids absolutely love them, and they’re fantastic for bake sales or just sharing with friends and family. Honestly, they’re pretty much perfect anytime!
Storing Your Delicious Thumbprint Cookies
Once your thumbprint cookies have cooled completely – and trust me, you’ll want to let them cool all the way! – it’s time to store them. The best way to keep that lovely tender texture is to pop them into an airtight container. You can layer them between sheets of parchment paper if you’re worried about them sticking together, especially if you’ve got a lot! Store them at room temperature in your pantry or on your counter. They’ll stay wonderfully fresh for about 3-4 days. If you happen to need to warm them up a bit before serving, a few seconds in a low oven or even a quick zap in the microwave can bring back that fresh-baked feel, but be careful not to overheat them!
Frequently Asked Questions About Thumbprint Cookies
Q1. My thumbprint cookies spread too much and the jam leaked out. What went wrong?
This usually happens if your butter was too soft or melted, or if you overworked the dough. Make sure your butter is just at room temperature – soft but not greasy. Also, try not to mix the flour in too much; stop as soon as it’s combined. When making the indentation, don’t press too deep, and avoid filling the jam all the way to the very edge of the well.
Q2. Can I use different kinds of jam for these thumbprint cookies?
Absolutely! The beauty of these jam cookies is their versatility. Strawberry and raspberry are classics, but feel free to use apricot, blueberry, cherry, or even a lemon curd. Just make sure the jam isn’t *too* runny. If it is, you can try thickening it slightly by simmering it down a bit on the stovetop.
Q3. How do I make sure my cookies are tender and not tough?
The secret to tender thumbprint cookies is not to overwork the dough once you add the flour. Mix it just until it comes together. Also, using properly softened butter is crucial for that lovely texture. And remember to let them cool completely before storing them, as they continue to set up as they cool.
Q4. Can I make the dough for these holiday cookies ahead of time?
Yes, you can! You can make the dough, wrap it tightly in plastic wrap, and store it in the refrigerator for up to 2-3 days. When you’re ready to bake, let the dough sit out at room temperature for about 15-20 minutes to make it easier to roll into balls. You can also freeze the dough balls before baking for longer storage.
Estimated Nutritional Information for Thumbprint Cookies
Here’s a general idea of what you’ll find in each delicious thumbprint cookie. Remember, these are estimates and can change a bit depending on the exact ingredients you use, especially the jam!
| Serving Size | 1 cookie |
| Calories | 150 |
| Sugar | 10g |
| Sodium | 75mg |
| Fat | 8g |
| Saturated Fat | 5g |
| Unsaturated Fat | 3g |
| Trans Fat | 0.5g |
| Carbohydrates | 18g |
| Fiber | 1g |
| Protein | 2g |
| Cholesterol | 20mg |

Amazing Thumbprint Cookies: 20 Min Bake
- Total Time: 40 minutes
- Yield: Approximately 24 cookies
- Diet: Vegetarian
Description
Easy thumbprint cookies perfect for holidays. A simple recipe for beginners.
Ingredients
- 2-1/2 cups all-purpose flour
- 1 cup salted butter, at room temperature
- 1 cup white sugar
- 1/2 teaspoon baking powder
- 1 large egg
- 2 teaspoons pure vanilla extract
- Approx. 1 cup jam (strawberry, raspberry, or your choice)
Instructions
- Preheat oven to 325°F (165°C). Cream butter, sugar, and baking powder until light and fluffy.
- Add egg and vanilla extract, mixing until combined.
- Gradually add flour on low speed until just combined.
- Roll dough into 1-inch balls and place on a baking sheet. Make an indentation in the center of each cookie.
- Fill each indentation with jam. Bake for about 20 minutes, rotating the pan halfway through.
- Cool cookies on a wire rack until room temperature.
Notes
- Ensure butter is at room temperature for best results.
- Do not overwork the dough to keep cookies tender.
- Adjust jam amount as needed.
- Rotate baking sheet halfway for even baking.
- Prep Time: 20 minutes
- Cook Time: 20 minutes
- Category: Dessert
- Method: Baking
- Cuisine: American