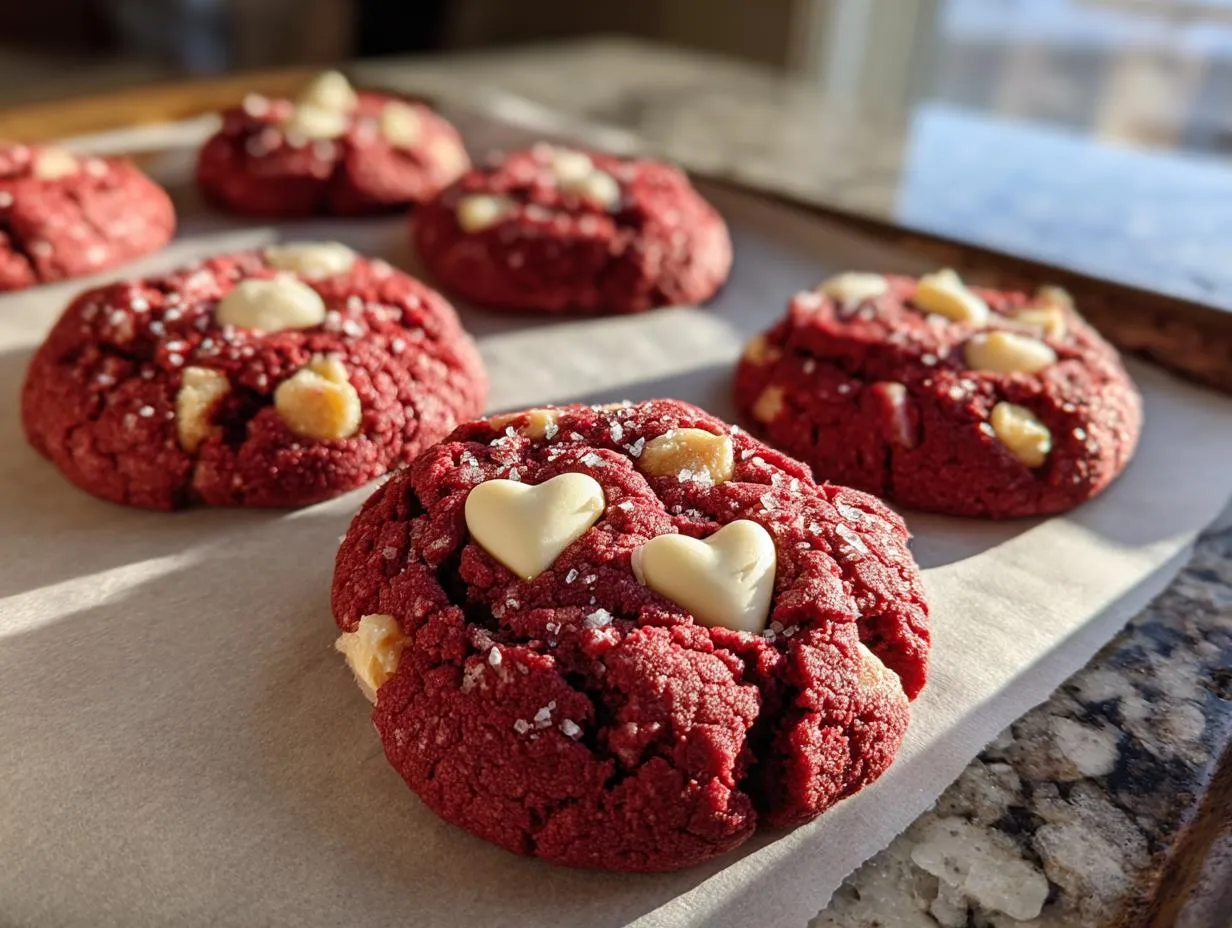
Listen, sometimes you just need a truly spectacular cookie without having to bake three dozen of them, right? That’s exactly why I developed this recipe for the ultimate small-batch Red Velvet Sugar Cookies. These aren’t those dry, cakey versions you sometimes find; oh no. We are talking soft, chewy, vibrant cookies with a glorious surprise melted white chocolate center!
When I first started baking, anything that involved specific colors or multiple steps felt overwhelming. That’s why I worked so hard to simplify this recipe. We use straightforward techniques so anyone—even if you’re just starting out—can create something that looks like it took hours. Trust me, the deep crimson color and that hint of rich cocoa flavor make these feel incredibly decadent.
The real magic, though, is that pocket of sweet, creamy white chocolate hiding inside. It melts just perfectly while they bake, and setting it up takes zero extra effort. This recipe proves that high-impact flavor and gorgeous presentation don’t have to mean complicated baking. I’m sharing all my best tips below so you can conquer these beautiful Red Velvet cookies with confidence!

Essential Ingredients for Your Red Velvet Cookies
Getting the right ingredients lined up is half the battle, especially with something as fun as Red Velvet. You can’t just throw in any red dye and expect that signature deep color, and we definitely need the right balance so these stay chewy and don’t crumble apart! I’ve listed exactly what you need below. Don’t substitute the coloring—it’s really important here.
We are only making six cookies, so the amounts are small, but precision matters. Grab your digital scale if you have one, but the measuring cups work just fine if you level them off correctly.
| Ingredient | Amount |
|---|---|
| Unsalted Butter, melted | 4 tablespoons |
| Granulated Sugar | 1/3 cup plus 2 tablespoons (divided) |
| Large Egg Yolk | 1 |
| Red Gel Food Coloring | 1 teaspoon |
| All-Purpose Flour | 1/2 cup plus 1 tablespoon |
| Unsweetened Cocoa Powder | 2 tablespoons |
| Baking Soda | 1/4 teaspoon |
| Fine Sea Salt | 1/8 teaspoon |
| White Chocolate Peanut Butter Hearts | 6 |
The Must-Have Components for Perfect Red Velvet Flavor
The flavor profile here is subtle, which is why ingredient quality matters. We use just a tiny bit of cocoa powder—two tablespoons—not enough to make it taste like a chocolate cookie, but just enough to give that classic, slightly earthy Red Velvet undertone. If you use regular liquid food coloring, you’ll need way more, which messes up the texture.
That one teaspoon of red gel food coloring is non-negotiable! Gel coloring is concentrated, so you get that intense, vibrant red without adding extra liquid that would make your dough too sticky. That bright color combined with that hint of cocoa powder is what screams “Red Velvet” before you even take a bite.
Equipment Needed for Making Red Velvet
You don’t need a huge setup for this small batch! I usually just pull out my favorite mixing bowls. Make sure you have parchment paper ready for your baking sheet, otherwise, these beauties might stick.
- Medium mixing bowl
- Whisk and spatula
- Small baking sheet
- Parchment paper
Step-by-Step Guide to Making Red Velvet Sugar Cookies
Okay, let’s get baking! This part moves pretty fast since it’s a small batch, so have everything measured out before you start mixing. First things first: get your oven warmed up to 350 degrees Fahrenheit. I always line one small baking sheet with parchment paper right away—it saves time later and ensures these babies slide right off.
Preparing the Red Velvet Dough Base
Start with the wet stuff. Whisk your melted butter and the main portion of sugar—that’s the 1/3 cup—together in a bowl until they’re happy. Now for the color! Stir in that single egg yolk and then add your teaspoon of red gel food coloring. You have to mix this until it’s a totally uniform, vibrant red. Seriously, don’t stop stirring until all the white streaks are gone. That’s how you know you’ll get that perfect, consistent color throughout the cookie.
Next, the dry ingredients. I find it’s easiest to sift the flour, cocoa powder, baking soda, and salt right over the red wet mixture. Why sift? Because it prevents clumps, especially with the cocoa! Use a spatula and fold everything together gently. You want to mix only until you stop seeing dry flour streaks. Overmixing here makes the cookies tough, and we want chewiness, remember?
Shaping and Sugaring Your Red Velvet Cookie Balls
Once the dough comes together, divide it evenly into six little balls. I usually eyeball it, but if you’re feeling precise, use a small kitchen scale! Now, take those extra two tablespoons of granulated sugar we set aside. Roll each dough ball thoroughly in that sugar until it’s completely coated on the outside. That sugar coating is what gives these Red Velvet cookies that lovely, slightly crackled exterior when they bake.
Place them about two inches apart on your prepared sheet. They spread just a little bit, so give them space to breathe!
Baking and Setting the White Chocolate Center in Your Red Velvet
Pop the sheet into your preheated oven for 10 to 12 minutes. You are looking for the edges to look set, and the tops should look a little dry with some nice, fine cracks starting to show. Don’t bake them until they are hard, or they’ll lose that soft interior!
Crucially, let the cookies cool right there on the hot baking sheet for a full 10 minutes. This lets the structure firm up so they don’t collapse when you touch them. After 10 minutes, press one of those white chocolate peanut butter hearts firmly into the center of each warm cookie. They’ll sink in beautifully. For the final step, transfer them to the fridge for about 30 minutes. This chills everything down and sets that chocolate center perfectly so it’s gooey, not totally melted everywhere!

Tips for Success with Your Red Velvet Recipe
I’ve made this small batch recipe probably twenty times now, and a few little tricks really push these cookies over the top. If you want guaranteed chewiness and that deep, gorgeous red, pay attention to these three things!
- Don’t Skip the Gel Coloring: Seriously, if you use liquid coloring, your dough will be too wet, and the color will look pale pink. Gel coloring gives you that intense hue without sacrificing the necessary dry ratios for chewiness.
- Mind the Melted Butter: Since the butter is already melted, don’t over-cream it with the sugar. You aren’t trying to incorporate tons of air like you would with softened butter. Just combine until smooth, which keeps the cookie dense and chewy rather than cakey.
- The Cooling Wait is Essential: The 10 minutes on the hot pan lets the cookie structure stabilize. If you try to move them right away, they might spread or fall apart before the chocolate insert. Patience pays off here!
Ingredient Notes and Substitutions for Red Velvet
I know sometimes you might be missing an ingredient, so let’s talk about substitutions for these Red Velvet cookies. The coloring is the one thing I beg you not to swap out. Liquid food coloring adds too much water, which ruins the delicate balance we have going on here for that perfect chew.
If you absolutely cannot find those white chocolate peanut butter hearts, you can use a square of good quality white chocolate—just make sure it’s roughly the same size so it melts right. If you try to use butter instead of the melted butter, you’ll end up with a totally different texture, so stick to the melted stuff!
Storing and Reheating Your Delicious Red Velvet Treats
Because these are small-batch and have that lovely chocolate center, how you store your Red Velvet cookies really impacts their texture. They are best eaten the day you make them, honestly, but they hold up well if you need to save them for a day or two. Keep them in an airtight container at room temperature. If it’s super humid, you might want to pop them in the fridge, but let them warm up a tiny bit before eating.
If you want that center perfectly gooey again—maybe they’ve been chilling a bit too long—a quick zap in the microwave is all you need. Don’t overheat them, or the cookie itself will get hard!
| Action | Time/Temperature |
|---|---|
| Storage (Room Temp) | Up to 2 days in an airtight container |
| Reheating (Microwave) | 5 to 8 seconds |
Frequently Asked Questions About Red Velvet Cookies
It’s totally normal to have questions when you’re tackling a new recipe, especially one as colorful as these Red Velvet cookies! I’ve gathered the most common things people ask me when they are whipping up a batch of these chewy treats.
If you’ve made them and they aren’t exactly what you expected, sometimes a quick troubleshooting tip is all you need to get that perfect result next time. These answers focus on keeping that vibrant color and the fantastic texture!
Can I make this Red Velvet recipe without white chocolate?
You absolutely can! If you aren’t a fan of white chocolate or just don’t have those specific peanut butter hearts, you have a few great options for the center filling. You can use a regular square of good quality white chocolate, maybe even some milk chocolate if that’s what you prefer! Another fun idea is to use a dollop of cream cheese frosting right in the middle instead of the chocolate heart. Just make sure you chill those cookies for the full 30 minutes if you use frosting, so it sets up nicely.
Why is my Red Velvet cookie color dull?
If your cookies ended up looking more pink than deep crimson, it almost always comes down to the food coloring. I really stress using red gel food coloring in the recipe because it’s so concentrated. If you used liquid food coloring from a standard grocery store bottle, you probably had to add so much that it diluted the dough, leading to a pale result. For the best, richest color in your Red Velvet cookies, go for the gel paste kind—it makes such a difference!
What if I want a slightly thinner, flatter cookie?
If you prefer your cookies to spread a bit more than mine do, try letting the dough balls sit out on the counter for about 15 minutes before you roll them in the final sugar coating. Slightly warmer dough spreads more easily when it hits the oven heat. Also, make sure your butter was truly melted when you started mixing—that’s the key to a flatter, chewier cookie rather than a puffy one!
Sharing Your Red Velvet Baking Journey
I truly hope you loved making these small-batch Red Velvet cookies as much as I love eating them! They are such a fun, quick bake for a little treat. I’m always so curious to see how they turn out in everyone else’s kitchens.
If you tried this recipe and loved that chewy texture with the melted surprise center, please come back and leave me a star rating right below! And if you snapped a photo of your beautiful red cookies—especially if you tried a different center filling—share it in the comments below. I read every single one!
Share it in the comments below. I read every single one!
Print
Amazing 6 Red Velvet Chew Secrets
- Total Time: 50 minutes
- Yield: 6 cookies
- Diet: Vegetarian
Description
Soft and chewy Red Velvet Sugar Cookies with a sweet white chocolate center. This recipe yields a vibrant, small-batch cookie with a hint of cocoa.
Ingredients
- 4 tablespoons unsalted butter, melted
- 1/3 cup granulated sugar
- 2 tablespoons granulated sugar for rolling
- 1 large egg yolk
- 1 teaspoon red gel food coloring
- 1/2 cup plus 1 tablespoon all-purpose flour
- 2 tablespoons unsweetened cocoa powder
- 1/4 teaspoon baking soda
- 1/8 teaspoon fine sea salt
- 6 white chocolate peanut butter hearts
Instructions
- Preheat your oven to 350°F. Line a small baking sheet with parchment paper.
- Whisk the melted butter and 1/3 cup sugar in a medium bowl until combined.
- Stir in the egg yolk and red gel food coloring until the mixture achieves a uniform bright red color.
- Sift the flour, cocoa powder, baking soda, and salt directly into the wet ingredients.
- Mix the dough gently with a spatula until no dry streaks of flour remain.
- Divide the dough into 6 equal portions and roll each into a smooth ball.
- Roll each dough ball in the extra 2 tablespoons of granulated sugar to coat the exterior completely.
- Place the cookies 2 inches apart on the prepared baking sheet.
- Bake for 10 to 12 minutes until the edges are set and the tops look slightly dry and crackled.
- Cool the cookies on the pan for 10 minutes to let the structure firm up.
- Press one white chocolate heart firmly into the center of each warm cookie.
- Transfer the cookies to the refrigerator for 30 minutes to set the chocolate hearts before you serve them.
Notes
- Use gel food coloring for the most intense red color.
- Cooling time is important to keep the chocolate center firm.
- Prep Time: 10 minutes
- Cook Time: 10 minutes
- Category: Dessert
- Method: Baking
- Cuisine: American