Listen, if you thought making dumplings meant hours of complicated folding or hunting down specialty ingredients, you’ve been misled! I remember when I first started cooking—everything felt like it required a culinary degree. That’s why I’m obsessed with this simple pan dumpling recipe. It’s my go-to for when I need something deeply comforting but don’t have all afternoon.
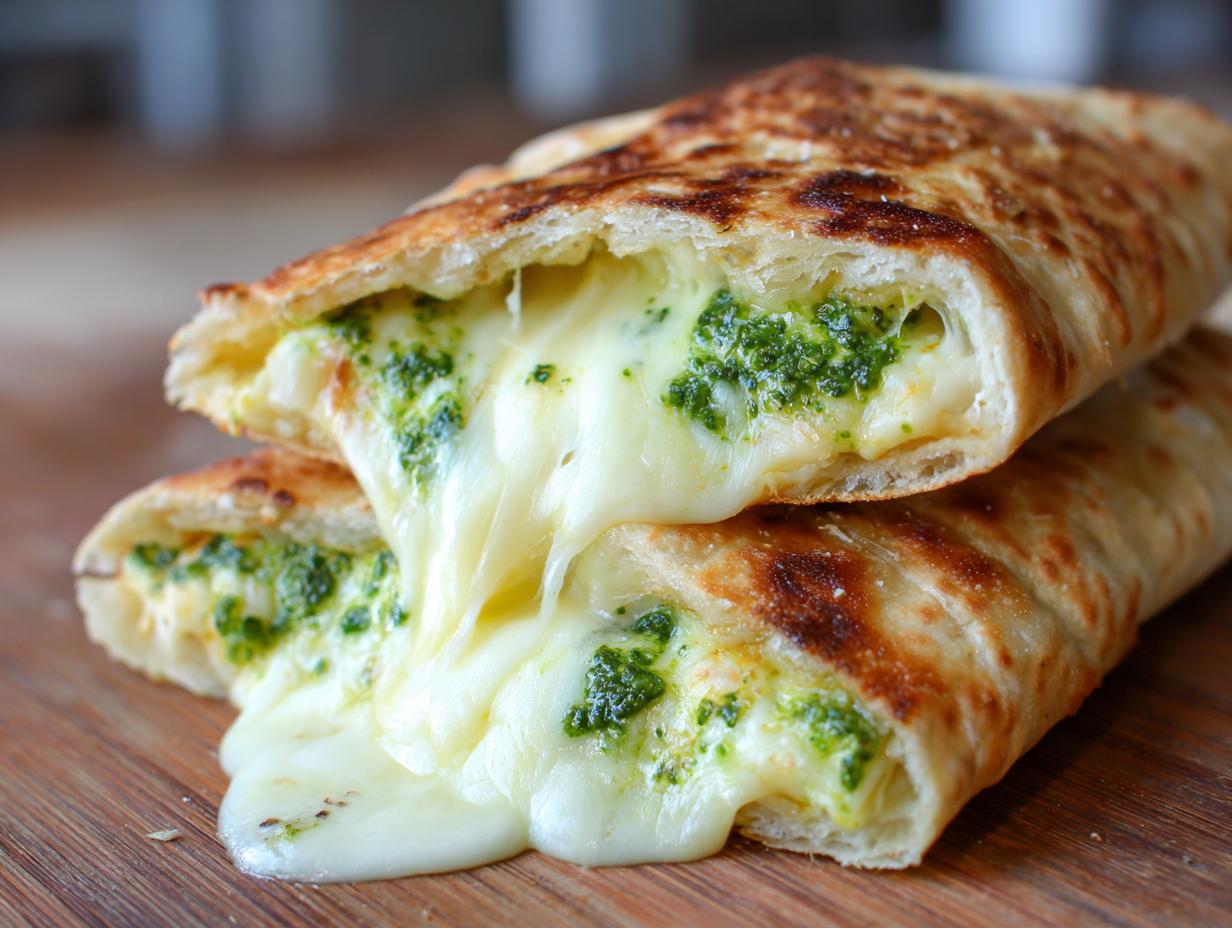
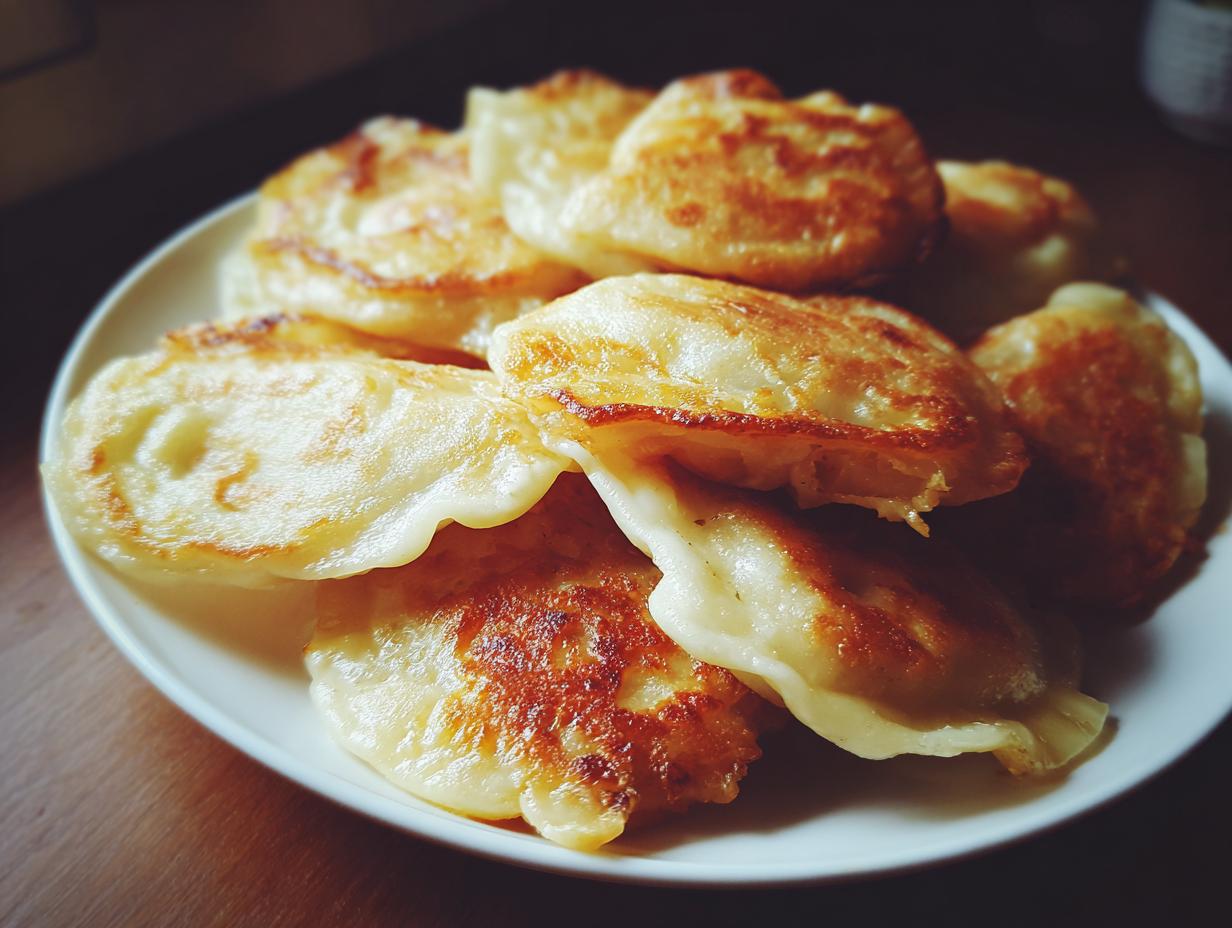
We aren’t messing around with boiling or steaming here. The magic of these skillet dumplings is that perfect dichotomy: a beautifully golden, crispy bottom that snaps when you bite it, giving way to the softest, fluffiest interior. Seriously, it’s heaven.

I’ve tested countless ways to get this texture, and I’ve nailed the foolproof method using just flour, salt, water, and a little oil. This recipe is proof that you don’t need complicated techniques to create something spectacular right on your stovetop. Trust me, once you master this easy dumpling method, you’ll be making them every week!
Essential Ingredients for the pan dumpling recipe
You won’t believe how few things this masterpiece requires! It’s all about having the basics ready to go. I always keep these things stocked because they are the foundation for so many quick meals. Don’t substitute the flour unless you absolutely have to; all-purpose works best for that perfect chew.
Here is exactly what you need to gather before you even think about turning on the stove:
| Amount | Ingredient | Purpose |
|---|---|---|
| 2 cups | All-purpose flour | The main structure for the dough |
| 0.75 teaspoon | Kosher salt | For seasoning the dough |
| 0.75 cup | Warm water | To bring the dough together |
| 2 tablespoons | Olive oil divided | For frying and achieving that crispy crust |
| 1 tablespoon | Unsalted butter | Adds flavor to the initial sear |
Ingredient Breakdown and Preparation Clarity
A couple of quick notes on making sure your ingredients are happy! The water is important—it needs to be warm, not scalding hot. Think “comfortably warm to the touch,” like what you’d use for instant yeast. That little bit of heat helps the flour hydrate beautifully and makes the dough easier to handle.
Also, make sure your salt is kosher or table salt; avoid fancy sea salts here, as the grain size matters slightly for even distribution in the flour. We are using all-purpose flour because it gives us the best balance between tenderness and structure for these stovetop dumplings.
Equipment Needed for Perfect pan dumpling recipe Results
You don’t need fancy gadgets for this, thankfully! Grab a sturdy mixing bowl, a flat, clean surface for kneading, and most importantly, a large, heavy-bottomed skillet—cast iron is my absolute favorite here because it holds heat so evenly for that perfect brown bottom.
Step-by-Step Instructions for Your pan dumpling recipe
Okay, now for the fun part! This whole cooking process takes less than 15 minutes once the dough is ready, so make sure you have everything else ready to go before you start frying. We want these golden brown and hot!
Mixing and Kneading the Dough
Start by getting your dry ingredients happy. In a good-sized bowl—one you don’t mind getting a little messy—whisk together the 2 cups of flour and the 0.75 teaspoon of salt. Give it a good mix so the salt is evenly distributed. Now, slowly pour in that 0.75 cup of warm water while stirring with a spoon or a spatula. Keep mixing until it looks shaggy and you can’t really pour any more water in. It’s going to look messy, don’t panic!
Turn that shaggy mass out onto a lightly floured countertop. This is where your arms come in! Knead the dough for about 3 to 4 minutes. You’re looking for it to transform from sticky and rough to smooth and elastic. If it’s sticking too much, dust your hands lightly, but try not to add too much extra flour, or your dumplings will get tough. When you press it, it should spring back gently. Once it’s smooth, wrap it up for just a minute while you prep your shapes.
Shaping and Preparing for the Skillet
We need 12 perfect little dumplings, so take your smooth dough ball and divide it into 12 equal portions. You can eyeball it, or if you’re feeling fussy, use a kitchen scale—I usually just pinch off pieces until they feel about the same size. Roll each piece into a tight little ball between your palms. This tight rolling helps keep the inside tender!
Now for the flattening! Take one ball at a time and gently flatten it into a round shape. You want these to be about 3 inches wide. Don’t try to roll them super thin like a tortilla—we need some thickness to get that fluffy center. Set your finished rounds aside on a lightly floured plate or board while you heat up your skillet.
The Two-Stage Frying Process for Crispy pan dumpling recipe
This is the secret sauce, so pay attention! Get a large skillet heated over medium heat. Add 1 tablespoon of olive oil and the whole tablespoon of butter. Let that butter melt and start to sizzle a little bit. The butter gives us amazing flavor for the first sear.
Carefully place your dumpling rounds into the hot fat mixture in a single layer. Do not overcrowd the pan! If you have more than 6 or 7, cook them in batches. Let them sit undisturbed for 3 to 4 minutes until the bottoms are deeply golden brown. This is where the crispness happens!

Once the bottoms are perfect, flip every dumpling over. Now, drizzle the remaining 1 tablespoon of olive oil around the edges of the skillet. Let them cook for another 3 to 4 minutes on this second side until they are cooked all the way through and look lightly crisp all over. Medium heat is crucial here—too high and the outside burns before the inside cooks! Remove them immediately and get them onto a plate. They are ready to eat hot!
Tips for Success with Your pan dumpling recipe
Getting that beautiful contrast between the crust and the center is all about managing the heat and the space in your pan. My number one tip, which I learned the hard way (hello, burnt bottoms!), is to stick strictly to medium heat. If you crank it up high to hurry them along, you end up with raw dough inside and charcoal underneath. It’s just not worth it!
Also, resist the urge to stack them! You must cook these pan dumplings in a single layer. If you overlap them, you trap steam, and instead of getting those lovely crispy bottoms, you end up with soft, soggy sides. If your skillet isn’t big enough for all 12 at once, please, please cook them in two batches. That little bit of extra time is worth getting that perfectly golden sear on every single one.
Ingredient Notes and Simple Substitutions
Since this is such a simple recipe, the ingredients we use really have to shine! I already mentioned that all-purpose flour is the champion here. If you try using bread flour, your dumplings might come out a little too chewy, and self-rising flour will mess up the salt balance we worked so hard to get right.
For the fat, olive oil is great because it has a higher smoke point, but if you don’t have any, a neutral vegetable oil like canola works just fine for frying. Just skip the butter in the first step if you must, but I highly recommend keeping it—that little bit of richness makes a difference!
Serving Suggestions for pan dumpling recipe
These crispy, fluffy things are so versatile, which is why I love them! They are perfect soaking up rich sauces, but they are fantastic on their own too. Since they are vegetarian, they pair beautifully with almost any vegetable side dish you can think of. For something savory, you might enjoy trying out this caramelized onion grilled cheese recipe.
For a complete, comforting meal, try serving these alongside a hearty lentil stew or smothering them with a simple mushroom gravy. They are also amazing dipped into a spicy peanut sauce or served next to some garlicky sautéed greens. Honestly, they disappear fast, no matter what I serve them with!
Storage and Reheating Instructions for Leftover pan dumpling recipe
If you manage to have any leftovers—and I rarely do!—storing them correctly is key to keeping that amazing texture intact. You want to avoid sogginess at all costs. The best way to store these pan dumplings is to let them cool completely after they come out of the skillet. Don’t trap any steam in the container!
Once cool, place them in an airtight container. They are best eaten within two days, but they usually last fine for three. Never store them in the refrigerator uncovered, or they turn into hard little hockey pucks!
| Storage Method | Duration | Best Practice |
|---|---|---|
| Airtight Container | Up to 3 days | Ensure dumplings are completely cool first |
Reheating is where we bring back that crispy exterior! Microwaving is a total no-go; it just steams them. Instead, pop them back into a dry, hot skillet over medium heat for about 3 minutes per side. This quickly evaporates any residual moisture and re-crisps that beautiful golden bottom we worked so hard to achieve.
Frequently Asked Questions about pan dumpling recipe
Q1. Why are my pan dumpling recipe results tough instead of tender?
Usually, that means you over-kneaded the dough, or you added too much flour when rolling out the rounds. Remember, we only knead for about 3 to 4 minutes until smooth. If you keep working it too long, you develop too much gluten, and they get chewy! Keep them a little soft when you shape them.
Q2. How do I make sure my skillet dumplings get crispy bottoms every time?
The secret to crispy skillet dumplings is two-fold: first, you need enough fat in the pan for that initial sear, and second, you absolutely cannot overcrowd them. They need space to brown, not steam. Cook them in batches if you have to, and stick to medium heat so the browning happens slowly and evenly.
Q3. Can I use cold water instead of warm water for this easy dumpling recipe?
You can, but I really don’t recommend it! Cold water makes the dough stiffer and harder to bring together smoothly in the beginning. Warm water helps hydrate the flour faster, leading to that soft, pliable dough that makes shaping those 3-inch rounds so much easier. It’s a small step that makes a big difference in the texture.
Q4. My dough was really sticky when I first mixed it; is that normal?
Yes, absolutely! When you first add the water, don’t worry if it looks like a shaggy mess. That’s why we knead it! The kneading process is what brings all that stickiness together into a smooth ball. If after 4 minutes of kneading it’s still wildly unmanageable, add just an extra teaspoon of flour, but try to keep it minimal.
Share Your Experience Making This pan dumpling recipe
I poured all my best tips into this guide, but the real test is in your kitchen! I would absolutely love to hear how these turned out for you. Did you get that perfect crispy bottom? Let me know in the comments below. Seriously, drop a rating and tell me what you served them with! You can also follow our latest culinary adventures on Facebook.
Print
Amazing 12-step pan dumpling recipe secret
- Total Time: 25 minutes
- Yield: 4 servings
- Diet: Vegetarian
Description
Simple pan dumplings recipe resulting in golden, tender dumplings with a crispy exterior and soft interior, made with basic pantry staples using easy stovetop cooking.
Ingredients
- 2 cups all-purpose flour
- 0.75 teaspoon kosher salt
- 0.75 cup warm water
- 2 tablespoons olive oil divided
- 1 tablespoon unsalted butter
Instructions
- Mix flour and salt in a bowl.
- Add warm water and stir until a soft dough forms.
- Knead dough on a lightly floured surface for 3 to 4 minutes until smooth.
- Divide dough into 12 equal pieces and roll each into a ball.
- Flatten each ball into a small round about 3 inches wide.
- Heat 1 tablespoon olive oil and butter in a large skillet over medium heat.
- Add dumplings in a single layer without overcrowding.
- Cook 3 to 4 minutes until the bottoms are golden.
- Flip dumplings and drizzle remaining olive oil around the skillet.
- Cook 3 to 4 minutes more until cooked through and lightly crisp.
- Remove from heat and serve warm.
Notes
- Dumplings should cook in a single layer to achieve crisp bottoms.
- Use medium heat to prevent burning before the inside cooks.
- Prep Time: 15 minutes
- Cook Time: 10 minutes
- Category: Main Dish
- Method: Stovetop Pan-Frying
- Cuisine: General