Magic Cookie Bars. Just saying the name brings a smile to my face, and for good reason! When I first started NoobRecipes, I was on a mission to prove that *anyone* could bake incredible treats, even if they’d never turned on an oven before. And these bars? They were my secret weapon. I remember making them for the first time, totally convinced I’d mess it up, but nope! They came out perfectly. It’s honestly one of those recipes that just *works*, every single time, and it’s become a go-to for so many of you who are just dipping your toes into baking. They’re proof that delicious, impressive desserts don’t have to be complicated. Get ready to impress yourself and everyone around you!

Why You’ll Love These Magic Cookie Bars
Honestly, these Magic Cookie Bars are a no-brainer for anyone who wants to bake something amazing without breaking a sweat. They’re seriously the easiest thing to whip up, and the results are always spectacular. Forget complicated techniques or fancy ingredients; this recipe is designed to be foolproof. Plus, they taste absolutely divine – a perfect mix of sweet, chewy, and crunchy that just makes everyone happy.
- Super Simple: Seriously, you just layer things in a pan. No fancy mixing or creaming required!
- Quick to Make: Prep time is barely 15 minutes, and then the oven does most of the work.
- Crowd Pleaser: Whether it’s a potluck, a party, or just a Tuesday night craving, these bars disappear fast.
- Beginner Approved: This is the kind of recipe that builds confidence in new bakers. You’ve got this!
Effortless Preparation for Beginners
This is where the ‘NoobRecipes’ magic really happens! We designed this recipe specifically for anyone who’s just starting out. You don’t need any special equipment, just a pan and a few bowls. The steps are so straightforward – mix the base, pour the milk, sprinkle the toppings, and bake. It’s almost impossible to mess up, and that’s exactly how I like it. It’s all about making baking accessible and fun for everyone.
Irresistible Flavor Combination
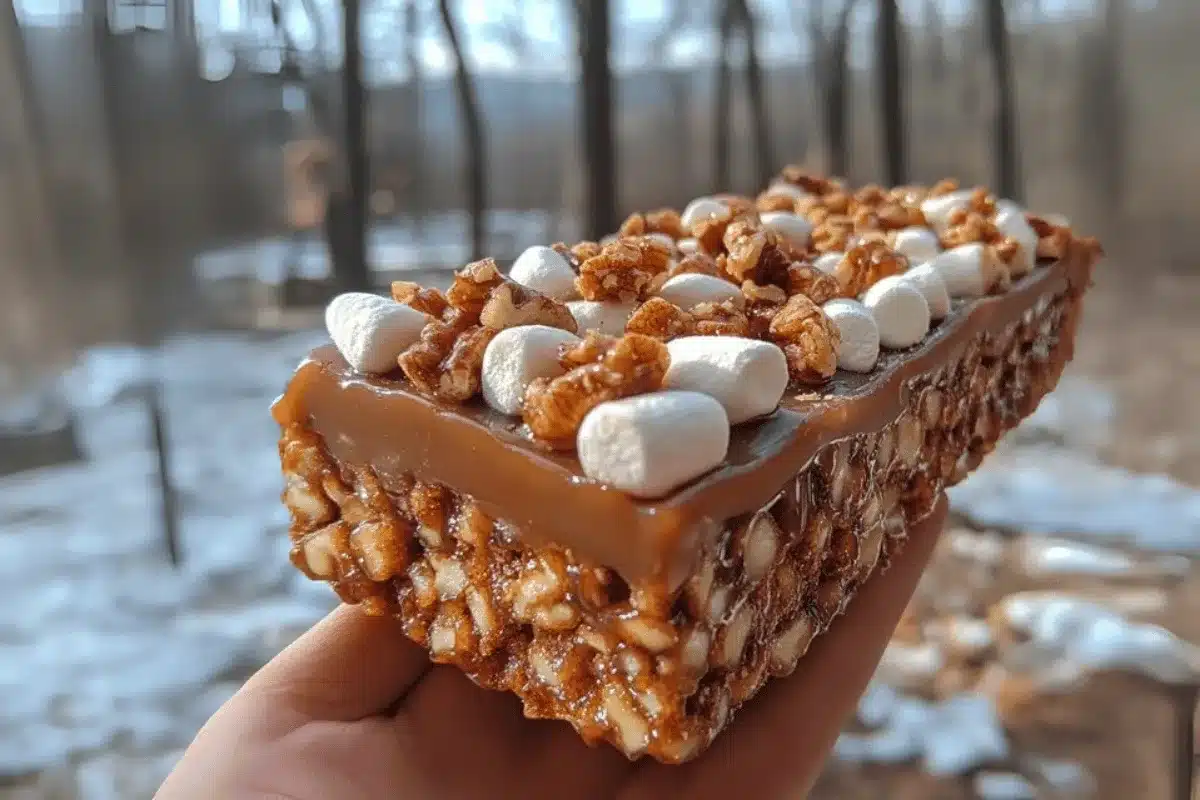
Oh, the flavor! That gooey, sweet condensed milk caramelizes perfectly with the chocolate chips, creating this incredibly rich base. Then you get the lovely chewiness from the flaked coconut and that satisfying crunch from the chopped nuts. Every bite is a delightful mix of textures and sweet, comforting flavors. It’s pure happiness in bar form, honestly!
Gathering Your Ingredients for Magic Cookie Bars
Alright, let’s talk about what you’ll need to make these amazing Magic Cookie Bars! The beauty of this recipe is that it uses pretty common stuff you might even have in your pantry already. I always tell people to grab the good stuff, but honestly, even standard brands work like a charm here. Just make sure you’ve got everything measured out before you start layering. It makes the whole process go super smoothly, and that’s what we’re all about at NoobRecipes – easy peasy!
Ingredient List
| Ingredient | Amount | Notes |
| Graham cracker crumbs | 1 1/2 cups | You can buy these pre-crushed or crush your own graham crackers. |
| Butter | 1/2 cup | Needs to be melted. |
| Sweetened condensed milk | 1 (14 oz.) can | Make sure it’s sweetened condensed milk, not evaporated milk! |
| Semi-sweet chocolate chips | 2 cups | Or milk chocolate if that’s more your jam! |
| Flaked coconut | 1 1/3 cups | Sweetened or unsweetened, your choice. |
| Chopped nuts | 1 cup | Walnuts or pecans are classic choices here. |
Crafting Your Magic Cookie Bars: Step-by-Step Instructions
Alright, let’s get baking! Making these Magic Cookie Bars is honestly so satisfying because you can see the deliciousness building layer by layer. It’s like edible art, but way easier and tastier. Don’t worry if you’ve never baked before; these steps are super clear and designed to make you feel like a pro in no time. Just follow along, and you’ll have these beauties ready before you know it!
Preparing the Base
First things first, let’s get that oven preheated to 350°F (175°C). While it’s warming up, grab your 13×9 inch baking pan. A quick little grease will make sure nothing sticks later. Now, take those graham cracker crumbs and mix them up with the melted butter in a small bowl. Once it’s all combined, press this yummy mixture evenly into the bottom of your pan. Use the back of a spoon or even your hands to get it nice and firm – this is your foundation!
Layering the Magic
This is where the “magic” really happens! Pour that can of sweetened condensed milk evenly over the graham cracker base. Make sure you get it all the way to the edges. Next, sprinkle your chocolate chips, flaked coconut, and chopped nuts all over the top. Try to distribute them as evenly as possible so every bite is perfect. Once everything is piled on, gently press down with a fork. This little step really helps everything stick together when it bakes and cools.
Baking and Cooling for Perfection
Now, pop that pan into your preheated oven. You’ll want to bake it for about 25 to 30 minutes. Keep an eye on it – you’re looking for that top layer to be lightly golden brown. Once it’s done, carefully take it out of the oven. A super important tip here: while the bars are still warm, run a knife around the edges of the pan to loosen them up. This makes them so much easier to cut later! Then, let them cool completely on a wire rack. Seriously, *completely*. This is the secret to getting those clean cuts. Patience is key for the perfect finish!

Tips for Baking Perfect Magic Cookie Bars
Okay, so you’ve got the recipe, you’ve got the ingredients, and you’re ready to bake. That’s awesome! But to make sure your Magic Cookie Bars turn out absolutely perfect, every single time, here are a few little tricks I’ve learned over the years. These are the things that really make a difference between a good bar and a *wow* bar, and they’re super easy to do. Trust me, a little attention here goes a long way!
Ensuring Even Layers
When you’re sprinkling on those chocolate chips, coconut, and nuts, try to spread them out as evenly as possible. Use a fork to gently press them down a bit. This helps make sure every single bite has a little bit of everything, so you don’t get a mouthful of just nuts or just chocolate. It’s all about balance!
The Importance of Complete Cooling
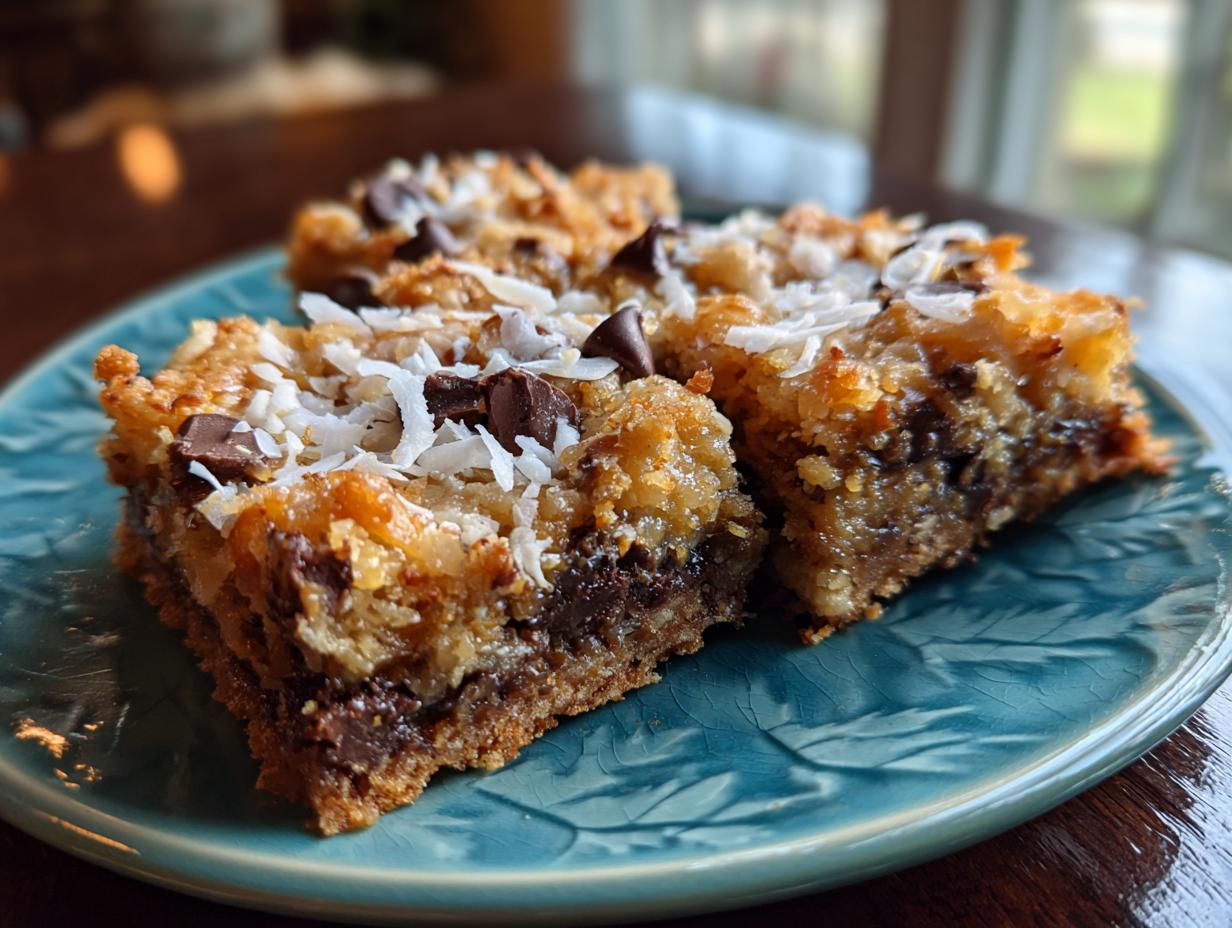
This is probably the *biggest* tip for making your Magic Cookie Bars look as good as they taste. You HAVE to let them cool completely, and I mean completely, on a wire rack. If you try to cut them while they’re still warm, they’ll just crumble apart. Letting them sit until they’re totally cool helps them set up perfectly, making for those clean, beautiful cuts you see in pictures.
Frequently Asked Questions About Magic Cookie Bars
Got questions about these delightful bars? I’ve got answers! Since starting NoobRecipes, I’ve heard them all, and I’m happy to clear things up for you. These are my go-to responses for common queries about making the best Magic Cookie Bars.
Q1. Can I use different types of chips or nuts in my Magic Cookie Bars?
Absolutely! That’s the beauty of these bars – they’re super customizable. You can swap the semi-sweet chocolate chips for milk chocolate, dark chocolate, or even white chocolate chips. For the nuts, pecans and walnuts are classic, but almonds, macadamia nuts, or even a mix would be delicious. Just make sure they’re chopped into bite-sized pieces!
Q2. My condensed milk seems really thick. Is that okay?
Yes, that’s perfectly normal! Sweetened condensed milk is naturally quite thick. Make sure you’re using *sweetened condensed milk* and not evaporated milk, as they are very different. If it seems *extremely* stiff, you can stir it a bit in its can, but it should pour reasonably well. It’s supposed to create that lovely gooey layer!
Q3. How do I get clean cuts on my bars? They always seem to crumble.
Ah, the classic crumbled bar problem! The absolute key is letting them cool *completely*. I mean, really, really cool. It takes patience, but it’s worth it. Once they’re fully set, use a sharp knife and wipe it clean between cuts. Sometimes, running a knife around the edges *while warm* helps, but the cooling is the main trick. And remember, even if they’re a little messy, they’ll still taste amazing!
Q4. Can I make these bars ahead of time?
Definitely! Magic Cookie Bars are fantastic for making ahead. In fact, they often taste even better the next day after the flavors have had a chance to meld. Just store them in an airtight container at room temperature. They’re perfect for parties or bake sales because you can whip them up a day or two in advance.
Storing and Reheating Your Magic Cookie Bars
These Magic Cookie Bars are so good, you might actually have leftovers! And if you do, don’t worry, they store like a dream. Keeping them fresh is super easy, and they’re still delicious even a few days later. Plus, if you like them a little warm and gooey, I’ve got a quick tip for that too!
| Storage/Reheating | Details |
| Storage Guidelines | Store leftover Magic Cookie Bars in an airtight container at room temperature. They’ll stay delicious for up to 3-4 days. Make sure they’re fully cooled before sealing them up! |
| Reheating Tips | If you prefer your bars warm and gooey, you can gently reheat them. Place a bar on a microwave-safe plate and microwave for just 10-15 seconds. Be careful not to overheat! You can also pop them in a low oven (around 250°F or 120°C) for a few minutes until warmed through. |
Estimated Nutritional Information for Magic Cookie Bars
Just a heads-up, the nutritional info below is an estimate! The exact numbers can change a bit depending on the specific brands of ingredients you use. These numbers are based on a standard serving size of one bar.
| Nutrient | Amount |
| Serving Size | 1 bar |
| Calories | 200 |
| Fat | 12g |
| Saturated Fat | 7g |
| Unsaturated Fat | 5g |
| Trans Fat | 0g |
| Sodium | 75mg |
| Carbohydrates | 22g |
| Fiber | 1g |
| Sugar | 25g |
| Protein | 2g |
| Cholesterol | 15mg |
For more delicious recipes and baking tips, follow us on Facebook and Pinterest!
Print
Magic Cookie Bars: 25-Minute Delight
- Total Time: 45 minutes + cooling time
- Yield: 24 servings
- Diet: Vegetarian
Description
Magic Cookie Bars are a simple, delicious, and crowd-pleasing dessert perfect for beginners. This recipe uses common ingredients and straightforward steps to create a sweet treat everyone will love.
Ingredients
- 1 1/2 cups graham cracker crumbs
- 1/2 cup butter, melted
- 1 (14 oz.) can sweetened condensed milk
- 2 cups semi-sweet chocolate chips
- 1 1/3 cups flaked coconut
- 1 cup chopped nuts
Instructions
- Preheat your oven to 350°F. Lightly grease a 13×9 inch baking pan.
- In a small bowl, mix graham cracker crumbs with melted butter. Press this mixture evenly into the bottom of the prepared pan.
- Pour the sweetened condensed milk over the crumb base.
- Evenly layer the chocolate chips, flaked coconut, and chopped nuts on top. Gently press down with a fork.
- Bake for 25 to 30 minutes, or until the top is lightly browned.
- While still warm, loosen the edges from the pan. Let cool completely on a wire rack.
- Cut into bars or diamond shapes to serve.
Notes
- Ensure the condensed milk is poured evenly to cover the crumb base.
- Pressing down the layers helps the bars hold together better.
- Cooling completely is key for clean cuts.
- Prep Time: 15 minutes
- Cook Time: 30 minutes
- Category: Dessert
- Method: Baking
- Cuisine: American