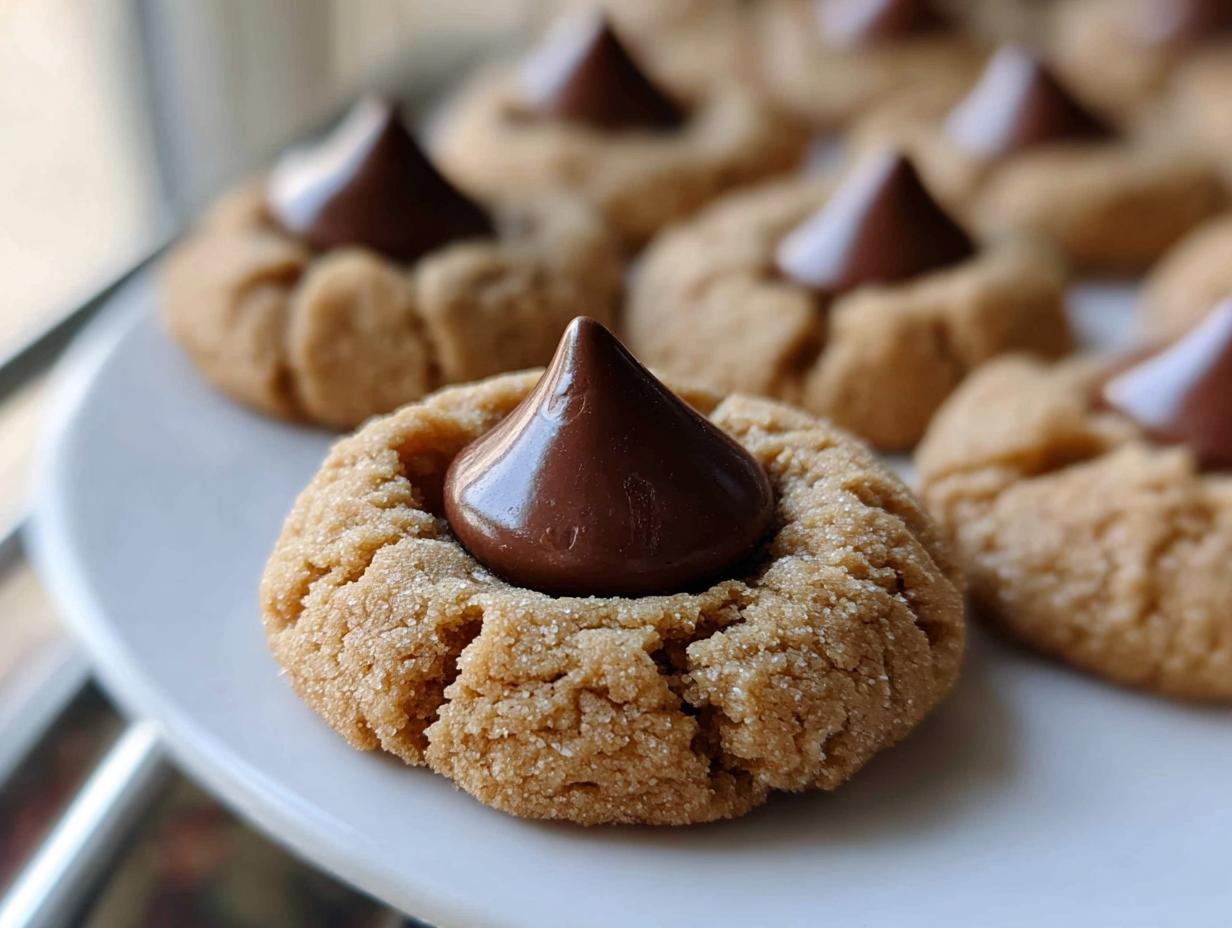
Chocolate Kiss Cookie Recipe! When I first started NoobRecipes, I promised myself I’d only share things that felt foolproof, and this recipe is the poster child for that promise. I remember trying to impress my new neighbors years ago, and I completely botched a fancy layer cake. Defeated, I turned to this simple cookie because it required almost no skill—just mixing and pressing! It was an instant hit, and I realized that baking doesn’t need to be intimidating. These peanut butter beauties, topped with that melting chocolate crown, are proof that anyone can nail a holiday classic on their very first try. We’re using basic pantry staples here, so don’t sweat the fancy equipment.

Gathering Your Ingredients for the Chocolate Kiss Cookie Recipe
Okay, let’s get organized! For any beginner baker, the secret to success in any recipe—especially the famous Chocolate Kiss Cookie Recipe—is having everything measured and ready to go before you even turn the mixer on. Seriously, this prevents that mid-mix panic when you realize you’re out of milk! We’re using standard stuff here, so you probably have most of this already. I’ve broken down exactly what you need below so you can check off your list. Trust me, a little prep work makes the actual baking smooth sailing.
Essential Components for This Chocolate Kiss Cookie Recipe
Don’t try to eyeball these measurements; that’s how we get flat, sad cookies! Pay close attention to the difference between the granulated sugar for the dough and the extra amount we use just for rolling. Here are the precise quantities for making 48 perfect cookies.
| Ingredient | Amount |
|---|---|
| Hershey’s Kisses (unwrapped) | 48 |
| Shortening | ½ cup |
| Reese’s Creamy Peanut Butter | ¾ cup |
| Granulated Sugar (for dough) | ⅓ cup |
| Brown Sugar (lightly packed) | ⅓ cup |
| Egg | 1 |
| Milk | 2 tablespoons |
| Vanilla Extract | 1 teaspoon |
| All-Purpose Flour | 1 ½ cups |
| Baking Soda | 1 teaspoon |
| Salt | ½ teaspoon |
| Granulated Sugar (for rolling) | ⅓ cup (additional) |
Mastering the Chocolate Kiss Cookie Recipe: Step-by-Step Preparation
This is where the magic happens, and I promise you, it’s almost impossible to mess up! We’re aiming for a dough that feels soft but holds its shape. Remember, we’re making 48 cookies, so get comfortable, but honestly, this whole process flies by, especially since we don’t even have to chill the dough. Keep your oven thermometer handy; consistency is key.
Mixing the Peanut Butter Base for Your Chocolate Kiss Cookie Recipe
Grab your biggest mixing bowl. We need to start by creaming the shortening and the peanut butter together. Use your electric mixer attachment for this, but don’t go too fast at first—shortening likes to fly! Beat them until they look smooth and perfectly blended. Next, slowly add in your granulated sugar and that lovely brown sugar. Beat this mixture until it looks genuinely fluffy. I mean light and airy, like a cloud ready for a nap. This creaming step traps the air we need so these cookies aren’t too dense later on.
Once that’s fluffy, drop in your single egg, the milk, and the vanilla. Beat it just until everything comes together and looks like one cohesive, creamy base. Don’t overmix here; we just want it incorporated.
Combining Wet and Dry Ingredients for the Chocolate Kiss Cookie Recipe
Now for the dry stuff. In a separate bowl—please use a separate bowl!—whisk together your flour, baking soda, and salt. Whisking them first ensures the baking soda is evenly distributed, which stops you from getting one giant salty bite in your cookie. We’re going to add these dry ingredients to that beautiful peanut butter mixture gradually. I always add about a third of the dry mix, stir it gently until it just disappears, then add the next third, and so on. Stop mixing as soon as you see no more streaks of flour. If you beat the flour too much, you develop gluten, and suddenly your Chocolate Kiss Cookie Recipe turns into a tough hockey puck. We want tender cookies!
Shaping and Baking the Cookies Before Adding the Kiss
Time to roll! Portion your peanut butter dough into small, one-inch balls. You can use a little cookie scoop if you have one; it helps keep them uniform. Now, pour that extra granulated sugar onto a shallow plate. Roll each ball completely in the sugar until it’s totally coated. This sugar coating is what gives us those beautiful, crackly white edges later! Place them on an ungreased cookie sheet, leaving about two inches between them because they will spread a little. Bake them in your preheated 375°F oven for exactly 8 to 10 minutes. You want them slightly golden around the edges, but the centers should still look a tiny bit soft when you pull them out.

The Final Touch: Setting the Chocolate Kiss
This is the most important part of the entire Chocolate Kiss Cookie Recipe, so listen closely! As soon as those cookies come out of the oven—and I mean immediately—take your unwrapped Hershey’s Kisses and gently press one right into the center of each hot cookie. They should sink in nicely and start to melt around the edges. If you wait even two minutes, the cookie firms up, and you’ll just end up cracking the cookie when you press down. Once all 48 Kisses are nestled in, you have to move fast! Use a thin spatula to transfer them immediately from the hot baking sheet onto a wire cooling rack. If they sit on that hot sheet, the bottoms will keep cooking, and your chocolate might get too runny. Let them cool completely so the chocolate sets up perfectly.
Tips for Perfecting Your Chocolate Kiss Cookie Recipe
Even though this is a super simple recipe, I’ve learned a few tricks over the years to make sure your Chocolate Kiss Cookie Recipe turns out flawless every single time. Remember, this is ‘NoobRecipes,’ so we focus on making sure the basics are locked down tight! The biggest thing beginners worry about is the texture, but if you follow those mixing steps, you’ll be fine. Don’t panic if your dough seems a little soft when you scoop it; that’s why we roll it thick in sugar!
If you want a slightly richer cookie—and who doesn’t?—you can swap out half the shortening for softened butter. Just make sure you still cream it really well with the peanut butter. Butter adds flavor, but shortening helps keep these cookies soft for days, which is why I usually stick to the original ratio. Also, try using crunchy peanut butter if you like texture, but know that the cookie won’t look quite as smooth on the outside. Stick to creamy for the classic look!
Ingredient Substitutions and Adjustments
For the chocolate, you absolutely must use the foil-wrapped Kisses. Other brands just don’t melt the same way, and you risk the chocolate separating or getting greasy instead of creamy. If you don’t have milk, a tiny splash of water works in a pinch, but milk adds a touch of fat that helps smooth out the dough. Don’t try to skip the baking soda, though; that’s what gives the cookie its little lift before the Kiss squishes it down. The Chocolate Kiss Cookie Recipe really relies on that balance.
Frequently Asked Questions About the Chocolate Kiss Cookie Recipe
I get so many emails from people making this Chocolate Kiss Cookie Recipe for the first time, and they usually have the same few questions. Don’t worry if you’re second-guessing yourself; that’s why I’m here! These are easy fixes that ensure your cookies look just like mine.
Q1. Do I really have to press the chocolate kiss in immediately? What happens if I wait?
Yes, you absolutely must press the chocolate kiss in right when the cookies come out of the oven! If you wait even three minutes, the cookie surface hardens, and when you press down, you’ll crack the peanut butter cookie dough. It’s crucial to do it while they are piping hot so the chocolate melts just enough to adhere perfectly.
Q2. Can I chill the dough for the Chocolate Kiss Cookie Recipe before baking?
You don’t need to chill this dough at all, which is great for us beginners! Chilling is usually for cookies that spread too much. Since this recipe uses shortening, the dough holds its shape well enough on the baking sheet. If your kitchen is super hot, chilling for just 15 minutes might help you scoop neater balls, but it’s not required for the final texture.
Q3. Why do my cookies come out flat, even though I rolled them in sugar?
Flat cookies usually mean your shortening wasn’t cool enough when you creamed it, or you over-mixed the flour. Remember, we want fluffy, not overworked. Also, make sure your oven temperature is accurate! If your oven is too low, they spread too much before they set. An oven thermometer is a great, cheap tool for any beginner baker. If you are looking for more baking inspiration, check out our brown butter chocolate chip cookies!
Q4. How long do these cookies stay fresh?
These are surprisingly sturdy cookies! Because of the peanut butter and the chocolate cap, they stay fresh for about five days stored in an airtight container at room temperature. They actually taste great the next day once the chocolate has fully set.
Storing Your Homemade Chocolate Kiss Cookie Recipe Treats
The worst thing you can do is bake 48 perfect cookies and then let them go stale on the counter! Luckily, these Chocolate Kiss Cookie Recipe treats store really well because of that dense peanut butter base and the chocolate hat. We want to keep them away from heat and humidity so the chocolate doesn’t get weird, soft spots.
For the best texture, you should store them in an airtight container at room temperature. Do not put them in the fridge! The cold tends to dry out the peanut butter cookie part, and honestly, it can make the chocolate feel waxy. They stay great for almost a week, which is perfect for holiday baking prep.
| Storage Method | Duration | Notes |
|---|---|---|
| Airtight Container (Room Temp) | Up to 5 Days | Keeps cookies softest; avoid stacking too tightly. |
| Freezing (Unfrosted) | Up to 3 Months | Wrap dough balls tightly before baking. |
| Refrigeration | Not Recommended | Can dry out the cookie texture quickly. |
If you freeze the dough balls *before* you press the Kiss in, they last ages! Just bake them frozen, adding about 2-3 minutes to the baking time, and then add the chocolate immediately when they come out.
Sharing Your Success with the Chocolate Kiss Cookie Recipe
Well, that’s it! You’ve conquered the Chocolate Kiss Cookie Recipe, and I bet they look amazing. I truly hope these brought a smile to your kitchen. If you tried this easy recipe, please leave me a star rating below and tell me how they turned out. I love hearing about your baking wins! You can also share your results with our community on Facebook or save this recipe on Pinterest.
Print
Amazing 48 Chocolate Kiss Cookie Recipe yields
- Total Time: 25 minutes
- Yield: 48 cookies
- Diet: Vegetarian
Description
A classic and easy recipe for peanut butter cookies topped with a melted chocolate kiss, ideal for new bakers.
Ingredients
- 48 Hershey’s Kisses
- ½ cup shortening
- ¾ cup Reese’s Creamy Peanut Butter
- ⅓ cup sugar
- ⅓ cup brown sugar, lightly packed
- 1 egg
- 2 tablespoons milk
- 1 teaspoon vanilla extract
- 1 ½ cups all-purpose flour
- 1 teaspoon baking soda
- ½ teaspoon salt
- ⅓ cup additional granulated sugar for rolling
Instructions
- Preheat the oven to 375°F.
- Cream the shortening and peanut butter in a mixing bowl using beater attachments until well blended.
- Add ⅓ cup granulated sugar and brown sugar; beat until fluffy.
- Add the egg, milk, and vanilla; beat well.
- Stir together the flour, baking soda, and salt in a separate bowl; gradually add the dry ingredients into the peanut butter mixture.
- Portion the peanut butter dough using a small cookie scoop and shape the dough into 1-inch balls.
- Roll the peanut butter balls in granulated sugar.
- Place the cookie dough balls on an un-greased cookie sheet, a sheet lined with parchment paper, or a silpat mat.
- Bake at 375°F for 8 to 10 minutes, or until slightly brown.
- Immediately press one unwrapped Hershey’s chocolate kiss into the center of each cookie.
- As soon as all kisses are pressed into the cookies, immediately move them from the cookie sheet to a wire rack.
- Cool the cookies completely.
Notes
- This recipe creates a delicious peanut butter cookie topped with a smooth chocolate kiss.
- These cookies are perfect for any festive season or family gathering.
- Prep Time: 15 minutes
- Cook Time: 10 minutes
- Category: Dessert
- Method: Baking
- Cuisine: American