If you’ve been searching high and low for a dessert that tastes totally decadent but doesn’t require you to turn on the oven, stop right here! Seriously, these chocolate date caramels are about to change your snack game forever. Forget refined sugar; these little gems are naturally sweet and so chewy!
I remember the first time I tried making a “healthy” candy. I thought it would be dry or crumbly, honestly. I was so used to baking cakes that the idea of creating caramel texture just from dates seemed like magic. I messed up the first batch—it was too dry—but after adjusting the coconut oil just a tiny bit, I finally nailed it. Now, these chocolate date caramels are my go-to when I need a quick fix.
The best part? They are completely no-bake! You just need a good processor, and you’re halfway there. Trust me, once you see how simple this process is, you’ll never look at a bag of Medjool dates the same way again.

Gathering Your Ingredients for Chocolate Date Caramels
Getting organized before you start blending is key here, especially since this is a no-bake situation. We rely entirely on the quality of our ingredients to give us that perfect chewy texture in our chocolate date caramels. Don’t rush this part; having everything measured out makes the assembly process fly by!
We are keeping things wholesome, which means we skip the butter and refined sugar you find in traditional caramel. It’s all about maximizing flavor from natural sources. You’ll notice we use coconut oil twice—once in the base for binding and again to help our chocolate melt beautifully smooth.
Core Caramel Base Ingredients
- 1 cup Medjool dates, pitted (Make sure they are soft—if they feel hard, soak them in hot water for 10 minutes first, then drain really well!)
- ½ cup roasted almonds (Using roasted nuts gives you a deeper, richer flavor, so try not to skip that step!)
- 1 tablespoon coconut oil, melted
- Pinch of salt (This tiny bit wakes up all the sweetness, trust me.)
Chocolate Coating and Finishing Touches
For the coating, you absolutely want dark chocolate. It balances the intense sweetness of the dates perfectly. Milk chocolate can get too cloying here, in my opinion.
- 1½ cups dark chocolate chips or chopped dark chocolate (Use a good quality 60% or higher if you can!)
- 1 teaspoon coconut oil (This helps thin the chocolate just enough for a nice dip.)
- Optional Garnish: Flaky sea salt or chopped almonds (Flaky salt is my favorite—it gives you that little pop of contrast when you bite in.)
Essential Equipment for Perfect Chocolate Date Caramels
You don’t need a lot of fancy gadgets for these, which is why I love them for quick treats! The most important tool here is definitely your food processor. If you try to use a regular blender, you’re going to end up with chunky date chunks instead of smooth caramel, so use the processor if you have one!
You’ll also need a couple of simple things to manage the mess, because dates are sticky, folks! Don’t worry if you don’t have every single item, but these really make the process smooth.
- A reliable food processor (This is non-negotiable for that perfect paste!)
- Parchment paper (You need this to line your tray so nothing sticks.)
- A small microwave-safe bowl (For melting that gorgeous dark chocolate.)
- A fork or a dipping tool (For coating the date pieces neatly.)
Step-by-Step Instructions for Chocolate Date Caramels
Okay, time to get our hands dirty—or at least, let the food processor do the heavy lifting! Making these chocolate date caramels is surprisingly straightforward, but the texture you achieve in the first step is everything. Don’t panic if it looks weird at first; just keep trusting the process!
Creating the Sticky Date-Almond Base
Toss all your base ingredients—the pitted dates, the roasted almonds, the melted coconut oil, and that crucial pinch of salt—right into the bowl of your food processor. Now, you need to blend this mixture until it completely transforms. At first, it might look crumbly, like coarse sand. Keep processing! It’s going to start sticking together, and eventually, you want it to form one giant, thick, sticky ball or paste.
When you stop the machine and press a bit of it between your fingers, it should hold its shape perfectly. If it crumbles, give it another 30 seconds. Once it’s that thick, sticky paste, take about a tablespoon of the mixture at a time and quickly roll or press it into small rectangle shapes or little balls—whatever you prefer for your candy size. Line a baking sheet with parchment paper and stack these little date blocks on top. Now, they need to firm up so they don’t fall apart when we dip them!
Chilling and Preparing the Chocolate Dip
Get those date pieces into the freezer for about 15 to 20 minutes. This chilling time is super important; it stops them from melting into the chocolate bath. While they are hardening up nicely, let’s get that coating ready.
In your microwave-safe bowl, combine the dark chocolate chips and the remaining teaspoon of coconut oil. We aren’t just melting it all at once! That’s how you burn chocolate and get a grainy mess. Instead, heat it in short bursts—20 seconds at a time is perfect. Stir really well after every 20 seconds, even if it doesn’t look melted yet. Keep doing this until the chocolate is completely smooth, glossy, and looks totally luxurious.

Coating and Setting Your Chocolate Date Caramels
Pull your chilled date pieces out of the freezer. Now for the fun part! Use a fork—this gives you great control—to gently dip one chilled piece into the melted chocolate. Make sure it’s coated all over. Lift it out, let the extra chocolate drip back into the bowl for a second or two, and then place it carefully back onto your parchment-lined tray.
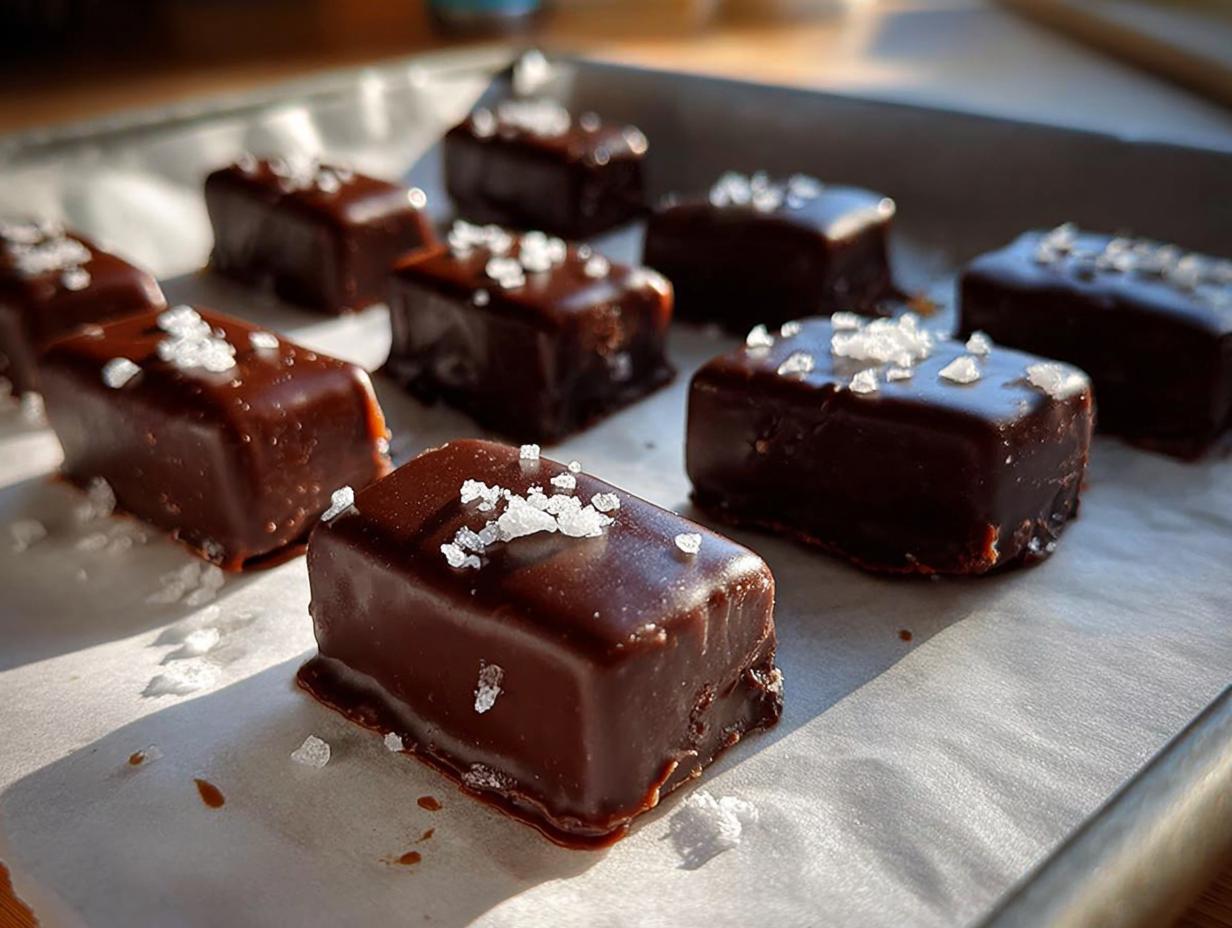
This is where you add the finishing touch! If you like that salty-sweet contrast, sprinkle a tiny bit of flaky sea salt on top right away before the chocolate hardens. You can also toss some chopped almonds on there if you want extra crunch. Once they are all dipped and garnished, pop the whole tray back into the refrigerator for about 30 minutes. This sets the chocolate firm, and then your wonderful chocolate date caramels are ready to eat!
Tips for Success with Your Chocolate Date Caramels
Even though these are no-bake, there are a few little tricks I learned the hard way that will save you frustration when making your chocolate date caramels. The biggest hurdle is usually that sticky date paste. If your food processor is struggling, don’t just keep running it until it smokes!
If the mixture seems too dry and won’t come together into a paste, add your melted coconut oil in half-teaspoon increments until it finally starts clumping up. Remember, the dates need to be soft to begin with; if yours are dry, soaking them is the secret weapon for that smooth base.
When you’re dipping the chilled date pieces, work fast! If the date piece warms up too much in your hand or while sitting out, it gets really soft and can break when you try to dip it. Keep the extras in the freezer until you are ready to coat them. Also, when melting the chocolate, stir often! Those 20-second bursts are quick, and stirring ensures you don’t end up with burnt patches on your otherwise perfect chocolate date caramels.
Variations on Chocolate Date Caramels
These chocolate date caramels are fantastic as they are, but sometimes you want to mix things up a bit! Since the base is so simple, it takes flavor additions really well. If you want to try a different nut instead of almonds, feel free! Pecans or walnuts work beautifully, just make sure they are roasted first for the best flavor impact.
For extracts, a tiny splash of pure vanilla extract right into the date paste mixture before processing is always a winner. If you’re feeling festive, try stirring in about ¼ teaspoon of peppermint extract—it makes for amazing holiday treats! Just remember, extracts are strong, so use them sparingly to keep that lovely, natural date sweetness shining through in your chocolate date caramels.
Frequently Asked Questions About Chocolate Date Caramels
I get so many questions about these little treats because they are just so different from regular candy! Here are some things folks ask me most often when they are trying to make their first batch of healthy dessert or almond caramel.
Can I make chocolate date caramels without a food processor?
Oh, that’s a tough one! For the date-almond paste to get that perfectly smooth, sticky texture, a food processor is really the best tool. If you only have a high-powered blender, you might get away with it, but you’ll need to add a bit more melted coconut oil—maybe an extra teaspoon—to help it move around the blades. You might end up with a slightly looser base, so be prepared for a longer chill time (maybe 30 minutes in the freezer) before dipping. If you only have a regular blender, honestly, I’d recommend waiting until you can borrow a processor, otherwise, you risk an uneven texture.
How long do these chocolate date caramels last?
Since these are made with whole foods and no refined sugar, they are best kept in the refrigerator. They stay perfectly fresh in an airtight container for about two weeks. If you stack them, put a small piece of parchment paper between the layers so the chocolate coating doesn’t stick to the layer underneath. They taste almost better the next day once the flavors have really melded together!
Q. Can I use other dried fruit besides Medjool dates?
You really need Medjool dates for the right caramel texture; dried figs or prunes just don’t break down the same way to create that sticky binder. Stick to Medjools for this recipe!
Q. My chocolate coating is dull, what went wrong?
That usually means the chocolate seized up or burned slightly. Make sure you are using the 20-second intervals and stirring thoroughly between each one. Too much high heat ruins that glossy finish.
Storing and Enjoying Your Chocolate Date Caramels
Once you’ve successfully dipped and garnished your batch of chocolate date caramels, storage is super easy, but important for keeping that chewy texture. Since these are made with whole ingredients and no preservatives, they love the cold!
You must keep them refrigerated. They are firm straight out of the fridge, which is how I prefer them, but you can let them sit out on the counter for about 15 minutes before serving if you want them slightly softer and chewier. Here’s a quick snapshot of how long they hang around:
| Storage Location | Duration | Serving Tip |
|---|---|---|
| Airtight Container in Fridge | Up to 2 Weeks | Serve slightly softened (15 mins out) for best chew. |
| Freezer (Airtight) | Up to 3 Months | Thaw for 30 minutes before eating. |
They freeze like a dream, so if you make a big batch, definitely tuck some away for later! If you’re looking for more sweet, no-bake ideas, check out my date snickers bark recipe.
Sharing Your Delicious Chocolate Date Caramels
I really hope you loved making these as much as I love eating them! Once you’ve had a chance to try these naturally sweet, chewy treats, hop back here and let me know what you thought. Did you use flaky salt or chopped almonds on top? Drop a comment below and give this recipe a star rating so others can see how easy your new favorite no-bake candy is! You can also follow along for more easy recipes on Facebook.
Print
Divine chocolate date caramels in 1 easy batch
- Total Time: 1 hour
- Yield: 20 pieces
- Diet: Vegetarian
Description
These no-bake chocolate date caramels use wholesome ingredients like Medjool dates, almonds, and dark chocolate to create a chewy, naturally sweet candy treat.
Ingredients
- 1 cup Medjool dates, pitted
- ½ cup roasted almonds
- 1 tablespoon coconut oil, melted
- Pinch of salt
- 1½ cups dark chocolate chips or chopped dark chocolate
- 1 teaspoon coconut oil
- Optional Garnish: Flaky sea salt or chopped almonds
Instructions
- Add pitted dates, almonds, melted coconut oil, and salt to a food processor. Blend until the mixture forms a thick, sticky paste that holds together when pressed.
- Scoop about 1 tablespoon of the mixture and shape it into small rectangles or balls. Place them on a parchment-lined tray and freeze for 15–20 minutes to firm up.
- In a microwave-safe bowl, combine dark chocolate and coconut oil. Heat in 20-second intervals, stirring between each, until smooth and glossy.
- Using a fork, dip each chilled date-almond piece into the melted chocolate, coating it completely. Let excess chocolate drip off before placing it back on the parchment-lined tray.
- Sprinkle with flaky sea salt or chopped almonds before the chocolate sets.
- Refrigerate for about 30 minutes, or until firm. Store in an airtight container in the fridge.
Notes
- This recipe makes a naturally sweet treat without refined sugar.
- Store finished caramels in an airtight container in the refrigerator.
- Prep Time: 15 minutes
- Cook Time: 0 minutes
- Category: Candy/Dessert
- Method: No-Bake
- Cuisine: American