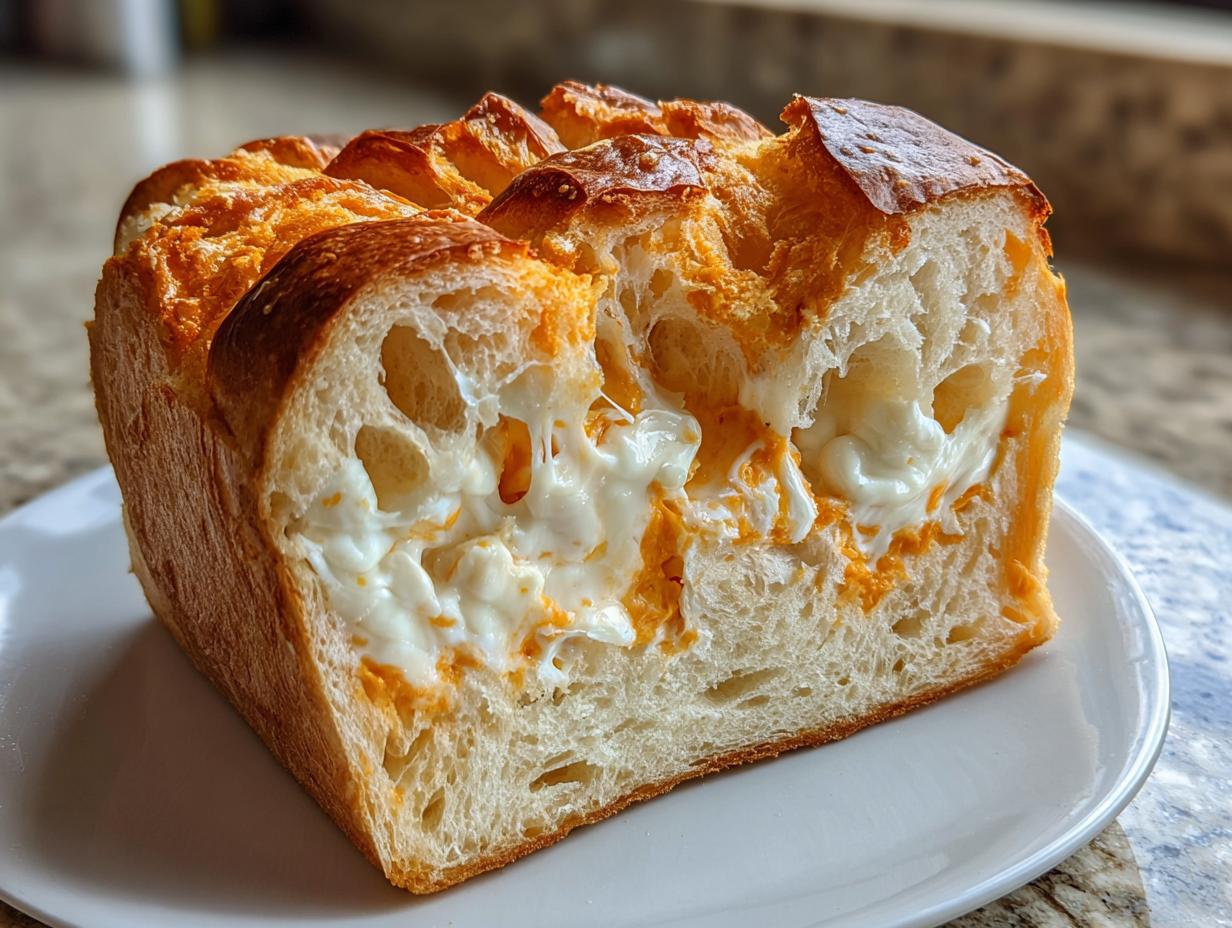
Pull-Apart Stuffing Rolls are the absolute secret weapon for any holiday table, or honestly, just a Tuesday night when you want something ridiculously comforting. When I first started NoobRecipes, the idea of making anything yeast-based felt terrifying—like I needed a culinary degree just to handle the dough. Seriously, I once killed a packet of instant yeast by looking at it wrong!
But trust me, these rolls are the ultimate confidence booster. They take that amazing, savory flavor you love in traditional stuffing, wrap it up in soft, fluffy dough, and package it so beautifully that everyone thinks you spent all day slaving away. We’re using store-bought dough here, which is my favorite shortcut because it lets you focus on mastering that incredible sausage and sage filling.

The magic here is in the knot. It’s fun to shape, and when they bake up together, they practically beg you to just reach in and pull one off. If you’re a beginner baker who needs a showstopper side that’s actually easy? You’ve found your winner. These rolls are soft inside, crispy on the edges, and just perfect for soaking up gravy.
Why You Will Make These Pull-Apart Stuffing Rolls
These rolls are designed specifically for people who think yeast dough hates them—because they are nearly foolproof! The biggest hurdle, the dough, is handled by grabbing a good quality store-bought version. That means you get all the pillowy texture without the anxiety of proofing from scratch. The flavor payoff is massive, too. That sausage and fresh sage filling? It smells like Thanksgiving exploded in your oven, but in the best way possible.
Honestly, these Pull-Apart Stuffing Rolls are perfect because they look fancy but require zero piping skills. They are ideal for taking to a potluck because they travel well and look incredible piled high on a platter. Plus, the fact that you can make the filling ahead of time cuts down on holiday chaos immensely. They are officially my go-to side dish! They are perfect for any holiday feast!
Simple Steps for Perfect Pull-Apart Stuffing Rolls
We break this down into three easy parts. First, you cook the filling until it’s rich and flavorful. Don’t rush that step; the veggies need time to soften up. Second, you cut and knot the dough. Don’t worry about making perfect knots; slightly messy ones actually pull apart better later!
Third, the rise time is flexible. You can let them sit on the counter for a few hours, or you can just stick them in the fridge overnight. That flexibility is key for busy cooks like us. Seriously, if you can stir a skillet and tie a simple overhand knot, you can nail these rolls every time. No stress, just great bread.
Equipment Needed for Your Pull-Apart Stuffing Rolls
You don’t need a massive arsenal of gadgets for these rolls, which is another win for us beginners! Having the right basics makes the process smooth, and you probably already own everything here. We need to make sure we have something big enough to coat all those little dough knots properly, so grab your largest mixing bowl.
- Large skillet for cooking the filling
- Large mixing bowl for tossing the knots
- 9-by-13-inch baking dish
- Rolling pin (or just your hands!)
- Plastic wrap for covering the dish
- Measuring cups and spoons
Clarifying Ingredients for Pull-Apart Stuffing Rolls
Okay, let’s talk about what goes into these amazing sausage rolls, because the quality of the filling really makes the difference here. Don’t be intimidated by the fresh herbs; they are worth the tiny bit of chopping effort, I promise! We’re building layers of flavor right from the start with the sausage and the aromatics. Remember, the filling has to cool completely before it touches the dough, or you’ll end up with a sticky mess.
I put all the details in the table below so you can check off your grocery list easily. Pay close attention to how we prep the sausage and the vegetables—that’s where the texture comes from!
| Ingredient | Amount | Prep Note |
|---|---|---|
| Butter | 4 tablespoons (divided) | 2 tbsp for cooking, 1 tbsp for greasing dish, 1 tbsp for finishing |
| Sausage | 8 ounces (225 g) | Ground chicken or turkey, removed from casings |
| Onion | 1 small | Finely chopped (about 3/4 cup) |
| Celery | 1 rib | Finely chopped (about 1/2 cup) |
| Garlic | 4 medium cloves | Finely chopped |
| Fresh Sage | 1/4 cup | Minced leaves |
| Fresh Parsley | 1/4 cup | Minced leaves |
| Salt & Pepper | To taste | Kosher salt preferred |
| Pizza Dough | 1 pound (450 g) | Homemade or store-bought (see notes below!) |
| All-Purpose Flour | As needed | For dusting the surface |
| Olive Oil | 2 tablespoons | Extra-virgin, for drizzling |
Ingredient Notes and Simple Swaps
The biggest shortcut here is the dough, and I fully endorse using good quality, plain pizza dough from your grocery store bakery or freezer section. It saves so much time, and honestly, it rises beautifully. If you want to make your own, go for it, but for your first batch of these Pull-Apart Stuffing Rolls, trust the store!
Regarding the sausage, the recipe calls for ground chicken or turkey, which keeps things lighter, but if you’re feeling traditional, you can absolutely swap that out for pork sausage. Just make sure whatever meat you use is fully cooked and crumbled well before you mix it with the dough. Also, if you can’t find fresh sage, you can use about 2 teaspoons of dried rubbed sage, but you’ll lose some of that bright, fresh holiday flavor. Stick to fresh parsley if you can!
Step-by-Step Instructions for Pull-Apart Stuffing Rolls
This is where the magic happens, and I promise it’s not complicated! We’re taking simple ingredients and turning them into something that looks way more impressive than the effort required. Just follow these phases, and you’ll have golden, delicious rolls ready for dipping.
Creating the Savory Sausage Stuffing Base
First things first, we need that incredible filling. Grab your large skillet and melt 2 tablespoons of butter over medium-high heat. Now add your sausage meat—make sure it’s out of the casing! Use a whisk or a masher to break it up into really small pieces while it cooks. We want a fine texture so it coats the dough nicely later on.
Cook that sausage for about 8 minutes until it’s mostly no longer pink. Then, toss in the chopped onion, celery, garlic, and that beautiful fresh sage. This is what makes the kitchen smell amazing! Stir this mixture often and let the vegetables soften up for about 10 minutes. Once they are soft, stir in the fresh parsley and season generously with salt and pepper. Taste it! Does it need more pepper? Go ahead and add it.
Crucial step alert: Transfer that entire sausage mixture to a large bowl and let it cool down completely. I mean *completely* cool—warm filling will melt your dough! This gives you a perfect window to prep the dough while the filling chills out.
Shaping the Dough Knots for Pull-Apart Stuffing Rolls
Once your filling is cool, it’s time to get your hands a little messy. Lightly flour a clean surface. Take your pound of dough and divide it right down the middle into two equal pieces. Work with one piece at a time so the other piece doesn’t dry out.
Roll that dough piece into a long rectangle shape—about 8 inches long and 4 inches wide. Now, take a knife and cut that strip crosswise into 12 smaller pieces. You should end up with 24 pieces total when you do the second half of the dough. Now for the fun part: take each little dough strip and tie it into a casual knot. Seriously, don’t overthink the knot; an easy overhand knot works perfectly.
Place all those lovely dough knots into the bowl with the cooled sausage mixture. Gently toss everything together until every single knot is nicely coated in that savory stuffing. It takes a little patience, but you want even coverage. Then, grease your 9×13-inch baking dish with 1 tablespoon of butter.
The Final Rise and Baking Your Pull-Apart Stuffing Rolls
Arrange your coated knots in a single layer inside the buttered dish. They should fit snugly but not be squished. Drizzle the remaining 2 tablespoons of olive oil evenly over the knots. Cover the whole dish tightly with plastic wrap. Now, these Pull-Apart Stuffing Rolls need to rise until they double in size—this usually takes about 4 hours on the counter.
If you’re meal prepping, you can cover them and stick them in the fridge overnight (12–16 hours), or even freeze them! If you freeze them, just move them to the fridge the day before you want to bake them, and then let them sit on the counter for an hour to warm up a bit before baking.

When you’re ready to bake, preheat your oven to 425°F (220°C). Once the oven is hot, uncover the dish and bake them for 25 to 30 minutes. You are looking for that beautiful golden brown color and crispy edges. These Pull-Apart Stuffing Rolls bake up fast!
Finishing Touches After Baking
As soon as those rolls come out of the oven, grab that last tablespoon of butter—it should be melted—and brush it right over the hot rolls. This gives them a gorgeous shine and extra richness. Serve them immediately while they are piping hot, preferably with a side of your favorite gravy for dipping. Enjoy that applause! Pin this recipe for later!
Tips for Success with Your Pull-Apart Stuffing Rolls
Even though these are beginner-friendly, there are a couple of little secrets that take these sausage rolls from good to absolutely unforgettable. First, and I cannot stress this enough: your sausage filling must be completely cold before you toss the dough in it. If it’s even slightly warm, the heat starts activating the yeast in the dough too fast, and you’ll end up with a greasy, flattened mess instead of fluffy knots.
Second, when you’re cutting the dough strips, don’t worry about perfection. Those slightly uneven shapes are what make the final product look rustic and homemade. Messy knots pull apart better! Also, make sure you use enough flour when rolling out the dough. If the dough starts sticking to your counter while you cut it, just dust on a tiny bit more.
Finally, when you check on the rolls during the final rise, don’t poke them too much! You want them doubled, but if you press one and the indentation stays put, they are perfectly proofed and ready for the oven. If it springs back immediately, they need 30 more minutes.
Storing and Reheating Your Leftover Pull-Apart Stuffing Rolls
I rarely have leftovers of these rolls because they disappear so fast, but when I do, storing them correctly is crucial so they don’t turn dry and sad. The best way to keep them fresh is to wait until they have cooled down completely after baking. Once cool, place them in an airtight container. They usually stay great at room temperature for about two days because of the fat content, but if you need longer, the fridge is safer.
Reheating is where you bring back that perfect, just-out-of-the-oven texture. Skip the microwave if you can, as it tends to make the bread tough. The oven or air fryer is your best friend here for crisping up those edges again! If you love soft bread, this is key.
| Storage Method | Duration | Reheating Instructions |
|---|---|---|
| Airtight Container (Room Temp) | Up to 2 days | Reheat at 350°F (175°C) for 5–7 minutes until warm. |
| Airtight Container (Refrigerator) | Up to 4 days | Add a splash of water before reheating in the oven to add moisture back. |
| Freezer (Airtight Bag) | Up to 1 month | Thaw first, then reheat as above. |
Frequently Asked Questions About Pull-Apart Stuffing Rolls
I get so many questions about these rolls because everyone wants to make sure they nail the make-ahead timing! Since these are designed to be super easy, a lot of the questions revolve around shortcuts. Here are a few things I hear most often from other beginner bakers.
Q1. Can I really use any kind of pizza dough? I’m nervous about the yeast.
Yes, absolutely! That’s the whole point of making these easy yeast rolls approachable. Store-bought dough is pre-proofed and ready to go. Just make sure you let it sit on the counter for about 30 minutes after you buy it if it was refrigerated, so it relaxes a little before you try to roll it out. It makes cutting those knots much easier!
Q2. Can I use pork sausage instead of turkey or chicken?
Definitely. I use turkey or chicken to keep the fat content down a bit, but these are essentially sausage rolls, so use what you love! If you use a fattier pork sausage, you might notice a little extra grease in the bottom of your pan, but that just means more flavor to dip your bread into later, right?
Q3. I need to make these ahead of time. Which is the best method?
The overnight refrigeration method is my favorite for flavor development. When you leave the dough to rise slowly in the cold, the flavor deepens beautifully. Just make sure you pull them out of the fridge about an hour before baking so they aren’t ice cold when they hit the hot oven. That final hour on the counter makes a huge difference in the end texture of your Pull-Apart Stuffing Rolls.
Q4. What is the best thing to serve these with besides gravy?
While gravy is non-negotiable in my house, these are great dipped in warm apple butter in the fall. If you’re serving them for breakfast or brunch instead of dinner, a little drizzle of hot honey works wonders with the savory sausage. They are so flavorful on their own, though, you don’t really need much else! Follow us on Facebook for more quick tips!
Share Your Perfect Pull-Apart Stuffing Rolls
I truly hope you loved making these rolls as much as I love sharing them with you! If you tried this recipe and your kitchen smelled like a holiday feast, please let me know how they turned out. Drop a star rating below, or better yet, leave a comment telling me if you served them with turkey gravy or something totally different. I love hearing about your kitchen wins!
Print
Amazing Pull-Apart Stuffing Rolls 3 Ways
- Total Time: 5 hours 10 minutes
- Yield: 8–10 servings
- Diet: Omnivore
Description
Pull-Apart Stuffing Rolls create savory, knot-shaped bread pieces coated in a rich, seasoned sausage stuffing. These rolls bake up golden brown and are perfect for serving warm with your favorite gravy.
Ingredients
- 4 tablespoons (57 g) butter, divided
- 8 ounces (225 g) seasoned ground chicken or turkey sausage, removed from casings
- 1 small onion, finely chopped (about 3/4 cup)
- 1 rib celery, finely chopped (about 1/2 cup)
- 4 medium cloves garlic, finely chopped
- 1/4 cup (7 g) minced fresh sage leaves
- 1/4 cup (7 g) minced fresh parsley leaves
- Kosher salt and freshly ground black pepper
- All-purpose flour, for dusting
- 1 pound (450 g) homemade or store-bought pizza dough
- 2 tablespoons (30 ml) extra-virgin olive oil
Instructions
- Melt 2 tablespoons (28 g) butter in a large skillet over medium-high heat.
- Add the chicken or turkey sausage and mash with a whisk or potato masher to break it into fine pieces.
- Cook, stirring frequently, until only a few bits of pink remain, about 8 minutes.
- Add onion, celery, garlic, and sage and cook, stirring often, until vegetables are softened, about 10 minutes.
- Add parsley and season with salt and pepper.
- Transfer the mixture to a large bowl and let it cool completely.
- On a lightly floured surface, divide dough into 2 pieces.
- Working with one piece at a time, roll into an 8-inch-long, 4-inch-wide strip.
- Cut crosswise into 12 strips. Repeat with the second half of the dough.
- Tie each strip into a knot and place in the bowl with the sausage mixture.
- Gently toss until each knot is coated.
- Grease a 9-by-13-inch baking dish with 1 tablespoon (14 g) butter.
- Arrange knots in a single layer, drizzle with olive oil, cover tightly with plastic, and let rise until doubled in size, about 4 hours. Alternatively, refrigerate overnight (12–16 hours) or freeze for up to a week. Thaw in the refrigerator, then bring to room temperature for 1 hour before baking.
- When ready to bake, preheat the oven to 425°F (220°C).
- Uncover and bake until golden brown and crisp, 25–30 minutes.
- Melt the remaining tablespoon of butter and brush over the baked rolls immediately after removing them from the oven.
- Serve warm with gravy or a dipping sauce.
Notes
- Prep Time: 15 minutes
- Cook Time: 55 minutes
- Rising Time: 4 hours
- Store-bought pizza dough works well for this recipe and makes prep easier.
- Rolls can also be frozen before baking for convenient make-ahead preparation.
- Prep Time: 15 minutes
- Cook Time: 55 minutes
- Category: Bread/Rolls
- Method: Baking
- Cuisine: American