If you are looking for a show-stopping dessert that truly lives up to its name, you have found it! Making the Millionaire Cheesecake with Caramel and Chocolate is surprisingly straightforward, even though it looks like it took days of professional baking. Trust me, I used to think layered desserts like this were only for pastry chefs, but after a few messy attempts, I cracked the code.
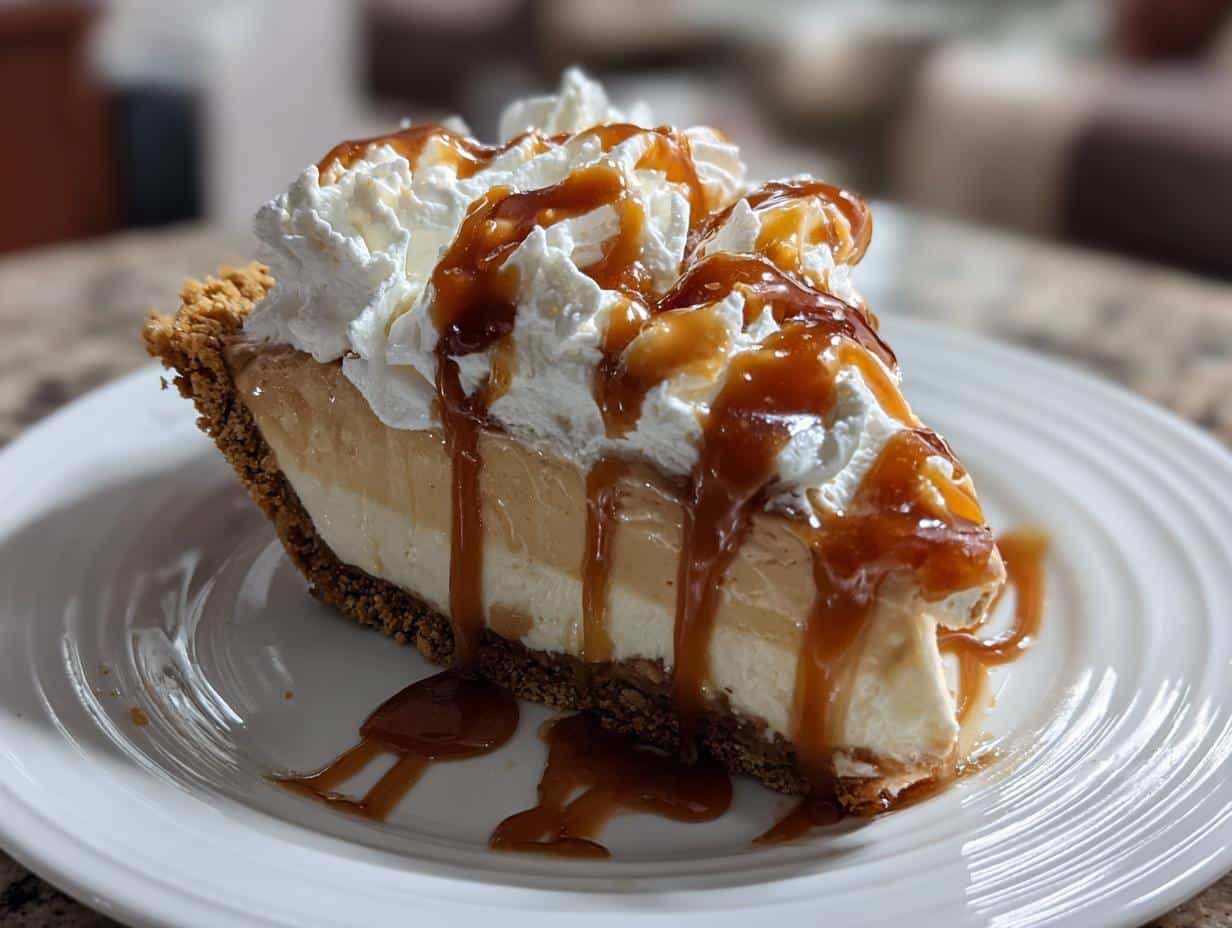
What makes this recipe my absolute favorite is that beautiful contrast in textures. You get that crisp, buttery shortbread base, followed by the impossibly smooth, no bake filling. It’s rich, but because we skip the oven for the filling part, it sets up perfectly in the fridge. The layers—crust, cream cheese, molten caramel, and slick chocolate—are exactly what you want in a decadent treat like this. It’s pure indulgence, and I can’t wait for you to try it!

Essential Components for Your Millionaire Cheesecake with Caramel and Chocolate
This dessert is all about those four distinct layers working together, and you can’t skimp on quality if you want that true millionaire experience. We are building this dessert from the ground up: a sturdy shortbread crust, a lightened cream cheese filling, a homemade caramel that tastes like heaven, and finally, that glossy chocolate finish.
Don’t feel intimidated by the ingredient list; it just means we are treating each layer with the respect it deserves. Make sure your dairy items—the cream cheese and the heavy cream—are at the right temperature before you start mixing. That’s half the battle won right there!
Preparing the Buttery Shortbread Crust
The crust is our anchor, so we need it to be solid and flavorful. You’ll mix up some basic flour, sugar, salt, and softened butter until it feels like a nice, pliable dough. It’s simple, but don’t rush that mixing step! Once it’s pressed evenly into that 9-inch springform pan, it needs a quick trip to the oven.
You’re just looking for it to turn lightly golden—about 18 to 20 minutes at 350 degrees. The real secret here is patience: let that crust cool completely before you even think about adding the filling. If it’s warm, the filling will melt right into it, and we want distinct layers!
Crafting the No-Bake Cheesecake Filling
This is where the “no-bake” magic happens, but you have to respect your cream cheese temperature. If it’s straight from the fridge, you’ll end up with lumps, and nobody wants a lumpy cheesecake, right? Make sure it’s really soft so it creams up nicely with the sugars.
The second key component is the heavy whipping cream. You have to whip that separately until you get stiff peaks—I mean really stiff, so you can hold the bowl upside down (though I don’t recommend testing that in your kitchen!). Gently folding that airy cream into the denser cream cheese mixture is what gives this filling its light, cloud-like texture. It’s airy, but still rich enough to hold up to the caramel later on. Just fold gently; we don’t want to knock out all that lovely air we just whipped in!
Cooking the Decadent Caramel Layer
Okay, this is my favorite part, but it requires your full attention. We’re making real homemade caramel here, not just pouring jarred stuff on top—huge difference! It starts with butter, brown sugar, and corn syrup heating up on the stove. You absolutely must stir this constantly as it comes to a boil. If you walk away for even 30 seconds, you risk scorching the sugar, and that bitterness will ruin the whole dessert.
Once it hits that gentle boil, we take it off the heat and stir in the condensed milk and salt. Then, we bring it back just long enough to boil for a minute until it thickens up nicely. Now, here’s the crucial cooling time: you can’t pour hot caramel over your beautiful cheesecake filling, or it melts! Let it cool for at least an hour, maybe 90 minutes, until it’s warm but definitely pourable. It should coat the back of a spoon nicely.
Finishing the Millionaire Cheesecake with Caramel and Chocolate Topping
For the grand finale, we keep it simple but luxurious. We’re making a quick, smooth chocolate topping—think of it as a lovely, pourable ganache. You need heavy cream heated until it’s steaming hot, and then you pour that right over your chopped dark chocolate. Dark chocolate works best here because it cuts through the sweetness of the caramel beautifully.
Let that mixture sit for a minute or two untouched—don’t stir right away! Then, start stirring slowly from the center outwards until it’s completely smooth and glossy. This topping needs to cool down to room temperature before it goes onto the caramel layer. If it’s too hot, it will just run right through the caramel. We want a distinct, beautiful chocolate cap on our millionaire creation!

Step-by-Step Assembly of Your Millionaire Cheesecake with Caramel and Chocolate
Putting this amazing dessert together is like a timed relay race, where each layer needs its baton passed perfectly before the next runner goes. We start with the foundation, then move quickly through the chilling stages. Pay close attention to the cooling times—they are just as important as the mixing!
Baking and Cooling the Foundation
First things first: get that oven preheated to 350 degrees Fahrenheit. While it warms up, mix your crust ingredients—flour, sugar, salt, and softened butter—until it forms a soft dough. Press this dough evenly into the bottom of your lined 9-inch springform pan. It needs about 18 to 20 minutes in the oven until the edges look just barely golden brown. When it comes out, you must let it cool completely. I mean, completely cool to room temperature. If you rush this, the crust will be crumbly when you slice it later. Don’t try to speed this up in the fridge; just let it sit on a wire rack until it’s no longer warm to the touch.
Layering and Chilling Schedule
Once the crust is cool, it’s time for that no-bake filling. Gently spread the whipped cream cheese mixture evenly over the crust. Smooth the top with an offset spatula and pop the whole thing into the refrigerator while you deal with the caramel. Remember that caramel we cooked? It needs to cool down until it’s warm but definitely pourable—not hot enough to melt the filling. Pour that thick caramel slowly and evenly over the set cheesecake layer. Back into the fridge it goes! This caramel layer needs time to firm up so the chocolate doesn’t sink into it. Give it at least two hours, or until it’s set enough that it doesn’t jiggle much when you nudge the pan.
Finally, spread your room-temperature chocolate topping over the set caramel. This layer is usually the quickest to set up once it hits the cool caramel. Now, the hardest part: the final chill. This millionaire cheesecake needs at least six hours, but honestly, overnight is always best. That long rest lets all those rich flavors marry together and ensures you get those super clean slices you see in photos!
Tips for Perfect Millionaire Cheesecake with Caramel and Chocolate
Even with a great recipe, little things can throw off a layered dessert like this. My biggest tip revolves around clean slicing. Nobody wants a chocolate smear running down the side of their slice! Before you cut, run a long, sharp knife under hot water and wipe it completely dry. This heats the blade just enough to glide right through the chocolate and caramel.
Remember the note I added? You absolutely have to wipe that knife clean between every single slice. It prevents the sticky caramel and chocolate from dragging across the next piece. Also, if your caramel seems too soft after the main chill, don’t panic! Just give it another hour in the fridge. Patience is the secret ingredient for a perfect texture that holds its shape beautifully.
Answering Common Questions About This Millionaire Cheesecake with Caramel and Chocolate
I know you’re probably already planning when you can bake this, but let me quickly clear up a few sticky points before you dive in. People always worry about the no-bake aspect, especially since we bake that shortbread crust first. Since the filling uses stabilized cream cheese and whipped heavy cream, it sets up beautifully firm in the fridge—no oven needed for that creamy layer, promise!
What happens if my caramel is too hard? This is common if you boiled it a little too long or chilled it too aggressively. If your caramel is rock hard, just let the whole cheesecake sit on the counter for about 20 minutes before slicing. That gives it just enough time to soften up to that perfect pourable consistency.
Can I use a different kind of chocolate for the topping? You certainly can, but I really encourage using dark chocolate. The richness of the dark chocolate balances out the sweetness of the caramel and the condensed milk in the caramel layer. Milk chocolate tends to make the whole dessert too sweet for my taste.
And storage? This Millionaire Cheesecake is dense and rich, so it keeps very well. Store it tightly covered in the refrigerator. Because of all that dairy, it stays fresh for about four or five days. If you need to freeze it, the crust and filling handle it well, but the caramel can sometimes get a little weepy when it thaws, so the fridge is always best!
Storing and Serving Your Decadent Dessert
Because this dessert is loaded with dairy and rich layers, it really loves the cold. You must keep your finished cheesecake covered tightly in the refrigerator. It holds up beautifully for about four to five days, which is great if you need to make it ahead of a big party! You can also find more great tips on our Facebook page.
You should never try to reheat any part of this dessert, of course! When it’s time to serve, take the cheesecake out of the fridge about 15 to 20 minutes before you plan to slice it. That little bit of time on the counter just takes the chill off the caramel and chocolate, making it easier to cut and letting those incredible flavors really shine through. For more recipe inspiration, check out our Pinterest!
| Action | Time/Temperature |
|---|---|
| Refrigeration Duration | Up to 5 days |
| Serving Temperature Prep | Remove from fridge 15-20 minutes prior |
Nutritional Estimates for One Serving
Now, let’s talk numbers, though you know I bake with my heart, not a calculator! Because we are dealing with full-fat cream cheese, real butter, and luscious caramel, this dessert is definitely an indulgence—and that’s okay! The nutrition facts I list here are just estimates based on the ingredients I used, and your final count could vary a bit depending on brands. You can read more about our content standards on Medium.
Please remember these are just rough guidelines for one of the 12 servings we get from this recipe. Don’t stress the details; just enjoy the decadence!
| Nutrient | Estimate Per Serving |
|---|---|
| Calories | 720 |
| Fat | 56g |
| Carbohydrates | 52g |
| Protein | 9g |

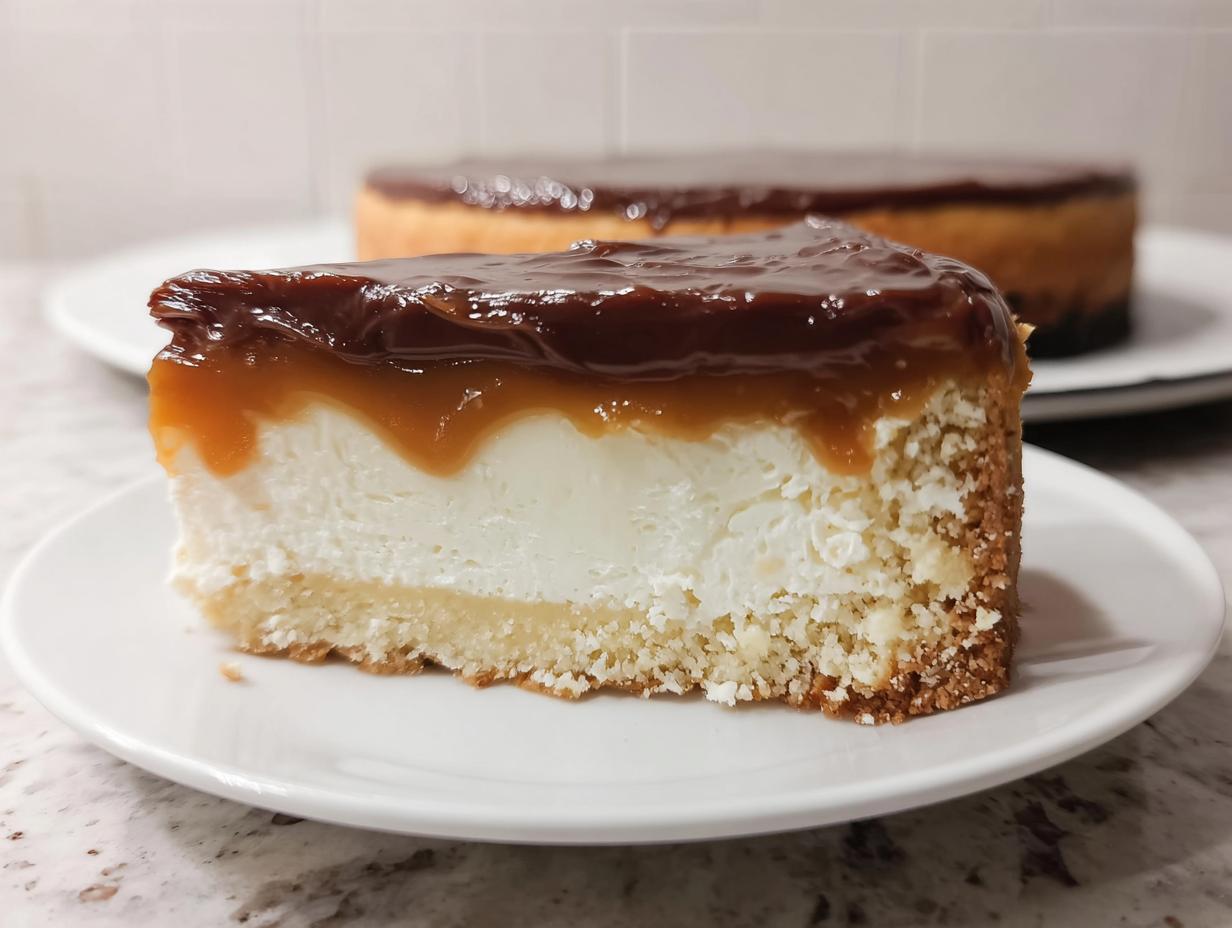
Delicious 12 Millionaire Cheesecake with Caramel and Chocolate
- Total Time: 1 hour
- Yield: 12 servings
- Diet: Vegetarian
Description
Rich millionaire cheesecake with a buttery shortbread base, creamy no bake filling, smooth caramel, and chocolate topping. This dessert layers shortbread crust, vanilla cheesecake, caramel, and chocolate for a decadent treat.
Ingredients
- Shortbread base: 1 cup all purpose flour
- Shortbread base: ¼ cup granulated sugar
- Shortbread base: ¼ teaspoon salt
- Shortbread base: ½ cup unsalted butter softened
- Cheesecake layer: 24 ounces full fat cream cheese softened
- Cheesecake layer: ½ cup granulated sugar
- Cheesecake layer: 3 tablespoons powdered sugar
- Cheesecake layer: 1 cup heavy whipping cream cold
- Caramel layer: 1 cup light brown sugar packed
- Caramel layer: 1 cup unsalted butter
- Caramel layer: ⅓ cup light corn syrup
- Caramel layer: 1 can sweetened condensed milk 14 ounces
- Caramel layer: 1 teaspoon salt
- Chocolate topping: 6 ounces dark chocolate chopped
- Chocolate topping: ½ cup heavy whipping cream
Instructions
- Preheat the oven to 350°F. Line the bottom of a 9 inch springform pan with parchment paper.
- Mix the flour, sugar, salt, and butter until a soft dough forms. Press the dough evenly into the pan.
- Bake for 18 to 20 minutes until lightly golden. Cool the crust completely.
- Whip the cream cheese, granulated sugar, and powdered sugar until smooth.
- Whip the heavy cream to stiff peaks in a separate bowl. Gently fold the whipped cream into the cream cheese mixture.
- Spread the cheesecake filling evenly over the cooled crust. Refrigerate.
- Melt the butter, brown sugar, and corn syrup in a saucepan over medium heat. Stir constantly while bringing to a gentle boil.
- Remove from heat. Stir in the condensed milk and salt. Return to heat and boil for 1 minute until thick. Cool for 60 to 90 minutes until warm but pourable.
- Spread the caramel evenly over the cheesecake layer. Refrigerate until set.
- Heat the heavy cream for the chocolate topping until steaming. Pour the hot cream over the chopped chocolate. Stir until smooth.
- Let the chocolate cool to room temperature. Spread the chocolate over the caramel layer.
- Refrigerate at least 6 hours or overnight before slicing and serving.
Notes
- Wipe the knife between cuts for clean slices.
- Prep Time: 40 minutes
- Cook Time: 20 minutes
- Category: Dessert
- Method: No Bake (with baked crust)
- Cuisine: American