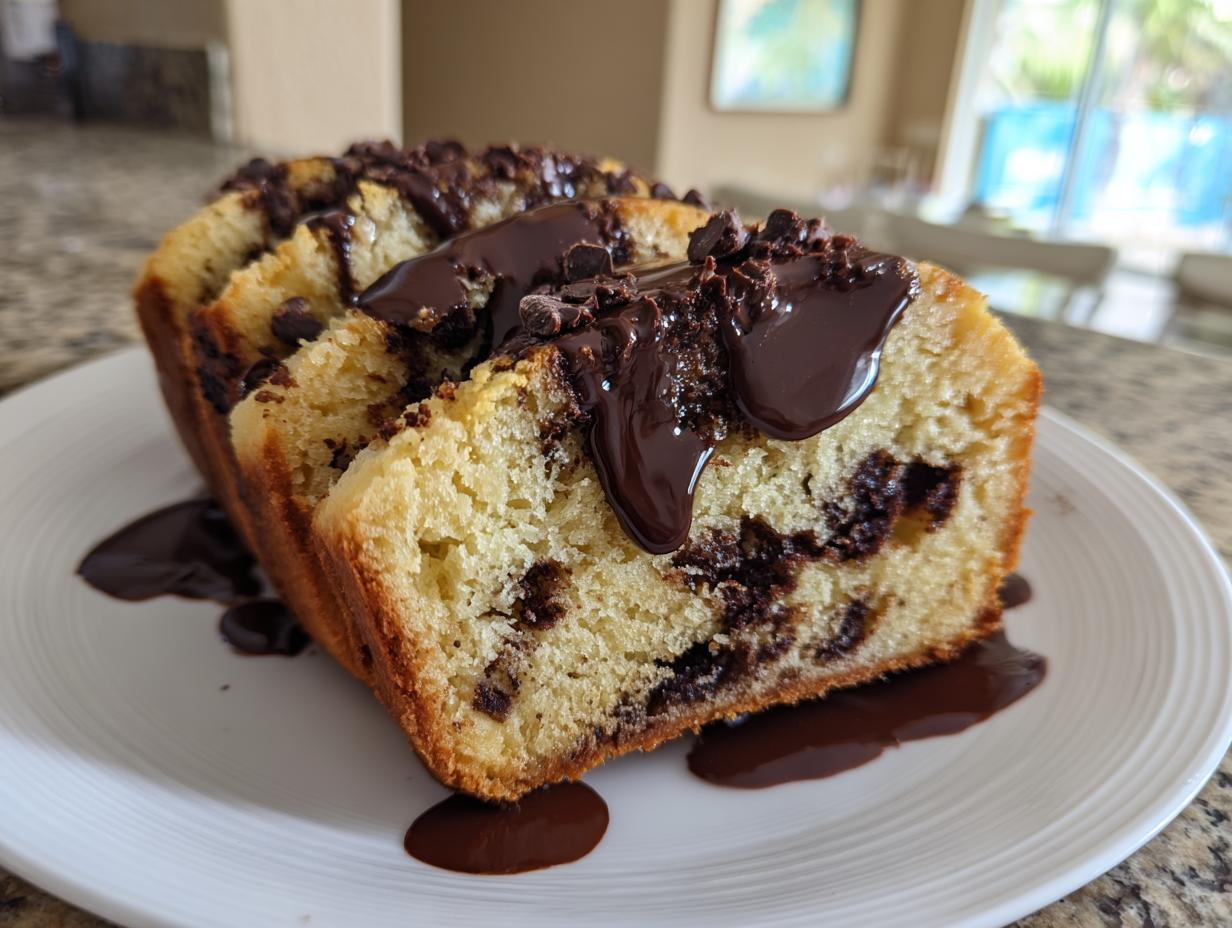
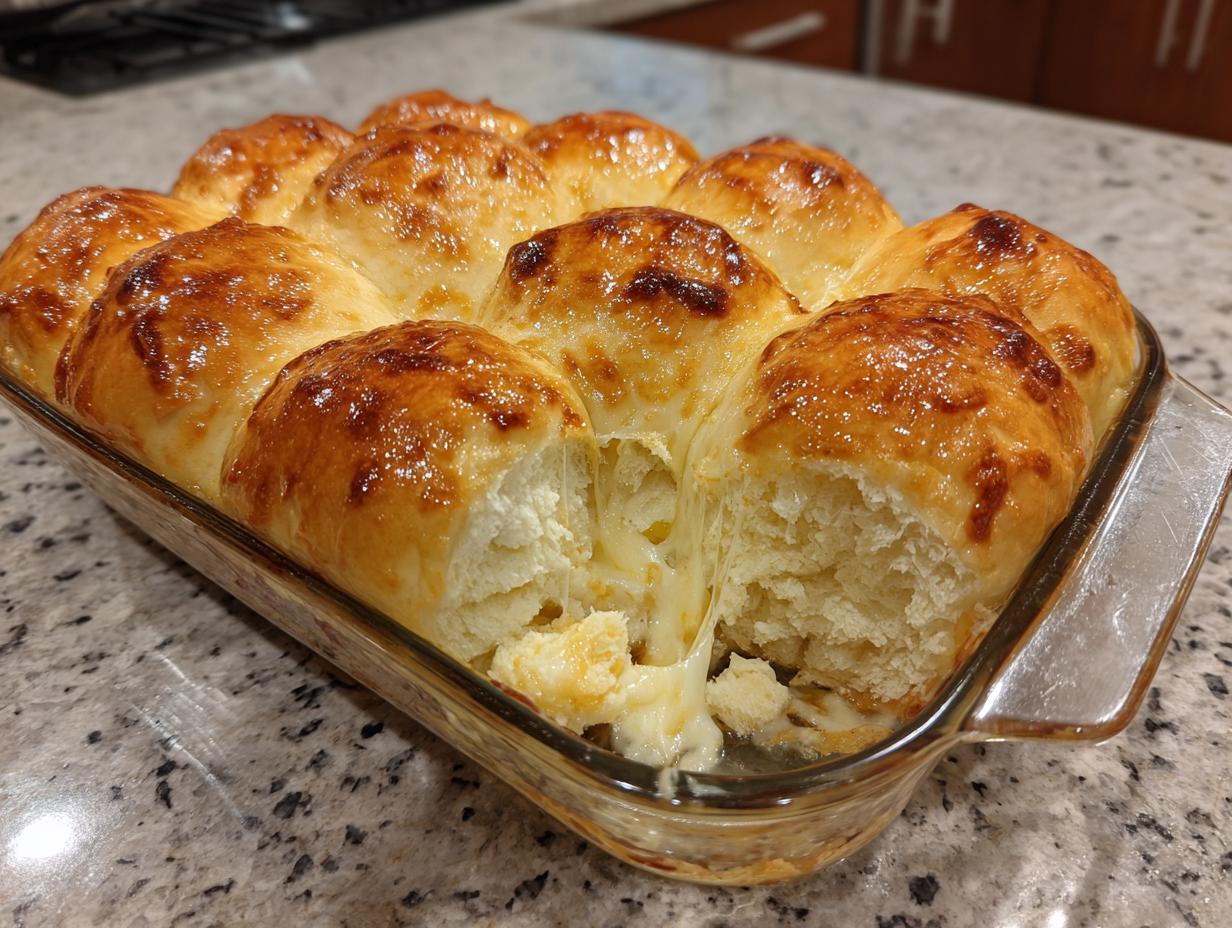
Oh my goodness, you have to try this! If you’ve ever looked at a fancy layered cake and thought, “Nope, too much work,” then this red velvet earthquake cake is your new best friend. Seriously, it’s the most dramatic and delicious thing you can make with almost zero fuss. The name comes from that amazing cracked, craggy top you get when the rich red velvet batter meets that sweet, creamy cheesecake swirl.

I remember the first time I tried to bake something truly decadent. I was terrified of sinking cakes and lumpy frosting. This recipe changed everything for me because it’s designed to look perfectly imperfect! It’s all about those layers of coconut, pecans, and chocolate chips hiding underneath, just waiting to surprise you. Trust me, once you see those fissures open up while it bakes, you’ll be hooked. It’s the ultimate showstopper for beginners!
Essential Components for Your red velvet earthquake cake
The secret to the texture in this cake is making sure you have all your components ready before you even turn the oven on. We have three distinct layers here: the crunchy, gooey bottom, the fluffy red velvet cake, and that luscious, tangy swirl on top. Get your ingredients measured out first, and assembly is a breeze!
Gathering the Base Layers
This is where the magic starts to happen underneath the batter. Be precise here! You’ll want exactly 1 cup of shredded sweetened coconut sprinkled right on the bottom. Then, toss in 1\u00bd cups of chopped pecans. Don’t skimp on the chocolate chips either—I use 1 cup of semisweet chocolate chips. They melt down into those gooey pockets we want!
Preparing the Red Velvet Batter
For the cake itself, we cheat a little, and I’m not ashamed! Start with one box of red velvet cake mix. You’ll need 3 large eggs, \u2153 cup of vegetable oil, and 1\u00bc cups of water. Just mix those right up according to the box directions until it’s smooth. If your box calls for slightly different liquid amounts, just follow the box—it’s designed to be foolproof!
Creating the Creamy Cheesecake Swirl
This part needs to be mixed until it’s truly luxurious. Make sure you have 8 ounces of cream cheese, softened, and \u00bd cup of unsalted butter, softened. You need that softness so it creams properly with the 3 cups of powdered sugar and 1 teaspoon of vanilla extract. If your dairy isn’t soft, your swirl will be lumpy, and we want smooth ribbons!
Step-by-Step Assembly of Your red velvet earthquake cake
Okay, now that everything is mixed and ready to go, let’s put this beauty together. It moves fast once you start layering, so have your ingredients lined up! Remember, this cake is forgiving, but a little bit of care during assembly makes the final look incredible.
Preparing the Baking Vessel and Layering the Foundation
First things first: get your oven warmed up to 350\u00b0F. You don’t want to rush this part! Then, grab that 9×13-inch glass baking dish. You absolutely must grease this dish thoroughly—I mean every corner, because those coconut and pecan bits love to stick! Once it’s slick, sprinkle that shredded coconut evenly across the bottom. Follow that right up with the chopped pecans, and finally, scatter your chocolate chips over the top of everything. This is going to be the glorious, gooey base!
Mixing the Red Velvet Cake Batter
Grab your bowl with the cake mix ingredients—the eggs, oil, and water you just added. You need to stir this up until it’s completely smooth. Don’t over-beat it once you see no dry streaks remaining; just mix until combined. It should look like that beautiful, vibrant red velvet you expect. If you are looking for a traditional red velvet cake, check out this recipe!
Constructing the Layers and Cheesecake Swirl
Now, take that smooth red velvet batter and pour it carefully right over the layer of coconut, pecans, and chocolate chips. Try to pour it gently so you don’t disturb the base too much. Next, get your fluffy cream cheese mixture that you whipped up earlier. Drop big dollops of that cream cheese mixture all over the top of the red batter. Don’t try to spread it perfectly! Take a butter knife and just gently swirl it through the top batter. You want ribbons and patches, not a fully blended marble. That swirling action is what creates those signature cracks!
Baking Times and Doneness Checks for red velvet earthquake cake
Slide that dish into the preheated oven. It needs to bake for about 45 to 60 minutes total. Keep an eye on it after the 40-minute mark, just in case those edges start looking too dark too soon. When you check for doneness, you need to insert a toothpick only into the cake portion—avoiding the thick swirls of cheesecake. If the toothpick comes out clean from the cake part, you’re done! Let it cool completely before you even think about slicing it.
Tips for Achieving Perfect Red Velvet Earthquake Cake Texture
When you’re dealing with a cake that has so many wonderful, heavy layers like this one, you have to be smart about baking it so it doesn’t dry out or burn before the center sets. I’ve made this recipe enough times now to know the little tricks that keep it moist and structurally sound. It’s all about watching it closely during that final bake time!
Preventing Over-Browning During Baking
That gorgeous, deep red color is beautiful, but the sugar content means it can brown quickly, especially around the edges of that 9×13 pan. If you notice the top is getting too dark—maybe around the 40-minute mark, but before the center is fully cooked—don’t panic! Just grab a sheet of aluminum foil and loosely tent it over the top of the dish. This acts like a little umbrella, shielding the surface from direct heat while allowing the middle to finish baking through. It’s the easiest way to keep that perfect red hue!
Cooling Protocol for the Best red velvet earthquake cake Slice
This is where I see most people mess up! You are going to be so tempted to cut into this warm, gooey cake, but resist that urge with everything you have. This red velvet earthquake cake needs to cool completely—and I mean completely—before you slice it. If you cut it warm, that cheesecake swirl will run everywhere, and the layers will just squish together into a mess. Letting it cool down lets everything firm up and set properly, ensuring you get those beautiful, distinct layers when you serve it.

Frequently Asked Questions About Your red velvet earthquake cake
I get so many questions about this cake because people want that perfect crack and gooey middle! Here are the things I hear most often when people are making their first batch of this layered dessert.
Q1. Why is my cake not cracking on top like yours?
That crackle effect happens when the denser cheesecake swirl sinks down into the lighter cake batter. Make sure your cream cheese and butter for the swirl are truly softened, and don’t over-swirl! You want distinct dollops and ribbons, not a fully blended marble. If you mix it too much, you lose that separation needed for the ‘earthquake’ look.
Q2. Can I use a different kind of chocolate chip?
You absolutely can! I love semisweet because it cuts the sweetness of the cake mix and cream cheese, but milk chocolate chips work great if you like it sweeter. Just make sure you use chips and not chocolate chunks, as the chips melt down into those perfect little pockets we are aiming for. If you love chocolate chips, try this sourdough recipe!
Q3. Do I have to refrigerate this cake?
Yes, you really should! Because of that rich cream cheese swirl running through the middle, this cake needs to be stored covered in the refrigerator. It stays surprisingly moist and delicious in the fridge for up to five days. Just let a slice sit out for about 20 minutes before serving if you want it slightly less cold.
Ingredient Notes and Substitutions for red velvet earthquake cake
When you’re making a cake this rich, sticking to the recipe is usually best, but I know sometimes we run out of things mid-bake! For the base layers, if you absolutely can’t find pecans, walnuts are a fine, one-to-one substitute. They offer a similar nutty bite. Just chop them the same way!
For the oil, vegetable oil is chosen because it’s neutral, but canola oil works just as well. Don’t try to swap in melted butter for the oil in the cake mix portion, though—it changes the texture too much. If you are out of vegetable oil, you can use melted coconut oil, but be aware it might add a very slight coconut flavor to the cake layer itself. Keep your cream cheese and butter softened for the swirl; that is non-negotiable for a smooth texture!
Storing and Refreshing Leftover red velvet earthquake cake
This cake is honestly better the next day once those flavors have really melded together. Because of that glorious cream cheese mixture running through it, you can’t just leave this sitting on the counter. It needs to go into the fridge to stay safe and maintain that wonderful structure we worked so hard to achieve!
Storage and Reheating Table
Here’s the quick guide for keeping your leftovers perfect:
| Storage Method | Duration | Reheating Guidance |
|---|---|---|
| Refrigerator (Airtight Container) | Up to 5 days | Room temperature for 20 minutes before serving |
Sharing Your red velvet earthquake cake Success
I truly hope you have as much fun making this dramatic dessert as I do every time! It’s designed to be a crowd-pleaser, and I love hearing how it turned out for you. Did you get those perfect cracks? Let me know in the comments below! Please rate this recipe if you enjoyed the blend of coconut, pecan, and cheesecake. You can also share your baking triumphs on Facebook!
Print
Shocking red velvet earthquake cake in 45 mins
- Total Time: 1 hour 10 minutes
- Yield: 15 servings
- Diet: N/A
Description
This red velvet earthquake cake features layers of coconut, pecans, and chocolate chips beneath a rich red velvet batter and a creamy cheesecake swirl, creating a decadent, cracked appearance.
Ingredients
- 1 cup shredded sweetened coconut
- 1½ cups chopped pecans
- 1 cup semisweet chocolate chips
- 1 box (15.25 ounces) red velvet cake mix
- 3 large eggs
- ⅓ cup vegetable oil
- 1¼ cups water
- 8 ounces cream cheese, softened
- ½ cup unsalted butter, softened
- 3 cups powdered sugar
- 1 teaspoon vanilla extract
Instructions
- Preheat oven to 350°F and grease a 9×13-inch glass baking dish thoroughly.
- Sprinkle coconut evenly on the bottom of the dish, followed by pecans and chocolate chips.
- In a mixing bowl, prepare red velvet cake mix according to package directions using eggs, oil, and water. Stir until smooth.
- Pour the red velvet batter evenly over the coconut and nut layer.
- In another bowl, beat cream cheese, butter, powdered sugar, and vanilla until smooth and fluffy.
- Spoon the cream cheese mixture over the cake batter in dollops, then gently swirl it with a knife to create a marbled effect.
- Bake for 45–60 minutes, checking after 40 minutes. Tent with foil if the top browns too quickly.
- The cake is done when the center is set and a toothpick inserted into the cake portion comes out clean.
- Cool completely before slicing. Store covered in the refrigerator for up to 5 days.
Notes
- Tent with foil if the top browns too quickly during baking.
- Cool the cake completely before you slice it.
- Store leftovers covered in the refrigerator for up to 5 days.
- Prep Time: 15 minutes
- Cook Time: 55 minutes
- Category: Dessert
- Method: Baking
- Cuisine: American