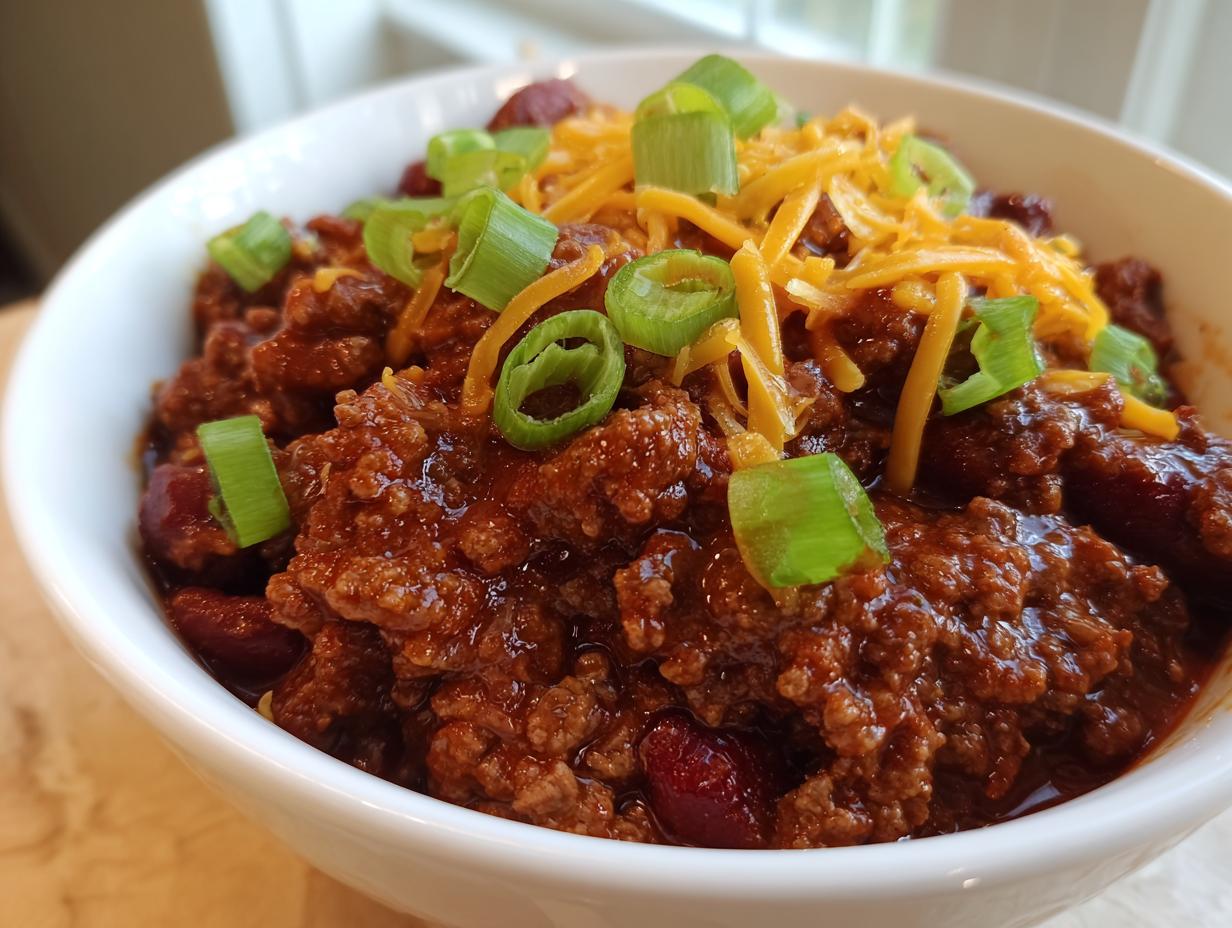
Listen, I know the weeknight dinner struggle. You want something hearty, something that tastes like you spent hours nursing a simmer, but you only have about thirty minutes before everyone starts asking what’s for dinner. Well, stop what you’re doing, because I have cracked the code. This One Pot Classic Chili is my absolute go-to when I need maximum comfort with minimum fuss. Seriously, thirty minutes from start to a steaming, delicious bowl!
I’ve made chili hundreds of times over the years, and through all those batches—some disastrous, some legendary—I’ve figured out the shortcuts that *actually* work without sacrificing flavor. That’s what this recipe is all about: bringing you all that rich, savory flavor you expect from great chili, using simple ingredients you probably already have. Trust me on this one; this method is foolproof, even if you’ve never touched a spice jar before.
Why This One Pot Classic Chili Is Perfect for Beginners
If you’re new to cooking, chili can seem intimidating, but not this one. The beauty of this One Pot Classic Chili is right there in the name—it’s all done in one big, heavy pot. That means cleanup is an absolute breeze! You won’t be wrestling with three different pans and a sticky cutting board.
We’re talking about being on the table in 30 minutes flat. That speed comes from using ground beef and simmering for just 20 minutes instead of hours. Because I’ve tested every single step, I can guide you exactly on when to brown the meat and how long to let those spices bloom. It’s designed for success, guaranteeing you get that warm, cozy flavor without the commitment of an all-day project. You’ll feel like a pro!

Gathering Your Ingredients for One Pot Classic Chili
Okay, now that you’re excited, let’s get organized. The key to making this One Pot Classic Chili so fast is having everything ready to go before the stove even turns on. I always chop my veggies first and measure out my spices into little bowls. It takes five minutes and saves so much stress when that beef starts browning!
We’re keeping this simple, but every part plays a role in building that deep flavor we want in just 30 minutes. Here is exactly what you need to pull together for this hearty dish.
Essential Components for Your One Pot Classic Chili
Make sure you follow the prepping notes here—they really matter for the texture!
| Quantity | Ingredient | Preparation Note |
|---|---|---|
| 1 tablespoon | Olive Oil | Or any neutral oil |
| 1 pound | Ground Beef | Lean if you can manage it |
| 1 medium | Yellow Onion | Finely chopped |
| 1 small | Green Bell Pepper | Finely chopped (Don’t skip this!) |
| 3 cloves | Garlic | Minced |
| 2 tablespoons | Chili Powder | The main flavor driver |
| 1 teaspoon each | Cumin, Smoked or Sweet Paprika, Dried Oregano | Measure these out now! |
| 1 teaspoon | Fine Salt | Plus more later for tasting |
| 0.25 teaspoon | Black Pepper | Freshly ground is best |
| 1 can (15 oz) | Crushed or Diced Tomatoes | Do not drain these |
| 1 can (15 oz) | Kidney Beans | Must be drained and rinsed well |
| 1 cup | Beef or Chicken Broth | Low sodium preferred |
Ingredient Notes and Substitutions
If you don’t have beef broth, water works in a pinch, but broth gives you a better base flavor, so use that if you can swing it. Also, about that oil—if you’re out of olive oil, any neutral oil like canola or vegetable oil is totally fine here. We just need a little fat to get that beef sizzling.
And please, rinse those canned beans! I know it’s an extra step, but washing off that starchy liquid cuts down on the saltiness and helps the chili thicken nicely later on. If you don’t have kidney beans, pinto beans are a great substitute for this same recipe.
Essential Equipment for Making One Pot Classic Chili
You don’t need a fancy kitchen setup for this recipe, thank goodness! We are keeping things streamlined. You’ll need your cutting board, a good sharp knife for all that chopping, and measuring spoons. But the most important player here is your pot itself. Don’t just grab any old saucepan!
Selecting the Right Pot for Browning
You absolutely must use a large, heavy pot—think Dutch oven or a wide soup pot. Why heavy? Because it holds heat steady, which means we get a beautiful brown crust on the beef. If you use a narrow, tall pot, the beef will steam instead of sear, and that browning is where so much of the chili’s deep flavor comes from! We want those golden bits stuck to the bottom so we can scrape them up later. Trust me, a wide surface area is your friend here.
Step-by-Step Guide to Your One Pot Classic Chili
Alright, this is where the magic happens, and it happens fast! Since we prepped everything, we are just moving quickly from one stage to the next. Don’t rush the browning, but keep an eye on the clock for everything else. This whole process flies by!
Step 1: Browning the Beef and Building Flavor Base
First thing: put that big pot on medium-high heat. You need to let it get properly hot for a minute or two. You’ll know it’s ready when you can hold your hand near the bottom and feel that definite warmth. Now, add your tablespoon of oil and tilt the pot so it’s coated thinly. Don’t let the oil smoke, though!
Toss in your pound of ground beef. Grab that wooden spoon and immediately start breaking it up into small crumbles. Spread it out onto the hot bottom of the pot so it can actually brown, not just steam. This takes about 5 to 7 minutes. You’re looking for it to be totally browned through—no pink spots hiding anywhere, which ensures it’s cooked perfectly safe. Once it’s browned and you see those nice little golden bits forming on the bottom, stir in your chopped onion and bell pepper. Cook those until they start getting soft and translucent, which should take another 3 to 4 minutes while you stir them around.
Step 2: Toasting Spices for Depth in Your One Pot Classic Chili
This next part is crucial for flavor! Add your minced garlic right into the pot, followed immediately by all your spices: that chili powder, cumin, paprika, oregano, salt, and pepper. You must stir constantly here for about 30 seconds to a full minute. This might seem short, but you’re toasting the spices in the residual fat, which wakes up their flavor like crazy. Be careful not to burn the garlic—if you smell anything acrid or bitter, pull the pot off the heat for a second!
Step 3: Simmering and Thickening the One Pot Classic Chili
Now we add the liquid! Pour in your can of tomatoes (juice and all), your rinsed kidney beans, and the cup of broth. Give everything a really good stir, making sure you scrape up all those browned, flavorful bits stuck to the bottom of the pot—that dissolving action is flavor gold. Once you see it start to bubble up, immediately drop the heat down low. We want a gentle, lazy simmer, not a rolling boil.
Put the lid on slightly ajar and let this One Pot Classic Chili simmer for 15 to 20 minutes. Stir it once or twice so nothing sticks. This is when it thickens up and gets that rich, glossy look. If you peek and it seems way too watery, just take the lid off completely for the last 5 minutes to let some steam escape.
Final Adjustments and Serving the One Pot Classic Chili
When that 20 minutes is up, take the lid off and give it a good taste test. This is your chance to customize! Does it need more zip? Add a tiny bit more chili powder. Does it taste flat? A tiny pinch more salt will bring everything alive. Stir, taste, adjust, and repeat until it’s perfect for you.
Here’s a pro tip: Turn the heat off completely and let the chili sit for about five minutes before you serve it. It thickens up just a little bit more as it rests, and the flavors really settle into each other. Then, ladle it into bowls and go crazy with your favorite toppings!

Tips for Success with Your One Pot Classic Chili
Even though this recipe is super straightforward, a couple of little tricks will make sure your chili tastes like you’ve been working on it all afternoon. Remember how I mentioned using a wide pot? That’s the first rule for getting that beautiful beef browning instead of just steaming the meat into gray mush. Trust me, the browning step is non-negotiable for great flavor!
Also, don’t be shy about tasting as you go, especially once you add the salt and spices. Chili is very forgiving, and often what seems like it needs more chili powder actually just needs a tiny bit more salt to make all the existing flavors pop.
Achieving the Right Consistency
If you taste your chili after the simmer and it’s just too thick—like it’s clinging too hard to the spoon—don’t panic. Just stir in a splash or two of water or broth until it loosens up to the consistency you like for ladling. If you find it’s too thin for your taste, simply take the lid off completely and let it simmer uncovered for another 5 to 7 minutes. The excess liquid will evaporate, and it will thicken up nicely!
Serving Suggestions for Your Ground Beef Chili
Now that your ground beef chili is perfectly seasoned and rested, it’s time for the fun part: toppings! This chili is amazing on its own because we built such great flavor into the pot, but toppings make it a real feast. I usually put out a spread so everyone can customize their bowl exactly how they like it.
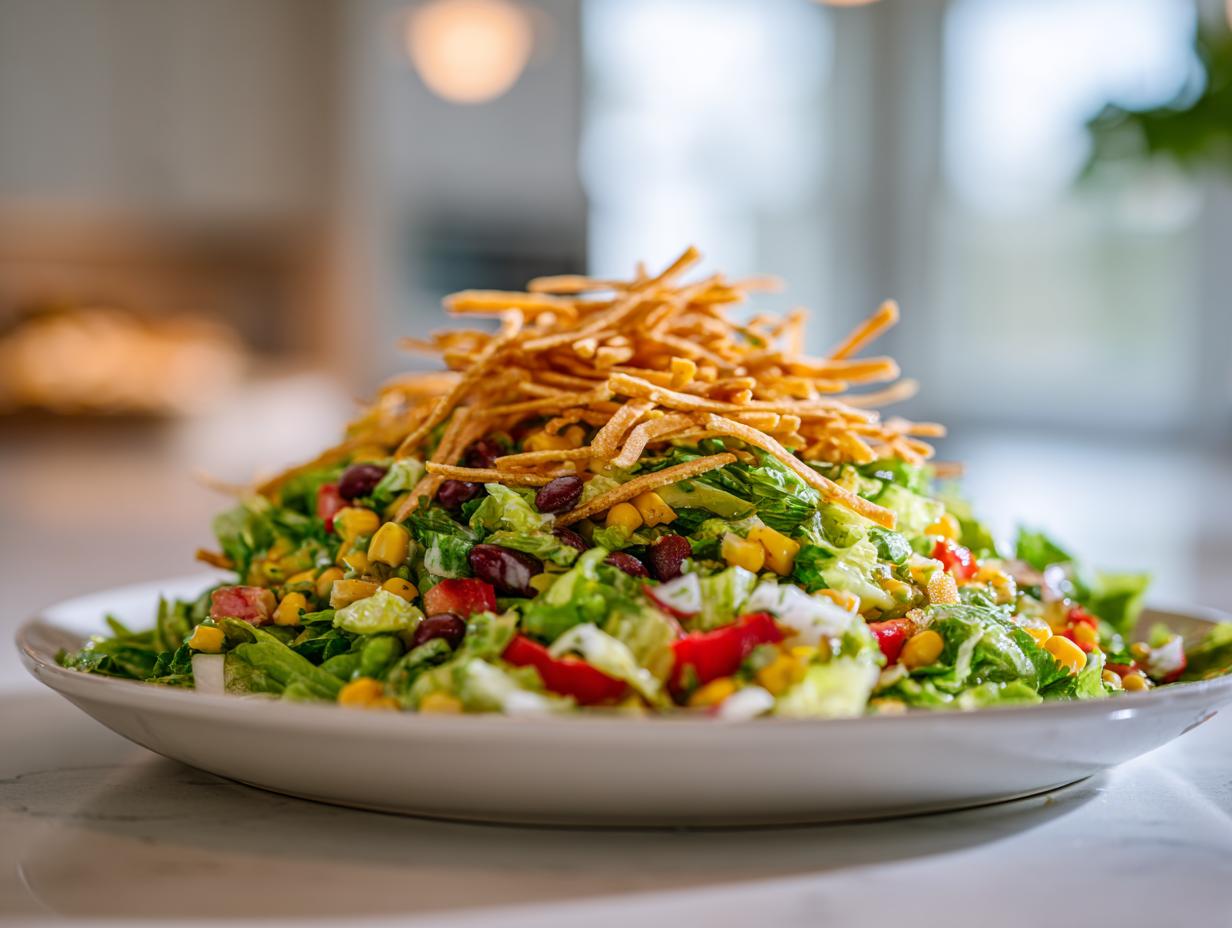
You absolutely have to try some shredded cheddar or Monterey Jack cheese melting on top—it’s classic for a reason! A dollop of plain yogurt or sour cream cuts through the richness perfectly. For something fresh, sprinkle on some sliced green onions or cilantro. And if you want to make it a full meal, serve it right over a little bit of cooked white rice, or just have a pile of tortilla chips ready for dipping!
Storing and Reheating Your One Pot Classic Chili
One of the best things about making a big batch of chili is having leftovers ready to go later in the week! This recipe tastes even better the next day once all those spices have really married together overnight. You just need to make sure you store it safely so it stays delicious and ready when you are.
I always try to cool mine down quickly. Don’t leave a giant pot of chili sitting on the counter for hours—that’s how you get food safety worries, and we want zero worries here! If you want to see more of my favorite comfort food recipes, check out my cozy winter chocolate cookie cups for dessert inspiration!
Safe Storage Guidelines
When you’re done eating, you need to get this chili into the fridge within two hours of it coming off the stove. If you’re making a huge batch, break it down into smaller, shallower containers so it cools faster. It keeps beautifully in the refrigerator for up to four days. If you know you won’t eat it all by then, don’t hesitate to freeze it!
Freezing is super easy. I love pouring the cooled chili into flat freezer bags—they stack nicely in the freezer that way. You can keep it frozen solid for up to three months, which is perfect for emergency weeknight meals! You can also follow my updates on Facebook for quick dinner ideas.
| Storage Location | Maximum Time | Key Safety Tip |
|---|---|---|
| Refrigerator | Up to 4 days | Cool completely within 2 hours |
| Freezer | Up to 3 months | Store in airtight, flat containers |
Frequently Asked Questions About This Quick Dinner
I get so many questions about this recipe because everyone wants to know how something so fast tastes so good! I’ve gathered the most common ones here so you can feel totally confident making this One Pot Classic Chili tonight.
It’s designed to be the perfect weeknight meal, but sometimes you need to tweak things based on what’s in your pantry. Don’t sweat it; this recipe is robust enough to handle small changes! If you want more inspiration for quick meals, check out my guide on Italian chicken skillet recipe.
Can I Make This One Pot Classic Chili Ahead of Time
Oh, you absolutely should try making it a day ahead! Like most great stews and chilis, the flavors deepen overnight. When you reheat it the next day, it tastes even richer because all the spices have had more time to mingle with the beef and tomatoes. Just remember to store it properly in the fridge and reheat it until steaming hot before serving.
What If I Do Not Have Kidney Beans
If you’re missing kidney beans, don’t run to the store! You can easily substitute them with another canned bean that you have on hand. Black beans work wonderfully, or even pinto beans are a fantastic swap. Just make sure whatever bean you choose—black, pinto, or whatever you have—is thoroughly drained and rinsed before it goes into the pot with the other liquids.
Estimated Nutritional Data for This One Pot Classic Chili
I always tell people not to worry too much about the exact numbers when you’re making something this cozy, but it’s good to have a ballpark idea of what you’re eating. These values are just an estimate based on the ingredients listed, assuming you use the leaner beef. It’s hearty but still balanced!
| Nutrient | Approximate Value (Per Serving) |
|---|---|
| Calories | 460 |
| Protein | 30 grams |
| Fat | 20 grams |
| Carbohydrates | 34 grams |

30 Minute One Pot Classic Chili Recipe
- Total Time: 30 minutes
- Yield: 4 generous servings
- Diet: Omnivore
Description
Make one pot classic chili in 30 minutes on the stovetop. This easy ground beef chili is perfect for new cooks who want a hearty, cozy weeknight dinner.
Ingredients
- 1 tablespoon olive oil or other neutral oil
- 1 pound ground beef lean if possible
- 1 medium yellow onion finely chopped
- 1 small green bell pepper finely chopped optional but recommended for flavor
- 3 cloves garlic minced
- 2 tablespoons chili powder
- 1 teaspoon ground cumin
- 1 teaspoon smoked or sweet paprika
- 1 teaspoon dried oregano
- 1 teaspoon fine salt plus more to taste
- 0.25 teaspoon black pepper
- 1 can fifteen ounce crushed or diced tomatoes
- 1 can fifteen ounce kidney beans drained and rinsed
- 1 cup low sodium beef or chicken broth or water
- Optional toppings: Shredded cheddar or Monterey Jack cheese, Plain yogurt or a creamy topping, Sliced green onions or chopped cilantro, Cooked white or brown rice, Tortilla chips or warm tortillas
Instructions
- Place a large heavy pot on the stove over medium high heat and let it warm for one to two minutes until the bottom feels hot when you hold your hand a few inches above it.
- Add the oil to the pot and tilt the pot so the oil coats the bottom in a thin shiny layer.
- Add the ground beef to the hot oil and use a wooden spoon to break it into small crumbles, spreading it out in an even layer. Cook for 5 to 7 minutes, stirring every minute, until the beef is browned with no pink pieces left and you see golden bits on the bottom of the pot.
- Stir in the chopped onion and bell pepper. Cook for 3 to 4 minutes, stirring often, until the onion looks soft and slightly translucent and the pepper looks bright and tender.
- Add the minced garlic, chili powder, cumin, paprika, oregano, salt, and black pepper. Stir constantly for about 30 seconds to 1 minute, just until the garlic smells fragrant and the spices coat the meat and vegetables and look slightly darker.
- Pour in the crushed or diced tomatoes, the drained kidney beans, and the broth or water. Stir well, scraping the bottom of the pot with the spoon to loosen any browned bits so they dissolve into the chili.
- When the mixture starts to bubble, turn the heat down to medium low so you see gentle, lazy bubbles around the edges. Partially cover the pot with a lid and simmer for 15 to 20 minutes, stirring once or twice, until the chili thickens slightly and looks glossy and the beans are very soft.
- After simmering, remove the lid and check the texture. If the chili looks too thick, stir in a splash of water or broth until it is thick but easy to ladle. If it looks thin, let it simmer uncovered for another 3 to 5 minutes until it clings lightly to the back of a spoon.
- Taste the chili carefully. Add a pinch more salt for flavor, or a little extra chili powder or black pepper if you like more heat, stirring and tasting in small amounts until it suits you.
- Turn off the heat. Ladle the chili into warm bowls and finish with shredded cheese, a spoon of creamy topping, and a sprinkle of green onion or cilantro if you like. Serve on its own, over rice, or with tortilla chips for dipping.
Notes
- Cook ground beef until there is no pink left and it reaches a safe internal temperature of at least 160 degrees F.
- Refrigerate leftovers within two hours of cooking, keeping hot chili at 140 degrees F or warmer until served.
- Use a wide pot rather than a narrow tall one so the beef can brown instead of steaming.
- Rinse canned beans under cold water before adding them to remove excess starch and salt.
- Let the chili rest off the heat for about 5 minutes before serving to thicken slightly and settle flavors.
- Cool leftover chili, then store it in an airtight container in the refrigerator for up to 4 days.
- Freeze chili for up to 3 months in flat freezer bags or containers.
- Prep Time: 10 minutes
- Cook Time: 20 minutes
- Category: Main Dish
- Method: Stovetop
- Cuisine: American