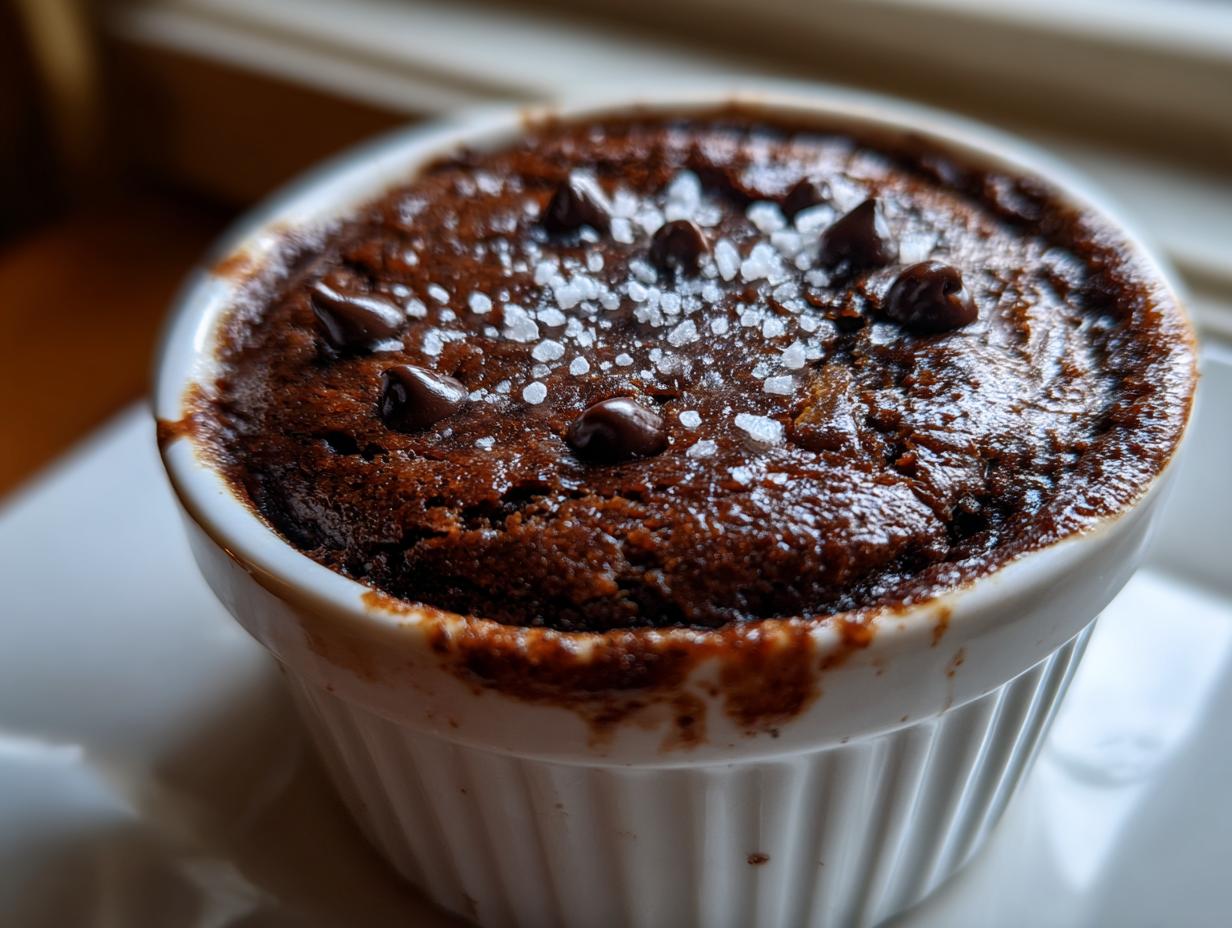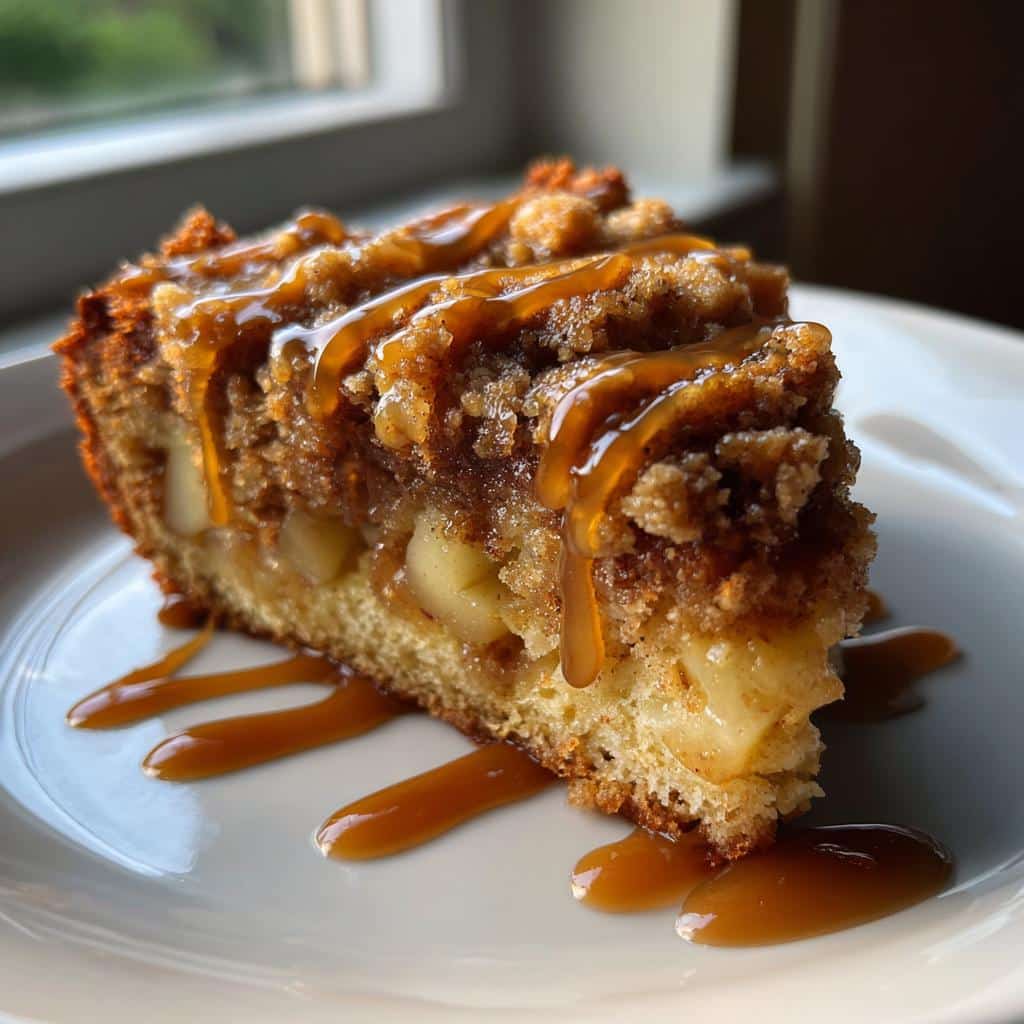
Oh my goodness, you absolutely have to try these! Forget those dry, crumbly cookies you might be thinking of; we are talking about cloud-like, perfectly spiced cakes sandwiched around the most incredible filling. I’ve spent years perfecting fall baking, and I can honestly say these Apple Cider Whoopie Pies are my crowning achievement for cozy season. They taste exactly like a warm hug on a chilly afternoon.
The secret, which I learned the hard way after a few baking disasters early in my career, is concentrating that fresh cider. It gives these cakes such a deep, authentic apple flavor that you just can’t get from extract. But don’t let the caramel center scare you off! I promise, even if you’re new to baking, these are surprisingly straightforward. We break everything down step-by-step, from reducing the cider to getting that perfect buttercream swirl. Trust me, once you make a batch of these spiced wonders, they’ll become your go-to fall treat! 
Gather Your Ingredients for Apple Cider Whoopie Pies
Okay, let’s get organized! Having everything measured and ready is half the battle, especially when dealing with reductions. You’ll need ingredients for the spiced cake part, the creamy filling, and that necessary molten center. Don’t worry about the cider reduction yet; we tackle that first, but make sure you have that fresh cider ready to go!
I remember one year I tried to substitute the buttermilk for regular milk because I was out, and wow, what a mistake! The cakes came out dense and slightly flat. It taught me that when a recipe calls for something specific, like buttermilk or reduced cider, it’s usually for a really good structural reason. Stick to the list, and you’ll get that perfect cake-like texture every time! If you are looking for other cozy fall recipes, check out my spiced pumpkin pancakes recipe.
Components for the Spiced Cookie Cakes
First up, we need the star of the show—the concentrated apple flavor! You’ll need about three cups of fresh apple cider to start, but remember, we boil that down aggressively until you only have precisely 3/4 cup left. For the dry bits, gather your flour, baking powder, baking soda, salt, and those wonderful warm spices: cinnamon, ginger, and nutmeg. For the wet side, grab your softened butter, dark brown sugar, one room-temperature egg, vanilla, and buttermilk.
Creating the Cider Buttercream Filling
For the filling, this is easy! You need another half cup of butter, but this MUST be softened—I mean really soft, like it’s begging to be whipped. You’ll also need a good three cups of powdered sugar, a tiny pinch of salt, and the remaining cider reduction. Make sure that reduction is totally chilled before you even think about mixing this!
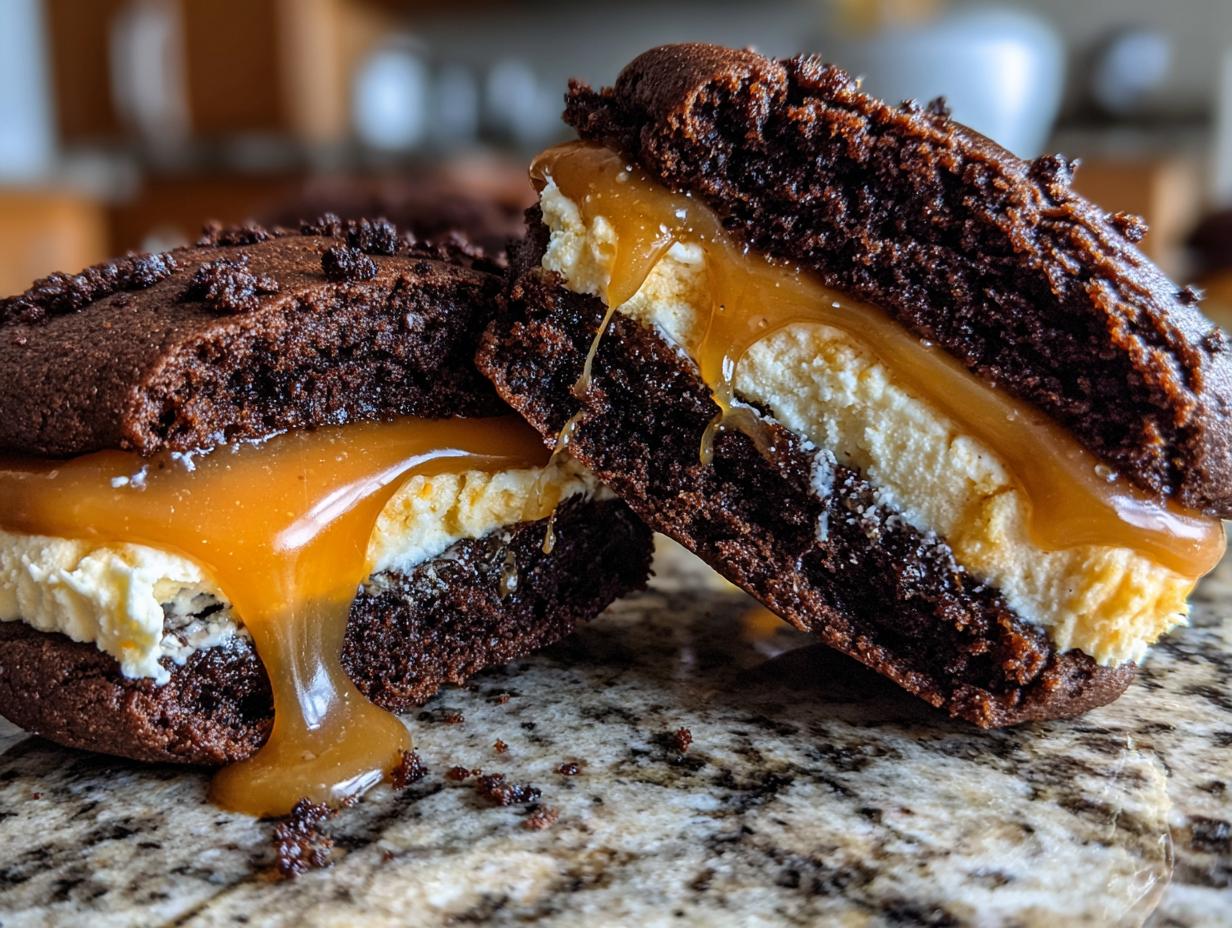
The Gooey Caramel Center
This is my favorite small indulgence! You only need about half a cup of caramel sauce, but here is the kicker: it needs to be thick. If it’s too runny, it will just leak everywhere when you press the pies together. A thick, spoonable caramel works best here—it pipes neatly and stays put! You can find more dessert inspiration on my Medium page.
Essential Equipment for Apple Cider Whoopie Pies
You don’t need a ton of fancy gear, but a few items really make the process smooth. You absolutely need two large baking sheets lined with parchment paper—don’t skip the paper, trust me! A stand mixer or a good hand mixer is going to save your arms when whipping the butter and making that fluffy buttercream.
- A sturdy saucepan for reducing the cider.
- A whisk for the dry ingredients.
- A piping bag fitted with a large round tip, or just a sturdy Ziploc bag with the corner snipped off for assembly.
Step-by-Step Instructions for Apple Cider Whoopie Pies
Alright, this is where the magic really happens! We’re going to tackle this in stages so nothing gets rushed or messy. If you can manage the cider reduction first while you do other things, it makes the whole process feel much calmer. These Apple Cider Whoopie Pies come together beautifully when you follow the order! 
Phase 1: Concentrating the Apple Cider
First things first: we need to intensify that apple flavor. Pour those three cups of cider into a saucepan and set it over medium heat. We are simmering this uncovered—no lid! You want it to bubble gently for about 20 to 25 minutes. Keep an eye on it, but don’t hover too much. You’re looking for it to reduce down to exactly 3/4 of a cup liquid. It will look syrupy, not watery. Once it hits that mark, immediately pour it into a heatproof jar and stick it in the fridge. It has to be stone cold before it touches the batter later, so get that cooling process started now!
Phase 2: Mixing the Spiced Cookie Batter
While that cider chills, let’s make the cakes. Preheat your oven to 350°F and get those baking sheets lined with parchment paper. In one bowl, whisk together your flour, baking powder, baking soda, salt, cinnamon, ginger, and nutmeg. In your big mixer bowl, beat the 1/2 cup of softened butter with the dark brown sugar until it’s light and fluffy—that usually takes about two minutes of good beating. Then, mix in your egg and vanilla until everything looks incorporated. Now, listen closely: Add half of your dry mixture, mix just until it disappears, then pour in the buttermilk and the *cooled* cider reduction. Mix briefly again, and finally, fold in the rest of the dry ingredients. Stop mixing the second you see no more white flour streaks. Overmixing these cakey cookies is how they get tough! If you want to see another great fall bake, check out my walnut banana muffins recipe.
Phase 3: Baking and Cooling the Cookie Cakes
Time to scoop! Use two tablespoons of batter for each cookie and drop them onto your prepared sheets, making sure to leave about two inches between them because they do spread a bit. Pop them into the preheated oven for 10 to 12 minutes. You’ll know they are done because if you gently touch the top, it should spring right back at you. Let them sit on the hot pan for just five minutes—no more—then move them gently to a wire rack to cool completely. Seriously, they must be totally cool before you fill them, or the buttercream will melt into a greasy puddle! 
Phase 4: Preparing the Cider Buttercream and Assembly
While the cakes cool, whip up the filling! Beat the remaining 1/2 cup of softened butter with the powdered sugar, the tiny pinch of salt, and the remaining 1/4 cup of that *cold* cider reduction. Beat it until it’s smooth, creamy, and looks light yellow. Now for assembly: Take one cooled cookie cake, and using your piping bag, pipe a nice ring of the buttercream around the flat edge. Be generous with the ring! Then, spoon about a teaspoon of that thick caramel sauce right into the center of that ring. Finally, take your second cookie and gently press it on top to squish the filling out just a tiny bit. Perfection! For more baking inspiration, follow us on Facebook.
Tips for Perfect Apple Cider Whoopie Pies
Making these is fun, but a few little tricks will elevate them from good to absolutely unforgettable. The biggest mistake I see people make is getting impatient with the cider reduction. If it’s not reduced enough, your cakes will be too wet and sink in the middle. You must see that thick, syrupy liquid!
Also, consistency in size is key for that classic whoopie pie look. I highly recommend using a medium cookie scoop—don’t eyeball it! Uniformly sized cookies mean they sandwich together perfectly and look professional. If your batter seems too sticky before scooping, chill the whole bowl for about ten minutes; that firms up the butter just enough. And please, make sure you’re using room temperature eggs when mixing the batter; they incorporate much better and give you a lighter cake structure overall.
Storing and Reheating Your Apple Cider Whoopie Pies
These spiced beauties are best eaten the day they are made, but leftovers are never a problem! Because we have that buttery filling, you need to keep them airtight. Putting them in the fridge keeps them firm, but letting them sit on the counter for about 30 minutes before serving really softens the cookie cake again, which is divine.
Storage Guidelines Table
| Storage Type | Duration | Best Practice |
|---|---|---|
| Room Temperature | Up to 2 days | Airtight container; let sit out 30 min before eating. |
| Refrigerated | Up to 5 days | Airtight container; soften slightly before serving. |
Frequently Asked Questions About Apple Cider Whoopie Pies
Q1. Why do I need to cool the apple cider reduction completely?
If you add warm cider reduction to your batter, it melts the butter you just creamed, which ruins the air pockets you worked so hard to create! This leads to dense, flat cookies instead of light, cakey Apple Cider Whoopie Pies. Cold cider ensures everything stays stable.
Q2. My buttercream is too thin, what should I do?
If your cider buttercream seems too loose, don’t panic! Just slowly mix in a little more powdered sugar, about a quarter cup at a time, until you reach a thick, pipeable consistency. If it’s too thick, add a teaspoon of milk, not more cider reduction, until it loosens up slightly.
Q3. Can I skip the caramel filling?
You absolutely can, but you’ll miss out on the best part! If you skip the caramel, you still need to fill that center with the cider buttercream. Just pipe a slightly thicker ring and fill the middle with a bit more of the buttercream to keep the structure intact.
Q4. Are these spiced cookies difficult for beginners?
Not at all! The hardest part is reducing the cider, which is just waiting time. The mixing process is standard cake procedure—cream butter and sugar, then alternate wet and dry. If you don’t overmix the flour, you’ll have fantastic results! If you are looking for other easy treats, try my edible cookie dough bites.
Nutritional Information Estimate
Since these are homemade, the exact values can change based on brands, but this gives you a general idea of what’s in one of these incredible treats. Please remember this is just an educated estimate based on the ingredients list! You can find more recipe ideas on our Pinterest page.
| Nutrient | Approximate Value |
|---|---|
| Calories | 410 |
| Fat | 14g |
| Carbohydrates | 68g |
| Protein | 4g |
Tips for Perfect Apple Cider Whoopie Pies
Making these is fun, but a few little tricks will elevate them from good to absolutely unforgettable. The biggest mistake I see people make is getting impatient with the cider reduction. If it’s not reduced enough, your cakes will be too wet and sink in the middle. You must see that thick, syrupy liquid!
Also, consistency in size is key for that classic whoopie pie look. I highly recommend using a medium cookie scoop—don’t eyeball it! Uniformly sized cookies mean they sandwich together perfectly and look professional. If your batter seems too sticky before scooping, chill the whole bowl for about ten minutes; that firms up the butter just enough. And please, make sure you’re using room temperature eggs when mixing the batter; they incorporate much better and give you a lighter cake structure overall.
Storing and Reheating Your Apple Cider Whoopie Pies
These spiced beauties are best eaten the day they are made, but leftovers are never a problem! Because we have that buttery filling, you need to keep them airtight. Putting them in the fridge keeps them firm, but letting them sit on the counter for about 30 minutes before serving really softens the cookie cake again, which is divine.
Storage Guidelines Table
| Storage Type | Duration | Best Practice |
|---|---|---|
| Room Temperature | Up to 2 days | Airtight container; let sit out 30 min before eating. |
| Refrigerated | Up to 5 days | Airtight container; soften slightly before serving. |
Frequently Asked Questions About Apple Cider Whoopie Pies
Q1. Why do I need to cool the apple cider reduction completely?
If you add warm cider reduction to your batter, it melts the butter you just creamed, which ruins the air pockets you worked so hard to create! This leads to dense, flat cookies instead of light, cakey Apple Cider Whoopie Pies. Cold cider ensures everything stays stable.
Q2. My buttercream is too thin, what should I do?
If your cider buttercream seems too loose, don’t panic! Just slowly mix in a little more powdered sugar, about a quarter cup at a time, until you reach a thick, pipeable consistency. If it’s too thick, add a teaspoon of milk, not more cider reduction, until it loosens up slightly.
Q3. Can I skip the caramel filling?
You absolutely can, but you’ll miss out on the best part! If you skip the caramel, you still need to fill that center with the cider buttercream. Just pipe a slightly thicker ring and fill the middle with a bit more of the buttercream to keep the structure intact.
Q4. Are these spiced cookies difficult for beginners?
Not at all! The hardest part is reducing the cider, which is just waiting time. The mixing process is standard cake procedure—cream butter and sugar, then alternate wet and dry. If you don’t overmix the flour, you’ll have fantastic results!
Nutritional Information Estimate
Look, I’m a baker, not a nutritionist! These are rich, cozy treats, so they aren’t exactly health food. Please know that all these numbers are just estimates based on what goes into the recipe. I don’t have a fancy lab, so take these figures as a general guide for your Apple Cider Whoopie Pies.
| Nutrient | Approximate Value |
|---|---|
| Calories | 410 |
| Fat | 14g |
| Carbohydrates | 68g |
| Protein | 4g |

Amazing Apple Cider Whoopie Pies in 4 Tiers
- Total Time: 1 hour 15 minutes
- Yield: 12 servings
- Diet: Omnivore
Description
Bake soft, spiced apple cider cookies filled with cider buttercream and a gooey salted caramel center for the ultimate cozy fall dessert. These cake-like cookies feature concentrated apple cider and autumn spices.
Ingredients
- 3 cups fresh apple cider (for reduction)
- 2 1/2 cups all-purpose flour
- 1 teaspoon baking powder
- 1 teaspoon baking soda
- 1/2 teaspoon salt (for dry ingredients)
- 1 1/2 teaspoons ground cinnamon
- 1/2 teaspoon ground ginger
- 1/4 teaspoon ground nutmeg
- 1/2 cup unsalted butter softened (for batter)
- 1 cup packed dark brown sugar
- 1 large egg room temperature
- 1 teaspoon alcohol-free vanilla flavoring
- 1/2 cup buttermilk
- 1/2 cup unsalted butter softened (for buttercream)
- 3 cups powdered sugar
- 1/4 teaspoon salt (for buttercream)
- 1/2 cup thick caramel sauce (for filling)
Instructions
- Simmer the apple cider in a saucepan over medium heat for 20 to 25 minutes until it reduces to exactly 3/4 cup of liquid.
- Pour the reduced cider into a heatproof jar and refrigerate it until it is completely cool.
- Preheat your oven to 350°F and line two large baking sheets with parchment paper.
- Whisk the flour, baking powder, baking soda, salt, cinnamon, ginger, and nutmeg together in a medium bowl.
- Beat 1/2 cup softened butter and the dark brown sugar in a large bowl on medium speed for 2 minutes until fluffy.
- Mix in the egg and alcohol-free vanilla flavoring until fully incorporated.
- Add half of the dry ingredients to the butter mixture and mix on low speed just until combined.
- Pour in the buttermilk and 1/2 cup of the cooled cider reduction, mix briefly, then fold in the remaining dry ingredients until no streaks of flour remain.
- Scoop 2 tablespoons of batter per cookie onto the baking sheets spaced 2 inches apart to allow for spreading.
- Bake for 10 to 12 minutes until the tops spring back when lightly touched.
- Cool the cookies on the pan for 5 minutes before transferring them to a wire rack to cool completely.
- Beat the remaining 1/2 cup softened butter, powdered sugar, salt, and the remaining 1/4 cup cider reduction until smooth and creamy.
- Pipe a ring of buttercream around the flat edge of one cookie, fill the center of the ring with 1 teaspoon of caramel sauce, and press a second cookie on top to seal.
- Wash hands thoroughly after handling raw eggs and ensure cookies are fully baked to an internal temperature of 160°F before serving.
Notes
- Ensure the cider reduction is completely cool before adding to the batter.
- Bake until the cookie tops spring back lightly when touched.
- The final baked internal temperature should reach 160°F.
- Prep Time: 40 minutes
- Cook Time: 35 minutes
- Category: Dessert
- Method: Baking
- Cuisine: American