When I first started trying to make my own snacks, everything turned out either scorched or soggy. It was frustrating! But then I finally nailed down this recipe for roasted chickpea nut clusters, and seriously, everything changed. This mix is my go-to because it delivers that incredible crunch you crave in a trail mix, plus it’s packed with protein to keep you going. It’s honestly the easiest thing you’ll ever bake.
I remember trying to make a similar snack years ago, and I ended up with burnt sugar and mushy chickpeas. Oops! That’s why I developed my own system where we roast the chickpeas first all on their own. That initial blast of heat is what guarantees the crispy texture we are aiming for in these roasted chickpea nut clusters. Trust me, this two-step roasting process is the secret weapon here. You won’t believe how simple it is to get this high-protein snack ready in under an hour!

Essential Ingredients for Roasted Chickpea Nut Clusters
Getting the best roasted chickpea nut clusters starts with prepping your ingredients exactly right. Don’t just eyeball things here; precision keeps the texture perfect! We need everything ready before the oven even gets hot, because once we start roasting, things move fast.
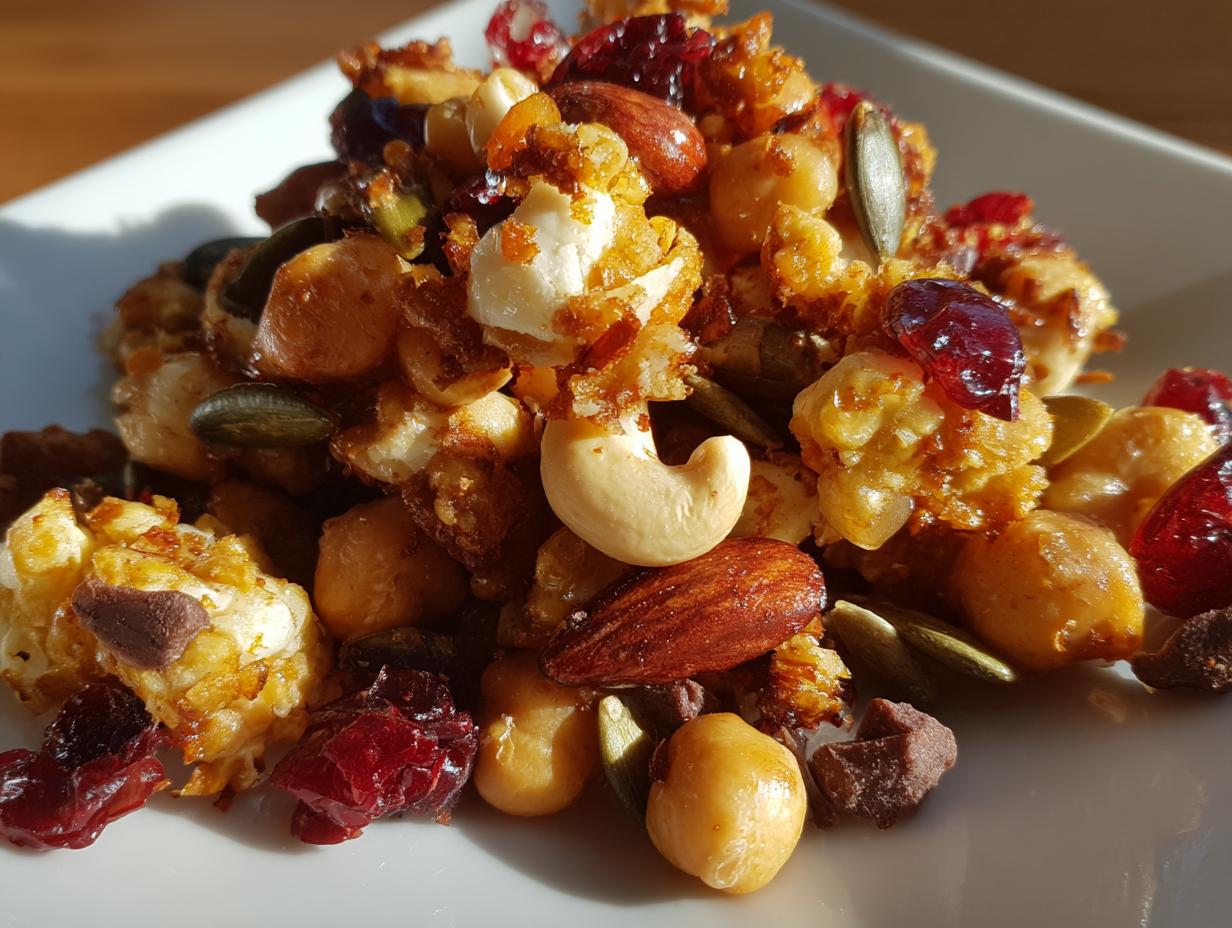
The base is one can of chickpeas, but you have to drain and rinse them really well. After that, you’ll use a full cup each of almonds and cashews, and a half cup of pecans, all roughly chopped. Don’t forget the smaller seeds like pumpkin and sunflower seeds for extra crunch!
Selecting and Preparing Your Components
Make sure those chickpeas are patted bone-dry; seriously, use paper towels until you think they can’t get any drier. For the nuts, I like a rough chop so you get big textural bites rather than just fine dust. Having everything measured out in little bowls makes the coating process so much smoother when the time comes.
The Flavor Base: Sweeteners and Spices for Roasted Chickpea Nut Clusters
This is where the magic happens for our roasted chickpea nut clusters! You need three tablespoons of real maple syrup and two tablespoons of melted coconut oil. Whisk those together with one teaspoon of cinnamon, a half teaspoon of cardamom, and just a pinch of ginger and salt. That spice blend is what makes them smell like heaven while they bake.
Step-by-Step Instructions for Roasted Chickpea Nut Clusters
Okay, are your ingredients laid out? Good. Because once you get going, these roasted chickpea nut clusters come together surprisingly fast. We are using a two-stage baking process, which is the key to making sure those chickpeas don’t burn while the nuts toast up.
Initial Roasting for Maximum Chickpea Crispness
First thing’s first: crank that oven up to 400 degrees Fahrenheit. Line a big baking sheet with parchment paper—this makes cleanup a breeze, trust me. Take those super-dry chickpeas and spread them out in a single layer. They need a good head start! Pop them in and let them roast alone for a solid 20 minutes. This step drives out all the moisture so they become snappy little crunch bombs.
Combining Nuts and Coating with the Maple Spice Mix
When those 20 minutes are up, pull the pan out carefully. Now, toss in all your chopped nuts and seeds right on top of the hot chickpeas. While that’s happening, quickly whisk together your maple syrup, melted coconut oil, and all those lovely spices—cinnamon, cardamom, salt, and ginger—in a small bowl. Drizzle that sticky, sweet mixture all over the hot chickpeas and nuts. Use a spatula to toss everything gently. You want an even coat, but try to keep things spread out in a single layer for now.
Final Bake and The Crucial Cooling Period for Clusters
Back into the oven they go! Bake for another 18 to 22 minutes. About halfway through that second bake time, give everything a gentle stir just to make sure nothing sticks to the pan permanently. When they come out, they’ll look golden brown and amazing. Now, stop touching them! You must let the entire sheet cool completely, at least 30 minutes, without stirring. This is how those glorious, hard roasted chickpea nut clusters form. Once they are totally cool, you can break them apart into perfect snacking sizes.
Tips for Achieving Expert Roasted Chickpea Nut Clusters
I’ve learned the hard way that rushing the process ruins these roasted chickpea nut clusters. If you want that perfect, satisfying snap—the kind that makes you reach for another handful—you have to respect the moisture levels. Don’t worry if your first batch isn’t perfect; we all learn through trial and error in the kitchen! If you are looking for more snack ideas, check out our snacks category.
Why Drying Chickpeas is Non-Negotiable
If you think you’ve dried your chickpeas enough, dry them again! This is the absolute most critical part of getting crispy results. Any moisture left on the surface turns to steam in the oven, which prevents the chickpeas from getting that hard, crunchy shell. I always remove any loose skins I find too, because those burn easily. A truly dry chickpea turns brittle and golden, not soft and steamed.
Preventing Premature Cluster Separation
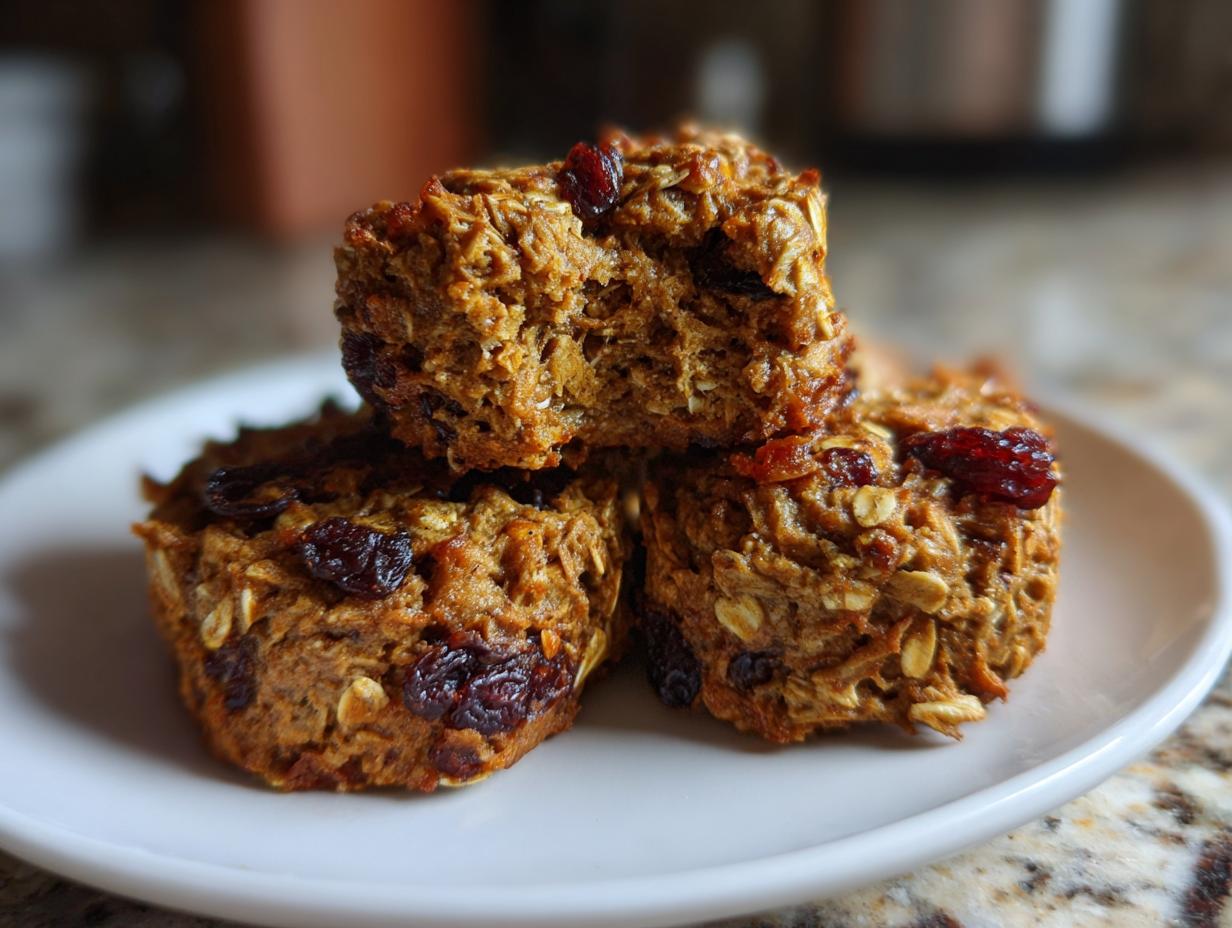
The second big secret to getting real clusters, instead of just loose nuts and chickpeas, is patience during cooling. You need to let the maple syrup glaze harden completely before you break anything apart. If you try to move the mixture while it’s warm, you’ll just end up with sticky residue stuck to your spatula. Also, only toss in those optional add-ins like chocolate chips or cranberries *after* they are totally cool. If you add chocolate when it’s hot, it melts everywhere! We want distinct clusters, so hands off the pan until it’s completely room temperature. Feel free to follow us on Pinterest for more recipe inspiration.
Equipment Needed for Your Roasted Chickpea Nut Clusters
You don’t need fancy gadgets for this recipe, which is another reason I love it! Just gather a few basics before you start mixing. Having these ready makes the whole process smooth and quick.
- A large, rimmed baking sheet
- Unbleached parchment paper
- A small bowl for mixing the glaze
- A rubber or silicone spatula
- Paper towels (lots of them!)
Storage and Reviving Your Roasted Chickpea Nut Clusters
The best part about making a big batch of these roasted chickpea nut clusters is that they are fantastic for meal prepping snacks for the week. They hold up really well, provided you follow my simple storage rules. We want that perfect crunch to last as long as possible! For more easy meal prep ideas, see our sweet potato breakfast tacos.
Storing for Optimal Freshness
Once they have cooled completely—and I mean totally cool, otherwise condensation will make them soggy—transfer them right into an airtight container. You don’t need to refrigerate these at all! Keep them on the counter at room temperature. If you sealed them correctly, they should stay wonderfully fresh for up to two whole weeks. Try not to open the container too often, ha!
Reheating Guide
Now, sometimes, if your kitchen is humid or you’ve had the container open for a few days, your clusters might lose just a tiny bit of that snap. Don’t panic! This is easily fixed. If your roasted chickpea nut clusters feel a little soft, just spread them out on a baking sheet again. Pop them back into a 300°F oven for about 5 to 7 minutes. That low, slow heat gently dries them out again, and they come back perfectly crispy. It’s like magic, but it’s just smart cooking! If you want to see more of our content, check out our Medium page.
Here’s a quick cheat sheet for keeping them perfect:
| Condition | Storage Method | Duration |
|---|---|---|
| Freshly Cooled | Airtight Container (Room Temp) | Up to 2 Weeks |
| Lost Crispness | Reheat at 300°F | 5-7 Minutes |
Frequently Asked Questions About Roasted Chickpea Nut Clusters
I get so many questions about these tasty snacks! People always ask how they can customize the recipe or what to do if they mess up the texture. Don’t worry, we can troubleshoot almost anything when making roasted chickpea nut clusters. Here are the things I hear most often from new bakers.
Q1. Can I use different nuts or seeds?
Absolutely! Feel free to swap out the almonds or cashews for walnuts or pepitas. Just try to use roughly the same total volume of nuts. The key is keeping the ratio of chickpeas to nuts similar so the coating works right.
Q2. My clusters are soft, not crunchy—what went wrong?
Nine times out of ten, it’s moisture! Either you didn’t dry the chickpeas enough before the first roast, or you added the optional chocolate chips while the mixture was still hot. Remember, they must cool completely, undisturbed, before you break them apart!
Q3. Can I use honey instead of maple syrup in my roasted chickpea nut clusters?
You can try it, but maple syrup is thinner and coats better. Honey is much thicker and can burn faster because it has a lower smoke point. If you use honey, reduce the amount slightly, maybe by a teaspoon, and watch the oven like a hawk during the final bake!
Q4. Do I have to use cardamom? I don’t love that flavor.
Cardamom is wonderful, but if it’s not your thing, skip it! You can boost the cinnamon up to one and a half teaspoons, or try adding a pinch of ground cloves for a different warm spice profile. The clusters will still be delicious.
Understanding the Nutrition of Roasted Chickpea Nut Clusters
I love that these roasted chickpea nut clusters are a powerhouse snack, but I have to give you a quick shout-out that nutrition labels are always estimates, especially when we’re dealing with homemade batches. Things like the exact brand of coconut oil or how much maple syrup actually sticks to the nuts can change the final count slightly.
This information is based on the recipe yielding 8 servings, with each serving being about a half cup. It’s a fantastic way to get good protein and healthy fats in one satisfying crunch, making it a much better choice than grabbing a processed candy bar! You can also check out our high protein breakfasts for more ideas.
Here’s the breakdown based on the core ingredients, minus the optional chocolate or fruit additions:
| Nutrient | Amount Per Serving |
|---|---|
| Serving Size | About ½ cup |
| Calories | 285 |
| Fat | 19g |
| Carbohydrates | 22g |
| Protein | 8g |

Amazing 8-Minute Roasted Chickpea Nut Clusters
- Total Time: 50 minutes
- Yield: 8 servings
- Diet: Vegetarian
Description
Crispy oven-baked chickpea and nut trail mix clusters with maple syrup and warming spices. This high-protein snack is ready in under an hour for meal prep or gifting.
Ingredients
- 1 can chickpeas, drained and rinsed
- 1 cup raw almonds, roughly chopped
- 1 cup raw cashews, roughly chopped
- ½ cup raw pecans, roughly chopped
- ¼ cup pumpkin seeds
- ¼ cup sunflower seeds
- 3 tablespoons maple syrup
- 2 tablespoons coconut oil, melted
- 1 teaspoon ground cinnamon
- ½ teaspoon ground cardamom
- ½ teaspoon sea salt
- ¼ teaspoon ground ginger
- ⅒ cup dried cranberries (Optional Mix-In)
- ⅒ cup dark chocolate chips (Optional Mix-In)
- 2 tablespoons unsweetened coconut flakes (Optional Mix-In)
Instructions
- Preheat your oven to 400°F. Line a large rimmed baking sheet with unbleached parchment paper.
- Pat the chickpeas completely dry using paper towels. Remove any loose skins.
- Spread the dried chickpeas on the prepared baking sheet in a single layer. Roast for 20 minutes.
- Remove the baking sheet from the oven. Add the chopped almonds, cashews, pecans, pumpkin seeds, and sunflower seeds to the chickpeas, spreading everything evenly.
- In a small bowl, whisk together the maple syrup, melted coconut oil, cinnamon, cardamom, sea salt, and ginger until combined.
- Drizzle the maple syrup mixture evenly over the chickpeas and nuts. Toss gently with a spatula to coat everything. Spread the mixture in clumps.
- Return the baking sheet to the oven. Bake for 18 to 22 minutes, stirring gently halfway through, until golden brown and crispy.
- Remove from the oven. Let the mixture cool completely on the baking sheet for at least 30 minutes without stirring.
- Once cooled, break the mixture into bite-sized clusters. Toss with dried cranberries, dark chocolate chips, and coconut flakes, if using.
- Transfer to an airtight container for storage.
Notes
- Make sure chickpeas are completely dry before the first roasting for maximum crispiness.
- Avoid stirring too much during the final cooling period to allow larger clusters to form.
- Add chocolate chips and dried fruit only after the mixture has cooled completely.
- Store in an airtight container at room temperature for up to 2 weeks.
- Reheat at 300°F for 5 to 7 minutes if clusters lose crispness.
- Prep Time: 10 minutes
- Cook Time: 40 minutes
- Category: Snack
- Method: Baking
- Cuisine: American