Snickerdoodle Cookies were actually the first dessert I ever successfully made all the way through without setting off the smoke alarm, which tells you everything you need to know about how simple this recipe is! Back when I started NoobRecipes, I needed a cookie that looked impressive but actually required zero fancy skills. These are it. They come out perfectly soft and chewy every single time, thanks to one secret ingredient that stops them from going flat and dry. Forget those crispy, sad versions you might have tried before. We are making the real deal here—pillowy, tangy, and covered in that glorious cinnamon-sugar blanket. Trust me, if you can mix things in a bowl, you can master these cookies today.

Why You Will Love These Snickerdoodle Cookies
This recipe isn’t just another cookie recipe; it’s a guaranteed win, especially if you’re new to baking. I designed this so you can’t mess it up! You are going to get that perfect texture you see in bakeries, but without any stress. These are fast, reliable, and taste exactly like childhood.
- They are lightning fast to mix up—prep is under 20 minutes!
- The texture is spot-on: soft centers and slightly chewy edges.
- That signature tang from the cream of tartar keeps them perfectly balanced.
- They bake up thick and round; no sad, flat cookies here.
- It’s the perfect recipe to build your baking confidence.
Essential Equipment for Perfect Snickerdoodle Cookies
You don’t need a fancy pastry kitchen for these guys, which is great news for us noobs! We just need the basics to get that dough mixed and baked correctly. Make sure your mixing bowl is big enough because we are creaming quite a bit of butter in there. Having a couple of sturdy baking sheets ready is key since we bake in batches. Don’t overthink it; if you have standard mixing bowls and measuring cups, you are totally set to go.
- Large mixing bowl or stand mixer
- Standard baking sheets
- Parchment paper or silicone baking mats
- Measuring cups and spoons
- A small bowl just for the cinnamon sugar coating
Gathering Your Snickerdoodle Cookies Ingredients
Okay, let’s get down to the good stuff—the ingredients! This recipe is fantastic because it uses pantry staples you probably already have on hand. There are no weird extracts or specialty flours needed here, which is exactly how I like it for my NoobRecipes crew. When you measure your flour, please remember to spoon it into the cup and level it off; scooping it straight from the bag packs it too tight, and that’s how you end up with dense, hard cookies. That tiny step makes a huge difference in texture!
The key players here are the butter—it needs to be soft, not melty—and that superstar ingredient, cream of tartar. That little bit of acid is what gives snickerdoodles their signature slight tang and helps them stay puffy instead of spreading out into flat discs. Before you start mixing, get everything measured out so you can move quickly once the wet and dry ingredients meet up.
Ingredients for Snickerdoodle Cookies
| Quantity | Ingredient | Preparation Note |
|---|---|---|
| 1 cup | Salted Butter | Softened |
| 1 and 1/3 cup | Granulated Sugar | For the dough |
| 1/3 cup | Brown Sugar | Packed |
| 2 large | Eggs | |
| 2 teaspoons | Vanilla Extract | |
| 3 and 1/4 cups | All-Purpose Flour | Spoon and level |
| 1 teaspoon | Baking Soda | |
| 3/4 teaspoon | Kosher Salt | |
| 1 and 1/2 teaspoons | Cream of Tartar | This is your secret weapon! |
| 1/3 cup | Granulated Sugar | For rolling coating |
| 1 and 1/2 tablespoons | Cinnamon | For rolling coating |
Step-by-Step Instructions for Amazing Snickerdoodle Cookies
This is where the magic happens! Follow these steps exactly, especially regarding mixing times, and I promise you’ll have bakery-quality cookies. Don’t start preheating your oven until you’re ready to mix, because we want those baking sheets ready to go as soon as the dough is coated.
Preparing the Base Dough for Snickerdoodle Cookies
First things first: set your oven to 350 degrees Fahrenheit and line those baking sheets with parchment paper or a silicone mat. We want easy cleanup, right?
Grab your large bowl or stand mixer. Beat that softened butter by itself for a couple of minutes until it’s really smooth. Don’t rush this—we need it creamy!
Now, add both the granulated sugar and that packed brown sugar. Beat this mixture for a solid two minutes. You’re looking for it to lighten up in color and get fluffy. This step whips air into the fat, which is crucial for a soft cookie, so pay attention here!
Next, drop in your two eggs and the vanilla extract. Mix until everything looks smooth again. Scrape down the sides and bottom of the bowl one last time before moving on.
In a separate bowl, whisk together your flour, baking soda, salt, and that essential cream of tartar. This keeps the leavening agents evenly distributed.
Here’s the most important part for texture: Gradually add the flour mixture into the butter mixture. Beat it slowly, only until you see the last streaks of flour disappear. Stop mixing immediately after that! If you keep mixing once the flour is incorporated, you’ll develop gluten and end up with tough cookies instead of soft ones. We are aiming for soft here!
The Signature Cinnamon Sugar Coating Process
While the dough chills slightly, mix up your coating. In a small, shallow bowl, combine the 1/3 cup of granulated sugar with the 1 and 1/2 tablespoons of cinnamon. Mix it well. Make sure you have a little bit of this coating left over after the first roll, because we need it later!
Scoop your dough into balls that are about 1 and 1/2 to 2 inches wide. They don’t have to be perfect spheres, but try to keep them uniform so they bake evenly.
Roll each dough ball right into that cinnamon sugar mixture until it’s completely coated. Arrange these coated balls on your baking sheets, leaving about two inches between them. They are going to spread out a bit, so give them room to breathe!

Baking and Shaping Your Snickerdoodle Cookies
These bake fast, so keep an eye on them. Pop them into your preheated 350°F oven for just 9 to 11 minutes. You want the edges to look set and firm, but the centers should still look a little shiny and maybe even slightly underdone. If you bake them until they look totally dry, they will be hard once they cool down.
This next step is my favorite trick. As soon as you pull the sheet out of the oven, grab a small spoon or an offset spatula. Gently push the slightly melted edges of each cookie inward toward the center. This forces the cookie into a nice, thick, round shape, preventing it from baking flat while it sets up.
Let them sit on the hot pan for about 3 to 5 minutes. This lets them firm up enough so they don’t fall apart when you move them. Then, carefully transfer them to a wire rack to cool completely.
When they are warm but totally firm—not hot—roll them one last time in that reserved cinnamon sugar coating you saved earlier. This second coating gives you that amazing, crackly, sugary crust that makes a snickerdoodle irresistible. Serve them warm if you can wait that long!
Tips for Success Making Snickerdoodle Cookies
I’ve made enough batches of these cookies to know exactly where things can go sideways, especially when you’re just starting out. If you want that perfect thick, chewy center that doesn’t spread into a puddle, pay close attention to these few pointers. These tips are what separate a good snickerdoodle from a truly great one, and they are all about temperature control!
First, the butter and eggs absolutely must be at room temperature. If your butter is too soft or melted, it won’t cream properly with the sugar, and your cookies will spread wide and flat in the oven. Take the butter out an hour before you plan to bake. If you forget, you can gently warm it in the microwave for about 5 to 10 seconds—but watch it like a hawk!
My second big tip relates to that baking time. You want them slightly underdone when you pull them out. If you wait until the tops look fully baked and dry, they will be hard cookies tomorrow. Remember that secondary shaping step? That only works if the cookie is still soft enough to push around right out of the oven.
Finally, don’t skip the double coating! Rolling them once coats the dough, but that second roll when they are warm is what locks in the moisture and gives you that beautiful, thick crust of cinnamon sugar that melts perfectly on your tongue. It’s a little extra work, but it’s worth every second for that classic snickerdoodle finish. If you want to see more of my baking tips, check out my Pinterest board!
Storing and Reheating Your Snickerdoodle Cookies
These cookies are seriously best eaten warm right after you make them, but if you happen to have leftovers—which I rarely do, oops!—storage is super easy. Since they are so soft, we need to keep them airtight so they don’t dry out or absorb any weird fridge smells. The airtight container is your best friend here for keeping them fresh on the counter for up to five days. If you are planning ahead, you can totally freeze the dough balls before you even roll them in the sugar, which is a lifesaver when you need a quick treat!
If you freeze the dough, remember to add a couple of minutes to the baking time since they will be frozen solid when they hit the hot oven. For reheating any leftover cookies, a quick zap in the microwave brings back that soft texture beautifully. It’s honestly so simple to keep these classic snickerdoodle cookies on hand! You can also follow me on Facebook for daily updates!
Storage and Reheating Snickerdoodle Cookies
| Item | Storage Duration | Best Method |
|---|---|---|
| Baked Cookies | Up to 5 days | Airtight container at room temperature |
| Unbaked Dough Balls | Up to 3 months | Freezer bag; roll in sugar just before baking |
| Reheating Leftovers | As needed | 10-15 seconds in the microwave |
Frequently Asked Questions About Snickerdoodle Cookies
I get tons of questions from my NoobRecipes readers about these classic cinnamon sugar cookies, especially when they try to troubleshoot why their cookies spread too much. Here are the top things I hear most often!
Q1. Why do my snickerdoodle cookies end up flat instead of puffy?
This almost always comes down to two things: either your butter was too warm or melted, or you skipped using enough cream of tartar. The cream of tartar reacts with the baking soda to give these cookies their signature lift and slight tang. Make sure your butter is just softened, not greasy, when you cream it with the sugars!
Q2. Can I use regular granulated sugar instead of brown sugar in the dough?
You absolutely can, but you’re changing the texture! Brown sugar has molasses, which adds moisture and chewiness. If you only use white sugar, your cookies will be slightly crisper and less chewy. For the best soft cookies, stick to the recipe and use both! If you are looking for other great desserts, check out my chocolate lava pudding cake.
Q3. Do I really need to roll them in sugar twice?
Yes, trust me on this one! The first roll coats the dough ball before baking, helping the cookie set its shape. The second roll, done immediately after they come out of the oven, is what gives you that thick, crackly, delicious crust of cinnamon sugar that makes a snickerdoodle famous. If you skip it, they just won’t taste as authentic.
Q4. Can I make these cookies dairy-free or vegan?
It’s tricky because the butter and eggs are so crucial for texture here, but you can try substituting the butter with a high-quality stick-style vegan butter, and use flax eggs or commercial egg replacer. Just know that the results won’t be quite as thick or chewy as this classic recipe, but it’s a good starting point for experimentation!
Sharing Your Classic Snickerdoodle Cookies
I hope you loved mastering this foolproof recipe! These classic cookies are the perfect thing to take to any gathering. Once you’ve tried them, please come back and let me know how they turned out. Did you manage to get that perfect push on the edges? Leave a rating below so other new bakers know this recipe is a winner!
Print
3 Snickerdoodle Cookies Fail-Proof Secrets
- Total Time: 31 minutes
- Yield: About 3 dozen cookies
- Diet: Vegetarian
Description
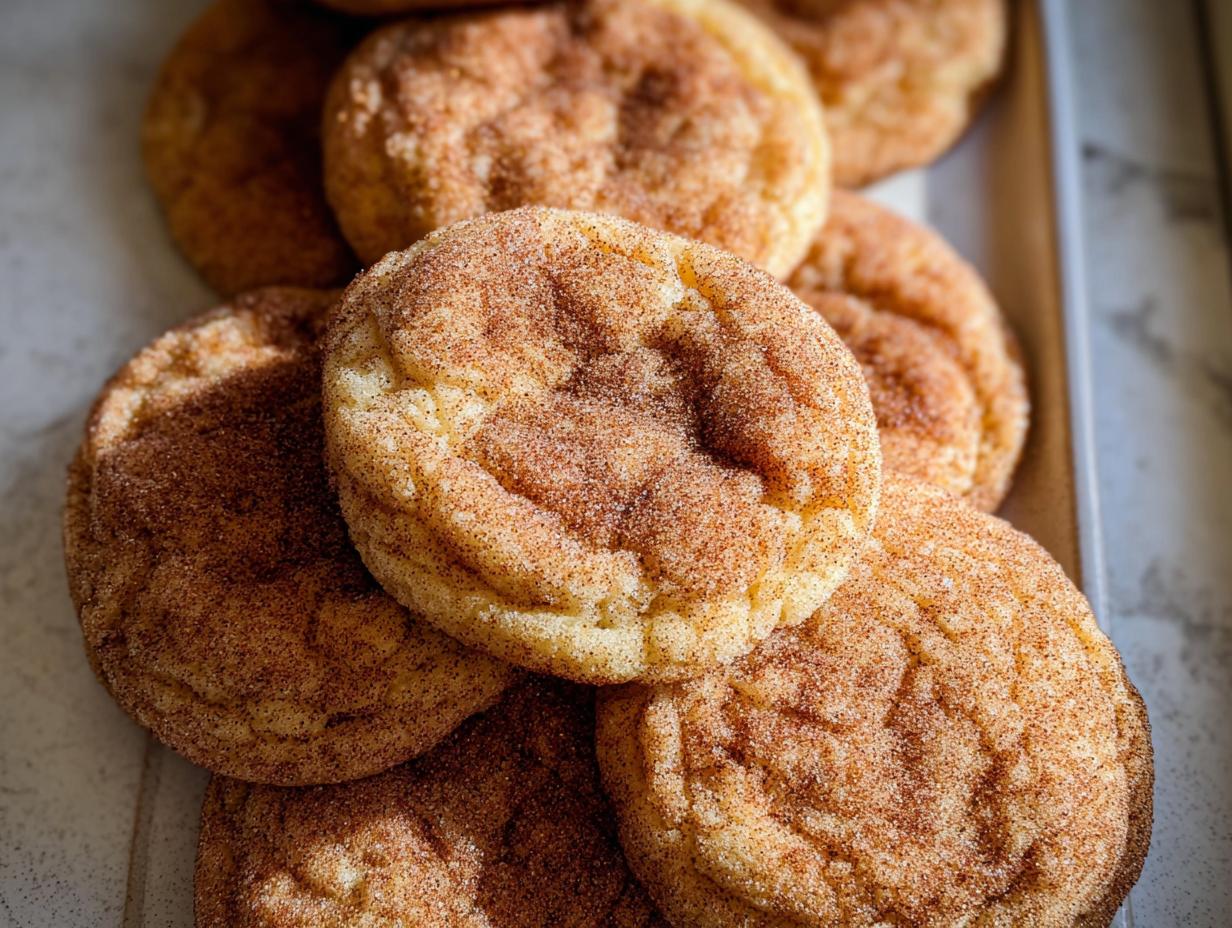
Snickerdoodle Cookies are classic, soft, chewy cookies rolled in a sweet cinnamon-sugar coating. This recipe gives you perfect results every time, making it ideal for new bakers.
Ingredients
- 1 cup salted butter, softened
- 1 and 1/3 cup granulated sugar
- 1/3 cup brown sugar, packed
- 2 large eggs
- 2 teaspoons vanilla extract
- 3 and 1/4 cups all-purpose flour, spooned and leveled
- 1 teaspoon baking soda
- 3/4 teaspoon kosher salt
- 1 and 1/2 teaspoons cream of tartar
- For rolling: 1/3 cup granulated sugar
- For rolling: 1 and 1/2 tablespoons cinnamon
Instructions
- Preheat the oven to 350°F. Prepare baking sheets with parchment paper or a silicone mat.
- Beat butter in a large bowl or stand mixer for a few minutes until smooth. Scrape sides and bottom often.
- Add granulated sugar and brown sugar. Beat for 2 minutes until the mixture looks light and fluffy.
- Beat in eggs and vanilla until the mixture is smooth.
- In a separate bowl, combine flour, baking soda, salt, and cream of tartar.
- Gradually add the flour mixture to the butter mixture. Beat lightly until just combined. Stop mixing immediately after combining.
- Shape the dough into balls about 1½ to 2 inches across.
- Mix the 1/3 cup granulated sugar and 1½ tablespoons cinnamon in a small bowl. Roll the dough balls in this mixture to coat them thoroughly. Keep extra cinnamon sugar reserved.
- Arrange dough balls on prepared baking sheets. Leave about 2 inches between each cookie.
- Bake for 9–11 minutes. The edges should be set, but the centers should look slightly shiny. Avoid overbaking for soft cookies.
- Immediately after removing from the oven, use a spoon to gently push the edges of each cookie toward the center. This creates a round shape and a thicker center.
- Let cookies cool on the pan for 3–5 minutes. Then, move them to a wire rack.
- When the cookies are warm but firm enough to hold, roll each one again in the reserved cinnamon sugar coating.
- Serve the cookies warm.
Notes
- To freeze, shape dough balls, roll in cinnamon sugar, and store in a ziplock bag for up to 3 months.
- Bake frozen dough directly, adding about 2 minutes to the total baking time.
- Prep Time: 20 minutes
- Cook Time: 11 minutes
- Category: Dessert
- Method: Baking
- Cuisine: American